Natural Red Velvet Cake Recipe (No Food Dye, No Artificial Color)
A Cake With a Secret History
Most people assume red velvet cake has always been red. Not the way it is now.
The original red velvet cake, which appeared in American cookbooks and hotel menus as far back as the 1920s, was not the electric crimson you see in bakery windows today. It was a deep, muted reddish-brown, and that color came entirely from a chemical reaction happening inside the batter itself. Natural cocoa powder contains pigments called anthocyanins, the same compounds that make red cabbage purple and strawberries red. When those pigments meet an acidic environment, as they do in a batter built on buttermilk and white vinegar, they shift toward a reddish hue. No dye required for Natural Red Velvet Cake.
The bright red version most people grew up eating became widespread after World War II, when Adams Extract Company popularized a recipe using their red food coloring to replace wartime ingredient shortages. The artificial dye stuck around long after the rationing ended, mostly because it was vivid, consistent, and easy. By the time home cooks started making red velvet from scratch in the 1970s and 1980s, a full bottle of Red 40 was simply part of the recipe.
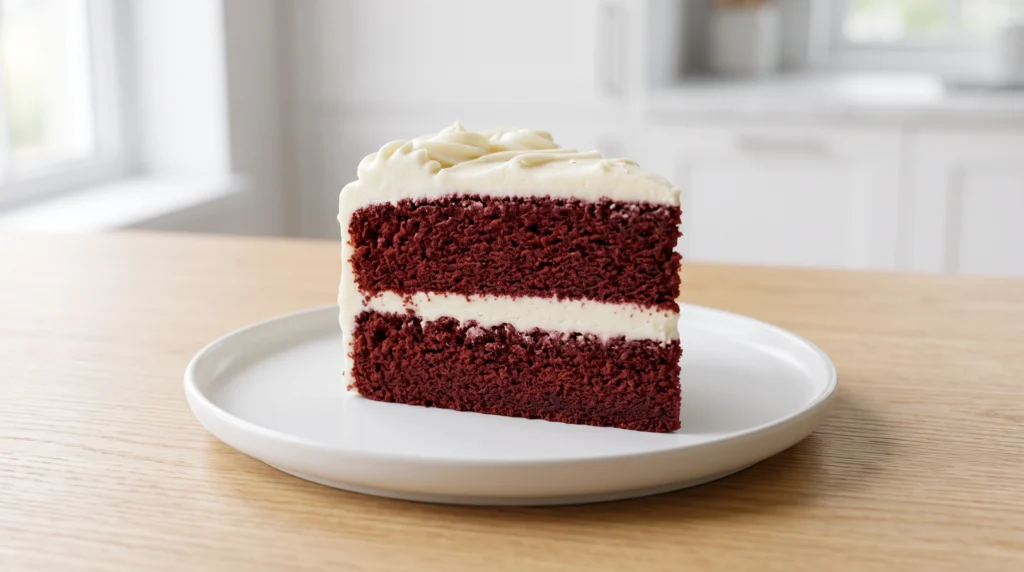
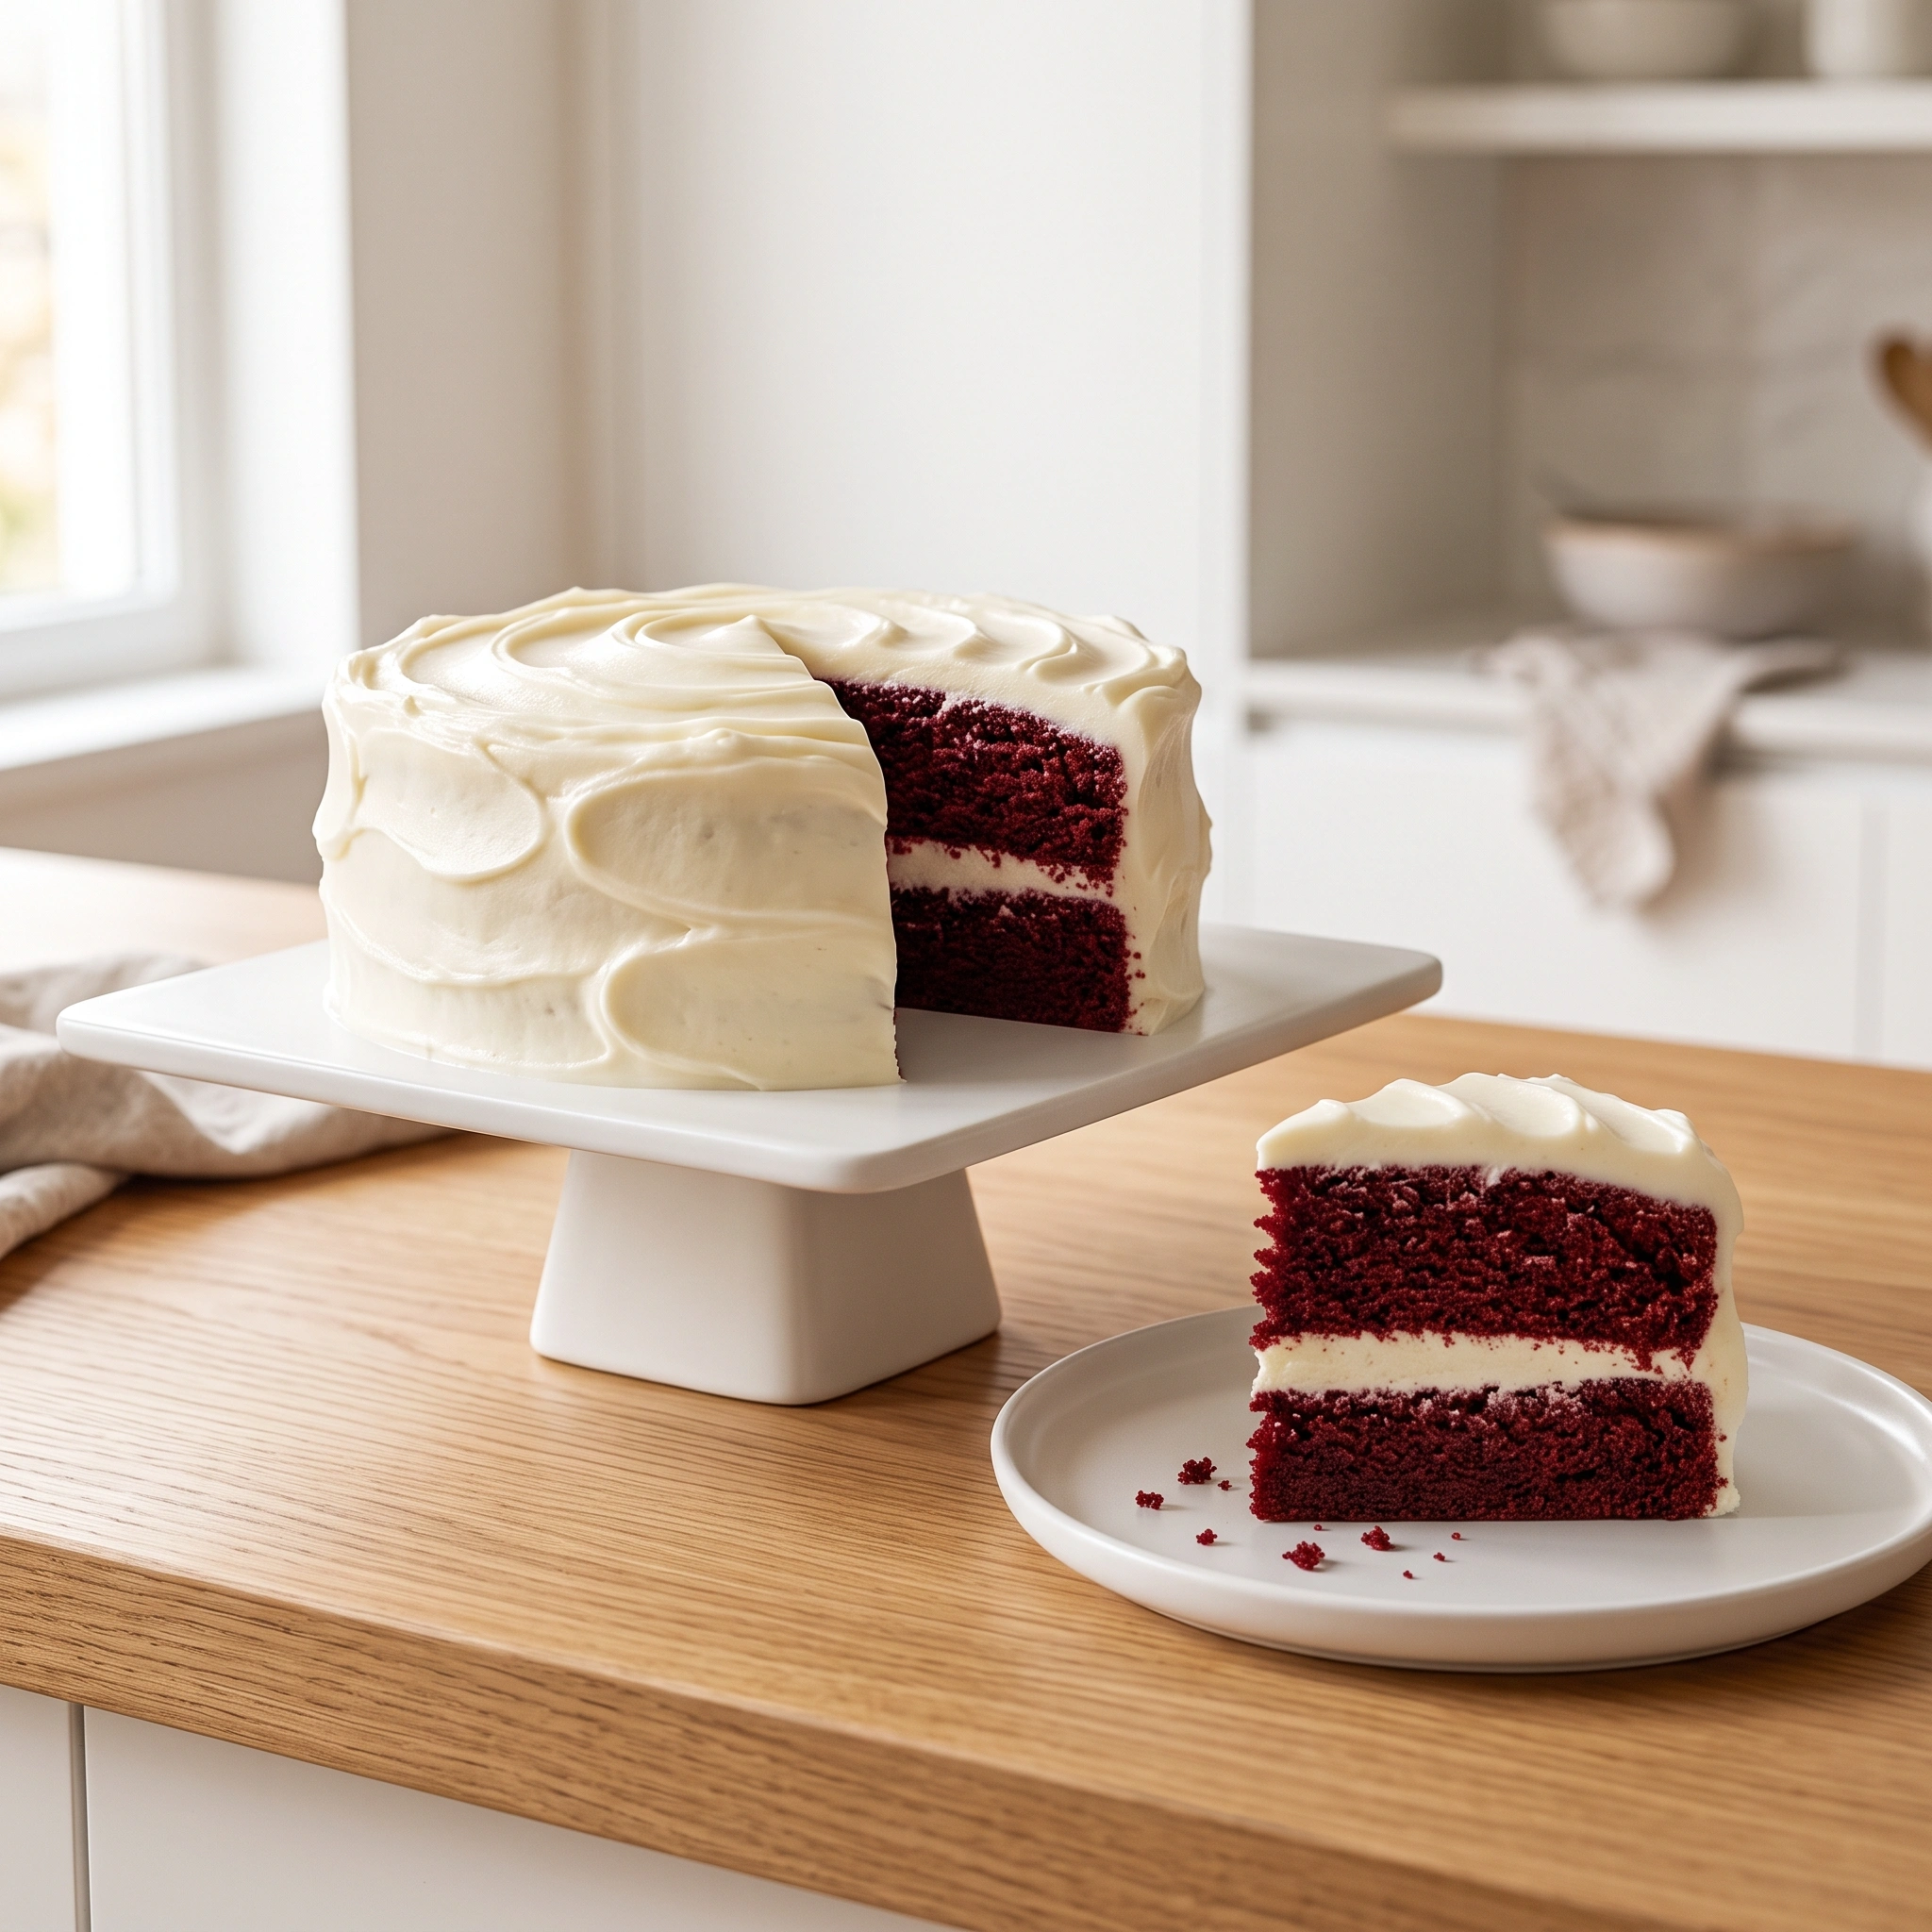
This natural red velvet cake is a return to the original idea. The reddish color here comes from beet puree and the natural anthocyanin reaction in the batter. The result is a deep burgundy-red crumb rather than a fluorescent crimson, which looks more sophisticated and tastes like what red velvet was always supposed to be: lightly chocolatey, subtly tangy, and exceptionally moist with cream cheese frosting that disappears from the table before you finish slicing it.
Why You’ll Love This Natural Red Velvet Cake
- No Red 40, no artificial dye. The color comes entirely from beet puree and the cocoa-acid reaction in the batter.
- Genuinely moist crumb. Beet puree holds moisture inside the crumb without adding any detectable vegetable flavor.
- No beet taste. The cocoa, buttermilk, vanilla, and cream cheese frosting completely mask any earthiness from the beet. People have eaten this cake without being told what was in it and simply described it as the best red velvet they have ever had.
- More nuanced color. A deep burgundy crumb against white cream cheese frosting is striking in a way that neon red simply is not.
- Year-round occasion flexibility. Valentine’s Day, Christmas, birthdays, potlucks. This cake photographs beautifully and works for any celebration.
What You Need
For the Beet Puree
- 2 medium fresh beets (about 10 oz total), trimmed and scrubbed
- 1 tablespoon fresh lemon juice
For the Natural Red Velvet Cake Layers
- 2 1/2 cups all-purpose flour
- 2 tablespoons cornstarch
- 3 tablespoons natural (non-Dutch-process) cocoa powder
- 1 1/2 teaspoons baking powder
- 1/2 teaspoon baking soda
- 1 teaspoon salt
- 3/4 cup unsalted butter, room temperature
- 1 3/4 cups granulated sugar
- 3 large eggs, room temperature
- 1 teaspoon vanilla extract
- 1 cup beet puree (from above)
- 3/4 cup buttermilk, room temperature
- 1 tablespoon white vinegar
- 1/4 cup vegetable oil
For the Cream Cheese Frosting
- 16 oz full-fat brick-style cream cheese (Philadelphia), softened
- 3/4 cup unsalted butter, softened
- 5 cups powdered sugar, sifted
- 2 teaspoons vanilla extract
- Pinch of salt
Recommended Equipment
- A blender or food processor for beet puree
- Two 9-inch round cake pans
- A KitchenAid stand mixer or hand mixer
- A digital kitchen scale for accurate flour measurement
- A fine-mesh sieve for straining beet puree
- An offset spatula and cake turntable for frosting
- Kitchen gloves for handling beets
The Science: Why Beet Puree Works (And Why Color Still Changes in the Oven)
This section exists because the most common frustration with natural red velvet cake is this: the batter goes into the oven looking vivid and comes out looking brown. Understanding why that happens means you can prevent it.
Beets get their deep color from pigments called betalains, specifically betacyanins. These are different from the anthocyanins in cocoa powder, but they share one critical characteristic: they are pH sensitive. In an acidic environment they remain red or pink. In an alkaline environment, or under prolonged heat, they oxidize and shift toward brown.
This means two things for baking. First, keeping the batter acidic throughout is essential. This recipe uses buttermilk, white vinegar, and lemon juice in the beet puree, all of which lower the batter’s pH and protect the betalains during baking. Second, baking soda, which is alkaline, must be used sparingly. Too much baking soda raises the pH and accelerates the color shift. This recipe balances baking powder (which contains its own built-in acid) with a small amount of baking soda, maintaining the rise without sacrificing color.
According to Healthline’s overview of betalains beet pigments are also potent antioxidants with anti-inflammatory properties, which is a genuinely welcome side effect of replacing Red 40 with a vegetable.
The natural cocoa powder contributes its own anthocyanin reaction on top of the beet color. In an acidic batter, natural cocoa’s pigments shift toward reddish-brown, deepening the overall color of the crumb. Dutch-process cocoa has been alkalinized and cannot produce this reaction, which is why this recipe specifies natural cocoa only.
Together, the beet and the cocoa produce a deep burgundy crumb rather than the electric red of an artificially colored version. That is the authentic color of the original recipe, and it looks considerably more elegant.
Step-by-Step Instructions
Step 1: Make the Beet Puree
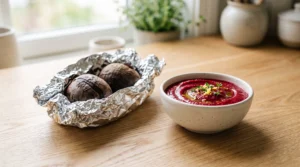
Preheat oven to 400 degrees F. Wrap the scrubbed beets individually in foil and roast for 45 to 55 minutes until completely tender when pierced with a knife. Cool, then slip off the skins under cool running water while wearing kitchen gloves. Blend with the lemon juice until completely smooth. Strain through a fine-mesh sieve. Measure out 1 cup. The puree can be made up to 3 days ahead and refrigerated.
Step 2: Prep Pans
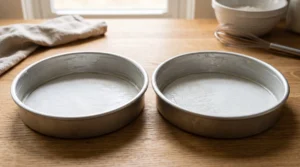
Reduce oven to 350 degrees F. Grease two 9-inch round cake pans, line with parchment rounds, and grease the parchment.
Step 3: Mix Dry Ingredients
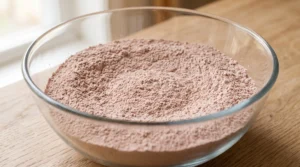
Whisk together the flour, cornstarch, cocoa powder, baking powder, baking soda, and salt. Set aside.
Step 4: Cream Butter and Sugar
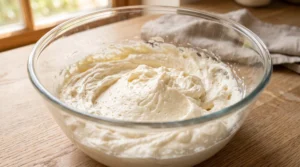
Beat the room temperature butter for 2 minutes until smooth. Add the sugar and beat 3 to 4 minutes until pale and genuinely fluffy. This step builds the air structure that gives the cake its light crumb.
Step 5: Add Wet Ingredients
Add the eggs one at a time, scraping the bowl between each addition. Add vanilla and beet puree. Mix on low until combined. The batter will turn a vivid burgundy at this point.
Step 6: Combine
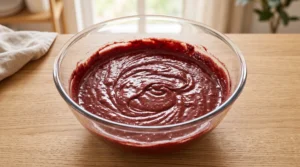
Add the flour mixture in three additions, alternating with the buttermilk in two additions. Mix on low, stopping the moment each addition is incorporated. Stir the vinegar and oil together, then fold into the batter with a spatula. Do not overmix.
Step 7: Bake
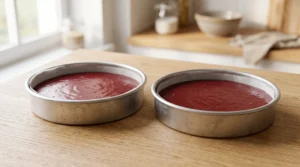
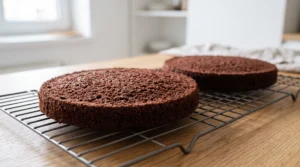
Divide batter between prepared pans. Bake for 28 to 33 minutes until a toothpick comes out with a few moist crumbs. The baked cake will be darker than the raw batter, which is expected. Cool in pans 10 minutes, then turn onto a wire rack to cool completely.
Step 8: Make the Frosting
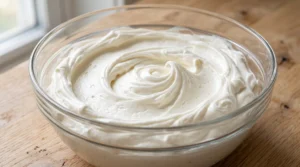
Beat cream cheese and butter until completely smooth, 2 to 3 minutes. Add powdered sugar one cup at a time on low. Add vanilla and salt. Beat on medium 1 to 2 minutes. Refrigerate 20 minutes if too soft before using.
Step 9: Assemble
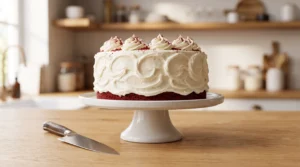
Level layers if needed. Frost one layer, stack the second, apply a crumb coat, refrigerate 20 minutes, then apply the final frosting layer. The deep red crumb against white frosting is the visual payoff.
Variations
Beet Powder Version
Substitute 3 to 4 tablespoons of beet powder for the puree. Reduce buttermilk by 2 tablespoons to compensate. Note that beet powder typically produces less vibrant results than fresh beet puree and the color is slightly less stable in the oven.
Hibiscus Red Velvet Cake
Replace the beet puree with 1 cup of concentrated hibiscus tea syrup. Hibiscus produces a deeper, more pink-red color and adds a floral tartness that pairs beautifully with cream cheese frosting.
Natural Red Velvet Cupcakes
Fill lined muffin tins two-thirds full. Bake at 350 degrees F for 18 to 20 minutes. Makes about 24 cupcakes. Color holds slightly better in cupcakes due to shorter baking time.
Ermine Frosting Version
The historically accurate topping for red velvet cake is ermine frosting (flour buttercream), not cream cheese. Cook 5 tablespoons of flour with 1 cup of milk until thick. Cool completely. Beat with 1 cup softened butter and 1 cup sugar until silky. It is lighter and less tangy than cream cheese frosting and much closer to the original recipe.
Gluten-Free Version
Replace the flour and cornstarch with an equal weight of Bob’s Red Mill 1:1 or King Arthur Measure for Measure. The moisture from beet puree compensates well for gluten-free flour substitutions.
Serving Ideas
The deep burgundy crumb against white frosting is this cake’s visual signature. Very little decoration is needed.
For Valentine’s Day, press fresh raspberries around the top edge of the frosted cake. For Christmas, a dusting of powdered sugar and a few sprigs of fresh rosemary create a festive presentation without any effort. For birthdays, leave the sides lightly frosted in a naked-cake style so the red layers are visible from the outside. Serve slices at room temperature. Cold cream cheese frosting is dense; room temperature frosting is silky and melts correctly.
How to Store
Room temperature: Frosted cake under a cake dome for up to 2 days. Keep away from warm environments.
Refrigerator: Covered tightly for up to 5 days. Remove 30 to 45 minutes before serving.
Freezer: Unfrosted layers wrapped in plastic wrap and foil for up to 2 months. Thaw overnight at room temperature. Do not freeze the assembled frosted cake.
Tips That Make a Difference
- Roast the beets rather than boiling them. Roasting concentrates sugars, deepens color, and reduces water content in the puree.
- Add lemon juice to the beet puree immediately. The acid protects betalain pigments right from the start.
- Natural cocoa powder only. Dutch-process cocoa is alkalinized and will not produce the anthocyanin reaction that deepens the red color.
- Wear kitchen gloves. Beet juice stains skin, cutting boards, and clothing immediately and stubbornly.
- Do not overbake. Color shifts from red toward brown as baking time increases. Pull the cake the moment the toothpick shows a few moist crumbs.
Natural Red Velvet Cake (No Food Dye, No Artificial Color)
Ingredients
Equipment
Method
- Preheat oven to 400 F. Wrap beets in foil, roast 45-55 minutes. Cool, peel, blend with lemon juice. Strain. Measure 1 cup puree.
- Reduce oven to 350 F. Grease pans, line with parchment, grease parchment.
- Whisk flour, cornstarch, cocoa powder, baking powder, baking soda, salt. Set aside.
- Beat butter 2 minutes. Add sugar and beat 3-4 minutes until pale and fluffy.
- Add eggs one at a time. Add vanilla and beet puree. Mix on low.
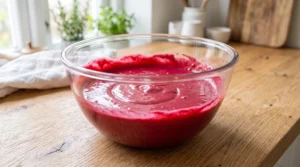
- Add flour mixture in 3 additions, alternating with buttermilk in 2 additions. Mix on low.
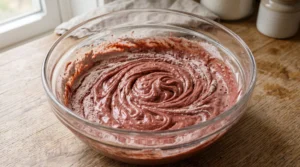
- Stir vinegar and oil together. Fold into batter with spatula. Do not overmix.
- Divide between pans. Bake 28-33 minutes until toothpick shows moist crumbs.
- Cool in pans 10 minutes. Cool completely on wire rack.
- For frosting: beat cream cheese and butter until smooth. Add powdered sugar cup by cup. Add vanilla and salt. Beat on medium 1-2 minutes.
- Level layers. Frost, stack, crumb coat, refrigerate 20 minutes, apply final frosting.
Notes
- Natural (non-Dutch) cocoa only. Dutch-process will not produce the red color.
- Roast beets, do not boil. Roasting concentrates color and reduces water content.
- Add lemon juice to beet puree immediately to protect betalain pigments.
- Wear kitchen gloves. Beet juice stains instantly and permanently.
- Do not overbake. Color shifts brown as baking time increases.
- Refrigerate up to 5 days. Bring to room temperature 30-45 minutes before serving.
Frequently Asked Questions
Will this cake taste like beets?
No. The cocoa, buttermilk, vanilla, and cream cheese frosting completely dominate. People have eaten this without knowing beets were in it and described it as a great red velvet cake. The beet contributes color and moisture, not flavor.
Why did my cake turn brown after baking?
Almost always one of three reasons: Dutch-process cocoa was used instead of natural cocoa, too much baking soda raised the pH and oxidized the betalains, or the cake was slightly overbaked. Natural cocoa only, precise baking soda measurement, and early removal from the oven are the three fixes.
Can I use canned beets?
Fresh beets give the best results. If using canned, choose plain beets in water with no additives, drain thoroughly, and reduce the buttermilk by 1 to 2 tablespoons to account for extra moisture.
What is the difference between this and classic red velvet cake?
The texture, flavor, and frosting are essentially identical. The differences are the color (deep burgundy rather than electric red) and the absence of artificial dye. Some people find the flavor slightly more complex because the beet adds depth that works with the cocoa.
Can I make this a day ahead?
Yes. Bake layers, cool completely, wrap in plastic, refrigerate overnight. Frost the next day. The crumb firms up slightly overnight, making the cake easier to level and frost cleanly.