The Best Strawberry Cake from Scratch (Real Strawberries, No Jell-O)
There is a version of strawberry cake that most of us grew up with. Bright pink, sweet enough to make your teeth ache, built on a box mix and a packet of strawberry gelatin. It was festive. It was cheerful. And the strawberry flavor tasted like the idea of a strawberry rather than an actual one.
This is not that cake.
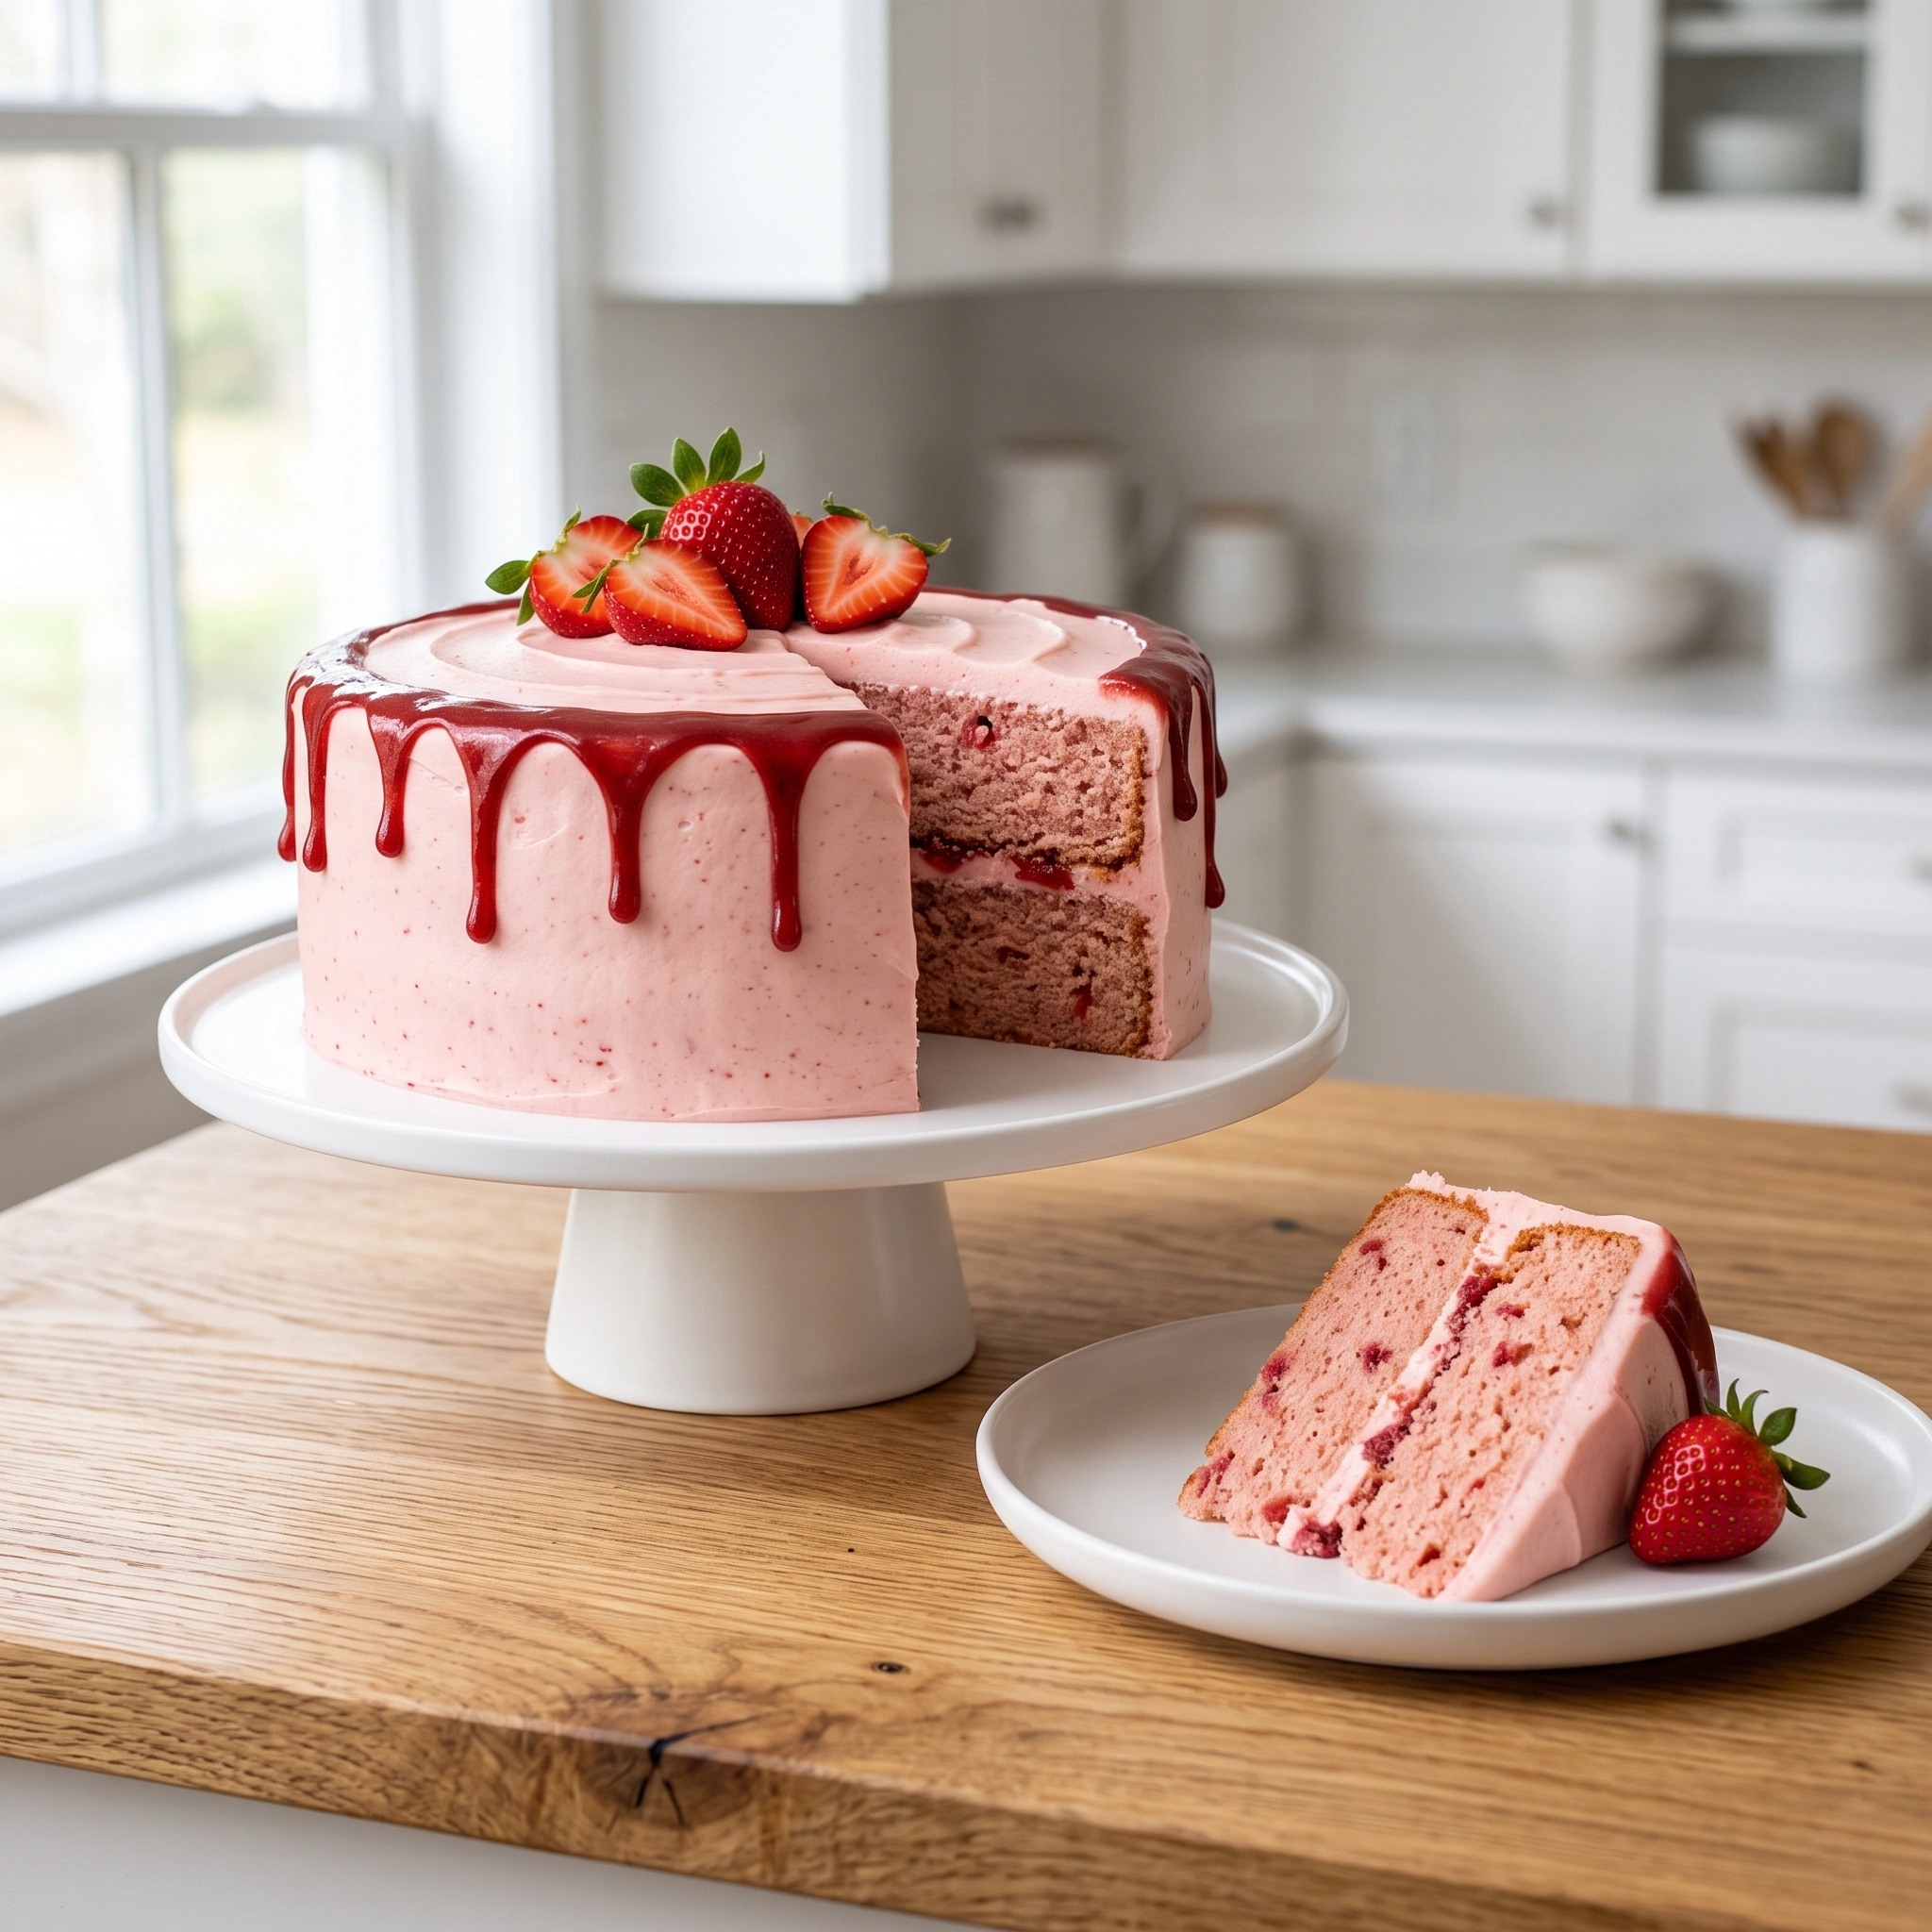
This strawberry cake from scratch is made with a real strawberry reduction, which is fresh or frozen strawberries simmered down into a thick, concentrated syrup that goes into both the batter and the frosting. The result is a naturally pink cake with an unmistakably real strawberry flavor, the kind that tastes like June rather than a candy aisle. No Jell-O. No boxed mix. No artificial anything.
It took me an embarrassingly long time to get this recipe right. The first few attempts were genuinely demoralizing: wet, dense layers that turned brown instead of pink, with barely any strawberry flavor surviving the oven. Understanding why that kept happening changed everything. I will explain it in the science section, but the short version is this: fresh strawberries have to be concentrated before they go into the batter, not added raw. Once I understood that, the recipe fell into place quickly.
A Brief History of Strawberry Cake in America
Strawberry cake has deep roots in Southern American baking, where it became a warm-weather staple long before box mixes existed. Early versions were simple affairs: layers of sponge cake spread with fresh strawberries and whipped cream, a format closer to what we would now call a strawberry shortcake. The layered, frosted version with strawberry flavor baked directly into the crumb is a more modern development, one that became widespread in the mid-twentieth century when strawberry gelatin made it easy to add both flavor and color in a single packet.
The scratch-made version, the kind this recipe represents, is a response to all of that. The gelatin shortcut produces a cake that works, but anyone who has eaten both versions back to back knows the difference immediately. Real strawberry reduction delivers a more complex, less sweet, and unmistakably fresh flavor that no gelatin product has ever convincingly replicated.
Why You’ll Love This Strawberry Cake from Scratch
- Real strawberry flavor throughout. The reduction goes into both the cake layers and the frosting, so every component tastes like actual strawberries, not strawberry candy.
- No Jell-O, no box mix, no shortcuts. Every element is made from scratch with ingredients you already have, plus fresh or frozen strawberries.
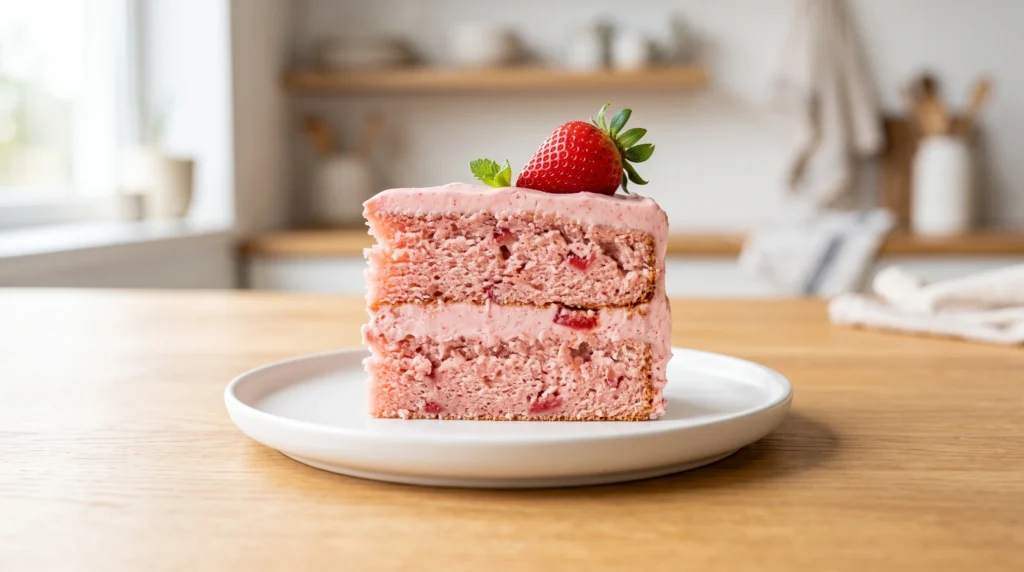
- Beautiful natural pink color. The reduction gives the batter a soft blush pink that deepens with the frosting. Optional gel food coloring can intensify it, but it is genuinely lovely without any.
- Works year-round. Fresh strawberries give the most vibrant flavor, but frozen strawberries work beautifully outside of peak season. The cake does not have to wait for June.
- Crowd-pleaser for any occasion. Spring birthdays, Mother’s Day, Easter, summer parties. This cake photographs beautifully and disappears faster than almost any other.
What You Need
For the Strawberry Reduction
- 2 cups fresh or frozen strawberries, hulled
- 2 tablespoons granulated sugar
- 1 teaspoon fresh lemon juice
For the Cake Layers
- 2 1/2 cups all-purpose flour
- 2 1/2 teaspoons baking powder
- 1/2 teaspoon baking soda
- 1/2 teaspoon salt
- 3/4 cup unsalted butter, room temperature
- 1 3/4 cups granulated sugar
- 4 large egg whites, room temperature (save yolks for another use)
- 1/2 cup strawberry reduction (from above)
- 3/4 cup whole milk, room temperature
- 1/4 cup sour cream, room temperature
- 2 teaspoons vanilla extract
- 1 to 2 drops pink gel food coloring (optional)
For the Strawberry Cream Cheese Frosting
- 12 oz full-fat brick-style cream cheese (Philadelphia), softened
- 3/4 cup unsalted butter, softened
- 5 cups powdered sugar, sifted
- 1/4 cup strawberry reduction (reserved from above)
- 1 teaspoon vanilla extract
- Pinch of salt
Recommended Equipment
- A blender or food processor for the strawberry puree
- A small saucepan for the reduction
- Two 9-inch round cake pans
- A KitchenAid stand mixer or hand mixer
- A fine-mesh sieve for smooth puree
- A digital kitchen scale for accurate flour measurement
- An offset spatula and cake turntable for frosting
- Parchment paper rounds for easy layer release
The Science: Why Fresh Strawberries Cannot Go Directly Into the Batter
This is the question nobody explains properly, and it is the most important thing to understand about this recipe.
Strawberries are approximately 91% water by weight. When you add fresh or chopped raw strawberries directly to cake batter, that water releases into the batter during baking. The result is a wet, gummy, dense crumb. The strawberry pieces sink. The color turns from pink to brown as the red pigments in strawberries (anthocyanins) oxidize and react with the heat and the alkaline environment of baking soda. And most of the fresh strawberry aroma and flavor, which comes from highly volatile compounds, evaporates away before the cake is even done baking.
The reduction solves all three problems at once. By simmering the strawberries down to roughly half their original volume, you remove most of the excess water before it ever reaches the batter. The concentrated syrup that remains has a far more intense strawberry flavor per tablespoon than fresh berries do, because you have essentially cooked away everything that was not flavor. The concentration also stabilizes the anthocyanin pigments somewhat, reducing (though not entirely preventing) the color shift in the oven. This is why a small amount of optional pink gel food coloring in the batter preserves the visual pink rather than letting the baked layers turn beige.
According to the California Strawberry Commission the best strawberries for a reduction are fully ripe berries with deep red color all the way to the stem, since under-ripe berries lack the natural sugar concentration that makes a reduction taste genuinely sweet and flavorful rather than tart and flat.
Step-by-Step Instructions
Step 1: Make the Strawberry Reduction
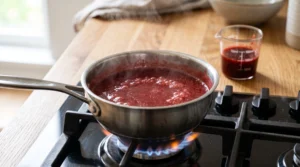
Blend the strawberries until smooth, then strain through a fine-mesh sieve for a seedless puree. Pour the puree into a small saucepan with the sugar and lemon juice. Simmer over medium heat, stirring occasionally, until the mixture reduces by about half and thickens noticeably. This takes roughly 15 to 20 minutes. You should end up with approximately 3/4 cup of reduction. Let it cool completely before using. Measure out 1/2 cup for the batter and 1/4 cup for the frosting.
Step 2: Prep the Pans
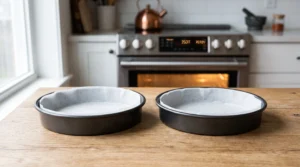
Preheat the oven to 350 degrees F. Grease two 9-inch round cake pans, line with parchment rounds, and grease the parchment.
Step 3: Mix Dry Ingredients
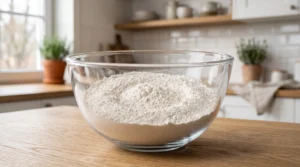
Whisk together the flour, baking powder, baking soda, and salt in a bowl. Set aside.
Step 4: Cream Butter and Sugar
Beat the room temperature butter in a stand mixer on medium-high for 3 minutes until pale and fluffy. Add the sugar and beat for another 2 minutes.
Step 5: Add Egg Whites and Wet Ingredients
Add the egg whites one at a time, beating well after each. Add the vanilla extract. With the mixer on low, add the strawberry reduction, sour cream, and food coloring if using. Mix until combined.
Step 6: Add Dry and Wet Alternately
Add the flour mixture in three additions, alternating with the milk in two additions, beginning and ending with the flour. Mix on low and stop as soon as each addition is incorporated.
Step 7: Bake
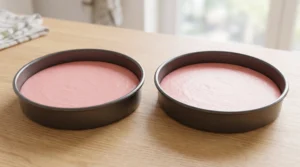
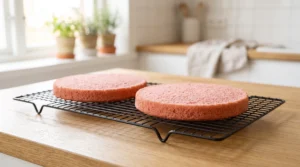
Divide the batter evenly between the prepared pans. Bake for 28 to 32 minutes, until a toothpick comes out clean or with a few moist crumbs. Cool in pans for 10 minutes, then turn onto a wire rack to cool completely.
Step 8: Make the Frosting
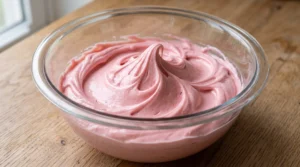
Beat the softened cream cheese and butter together until completely smooth, 2 to 3 minutes. Add the powdered sugar one cup at a time on low speed. Add the cooled strawberry reduction, vanilla, and salt. Beat on medium for 1 to 2 minutes until smooth, thick, and spreadable. If the frosting feels too soft, refrigerate for 20 minutes before using.
Step 9: Assemble
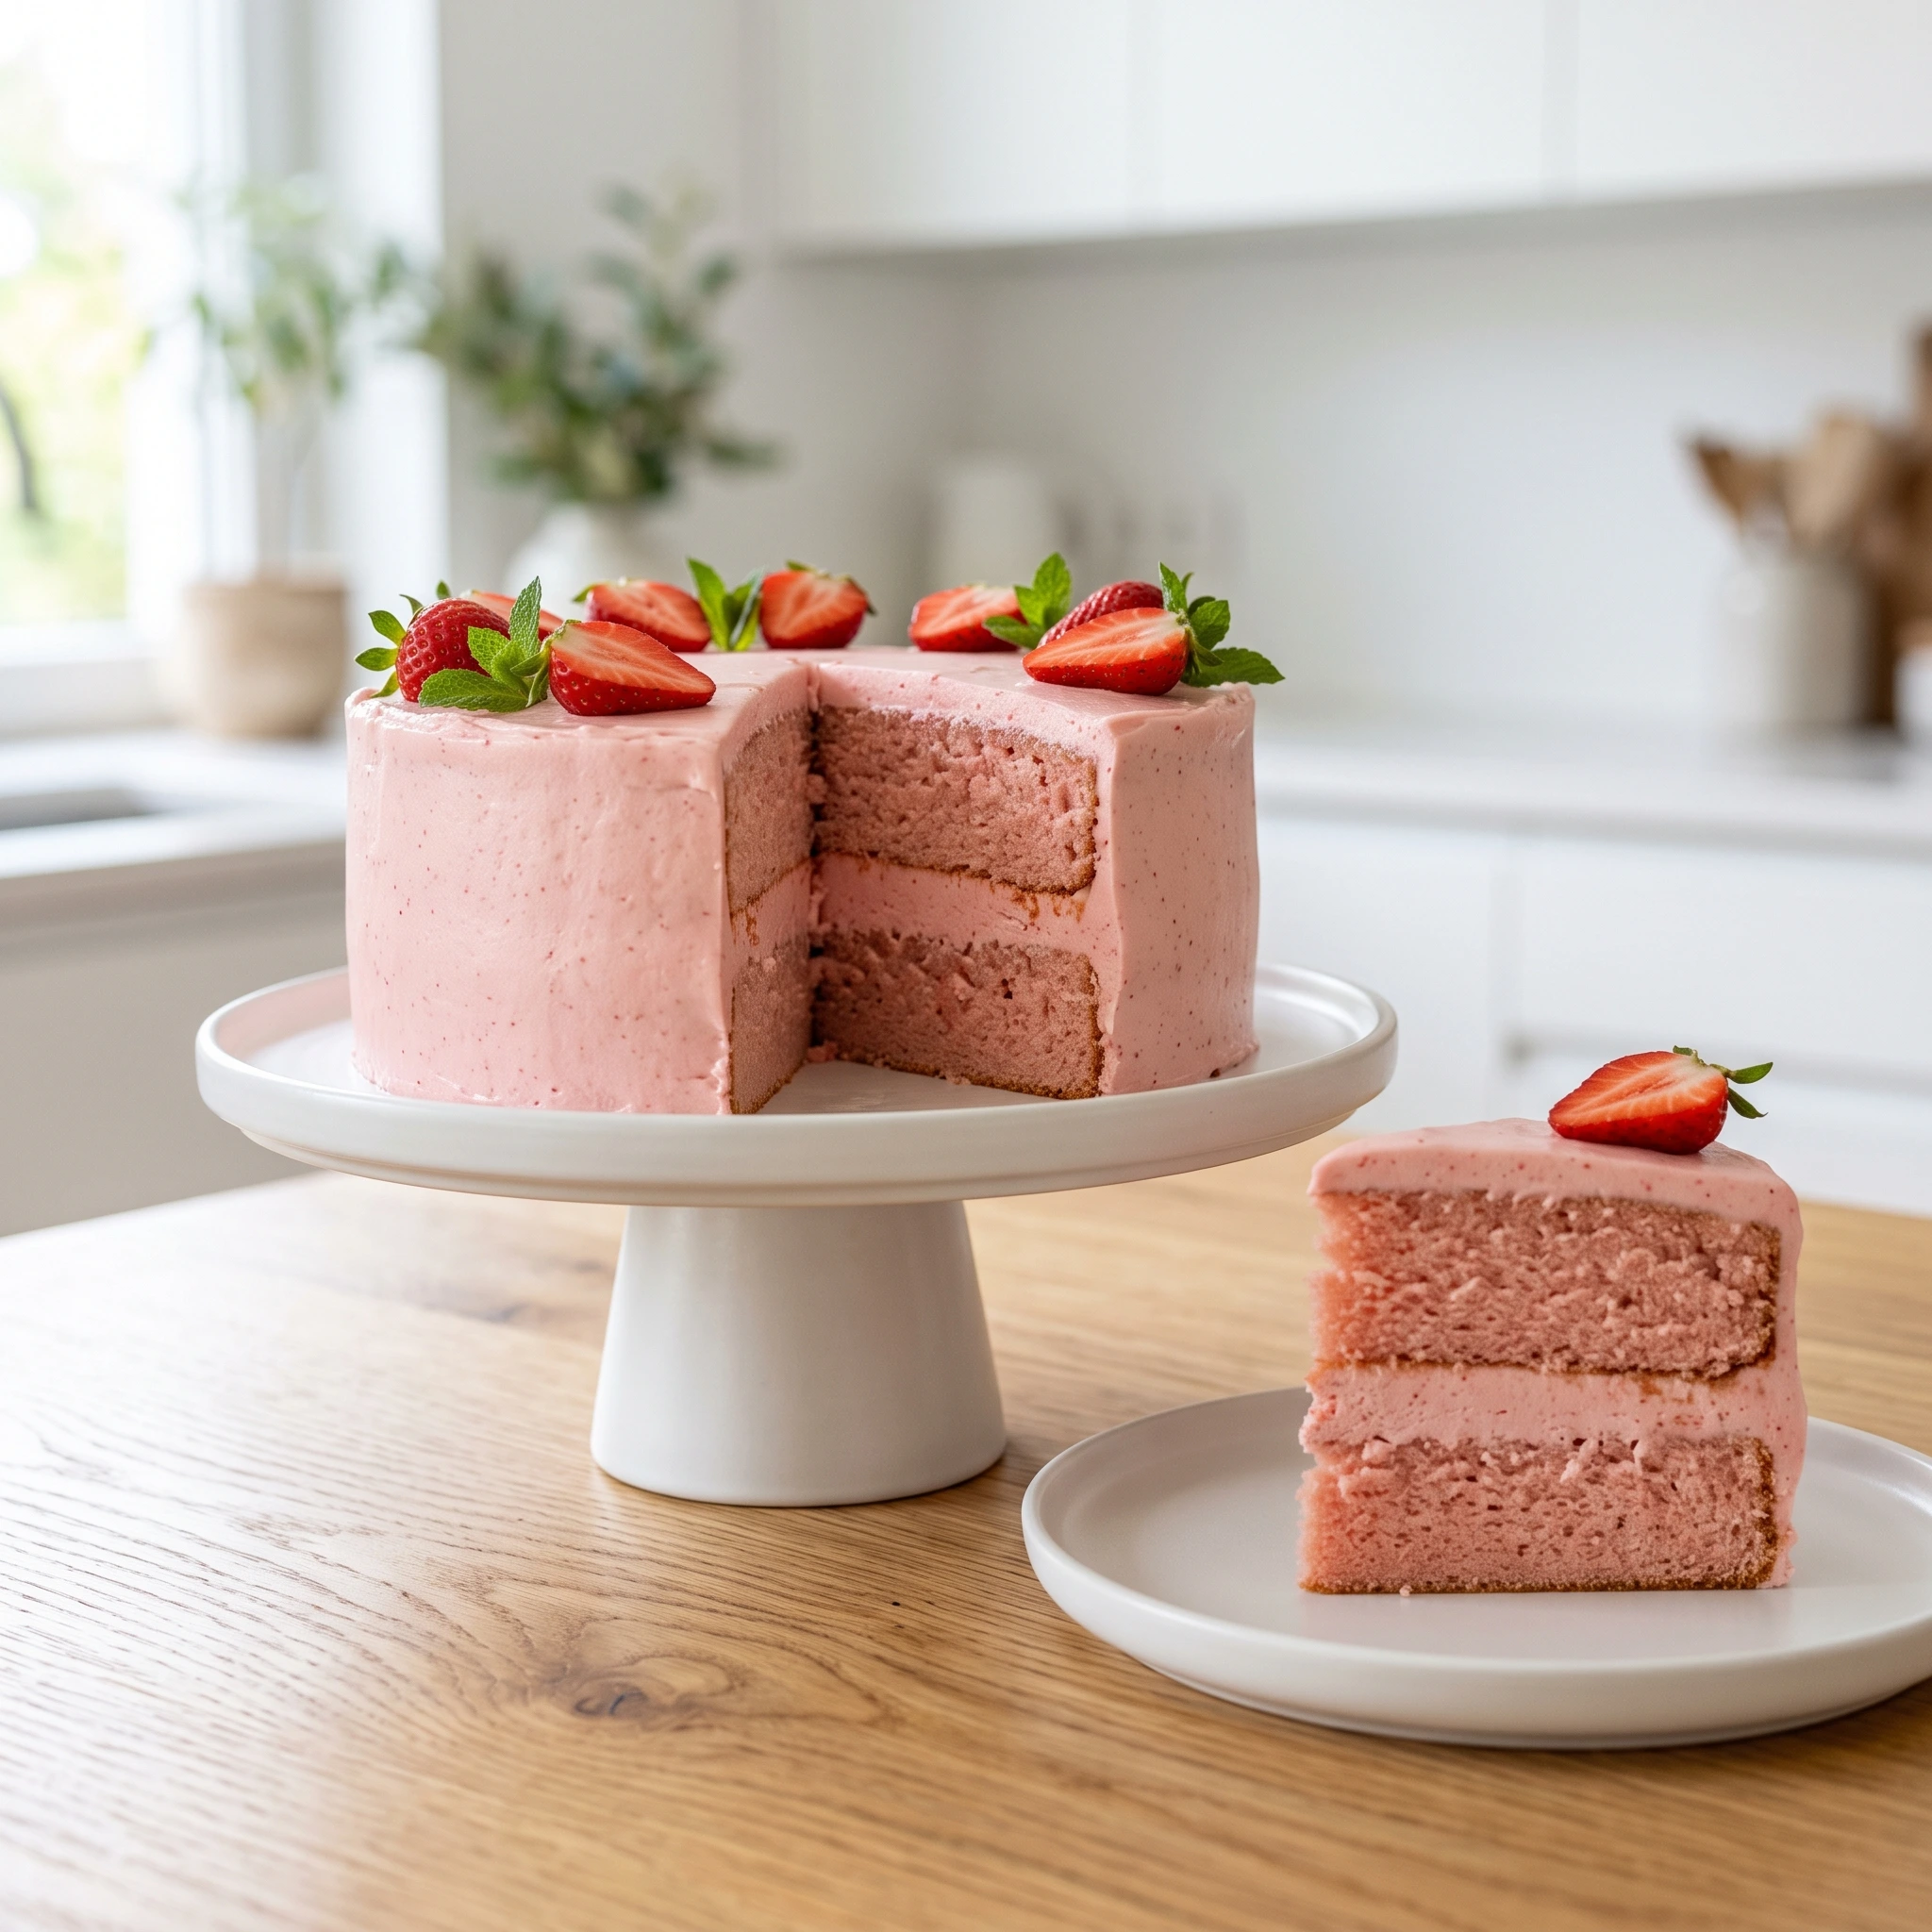
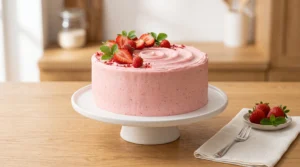
Level the cake layers if needed. Place one layer on a cake board or plate. Spread a generous layer of frosting on top. Add the second layer and apply a thin crumb coat over the outside. Refrigerate 20 minutes. Apply the final frosting layer. Decorate with fresh halved strawberries on top if desired.
Serving Ideas
This strawberry cake is made for spring and summer tables, but it belongs at birthday parties, Mother’s Day celebrations, graduation parties, and Easter dinners just as comfortably.
Serve each slice with a small spoonful of fresh macerated strawberries on the side, simply sliced berries tossed with a teaspoon of sugar and left to sit for 10 minutes until they release their juices. The fresh fruit alongside the baked cake creates a dual-texture experience that makes every bite more interesting. A small scoop of vanilla bean ice cream works beautifully here too. The cold creaminess offsets the sweetness of the frosting in a way that feels intentional rather than accidental.
For a showstopper presentation, arrange whole fresh strawberries point-side up around the top edge of the frosted cake. Simple, dramatic, and instantly recognizable.
Variations
Strawberry Lemon Cake
Add 1 tablespoon of fresh lemon zest to the batter and 1 teaspoon to the frosting. The lemon brightens the strawberry flavor significantly and adds a tartness that balances the sweetness.
Strawberry Vanilla Naked Cake
Apply only a thin crumb coat to the outside of the cake and leave the sides intentionally exposed for a rustic, naked cake look. The pink crumb against the white frosting is visually striking and requires no decoration skill.
Strawberry Cupcakes
Fill lined muffin tins two-thirds full and bake at 350 degrees F for 18 to 20 minutes. Makes approximately 24 cupcakes. Pipe the frosting using a large round or star tip.
Strawberry Sheet Cake
Pour all the batter into a greased 9×13-inch pan and bake for 30 to 35 minutes. Frost directly in the pan. This format is the easiest to transport and serve at large gatherings.
Frozen Strawberry Version (Year-Round)
Use 2 cups of frozen strawberries, thawed, for the reduction. Frozen berries release more liquid than fresh, so the reduction may take 5 to 10 minutes longer to reach the right consistency. The flavor is very close to fresh, making this recipe genuinely viable year-round.
How to Store
Room temperature: Frosted cake keeps under a cake dome for up to 2 days. The cream cheese frosting does not require immediate refrigeration for short periods, but anything longer than a day should go in the fridge.
Refrigerator: Covered tightly for up to 5 days. Remove from the refrigerator 30 to 45 minutes before serving. Cold cream cheese frosting is dense and less pleasant; room temperature frosting is soft, creamy, and melts correctly on the tongue.
Freezer: Unfrosted cake layers wrapped tightly in plastic wrap and foil freeze for up to 2 months. Thaw overnight at room temperature. Do not freeze the frosted assembled cake as cream cheese frosting does not thaw cleanly.
Tips That Actually Make a Difference
- Make the reduction a day ahead and refrigerate it. It takes 20 minutes of active simmering and is much easier to manage when it is already done and cold before you start the batter.
- Strain the puree before reducing it. Seeds in the reduction mean seeds in the cake crumb and frosting, which most people find unpleasant in a layer cake.
- Egg whites only (no yolks) keep the crumb as light, white, and pink-friendly as possible. Yolks add yellow pigment that competes with the strawberry color and results in a murkier hue.
- The gel food coloring is optional but recommended if color matters to you. The baked cake without it is a muted peachy pink. The baked cake with one drop of pink gel is a clear, bright pink. One drop is enough.
- Do not frost a warm cake. The frosting will melt and slide within minutes of being applied. The layers need to be genuinely cold, not just cool.
The Best Strawberry Cake from Scratch (Real Strawberries, No Jell-O)
Ingredients
Equipment
Method
- Blend strawberries until smooth. Strain through a fine-mesh sieve. Simmer puree with sugar and lemon juice over medium heat for 15 to 20 minutes until reduced by half. Cool completely. Reserve 1/2 cup for batter, 1/4 cup for frosting.
- Preheat oven to 350 degrees F. Grease pans, line with parchment, grease parchment.
- Whisk flour, baking powder, baking soda, and salt together in a bowl. Set aside.
- Beat butter on medium-high for 3 minutes until pale. Add sugar and beat 2 more minutes.
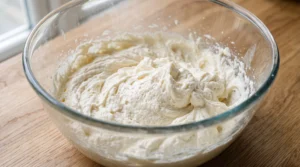
- Add egg whites one at a time, beating after each. Add vanilla extract.
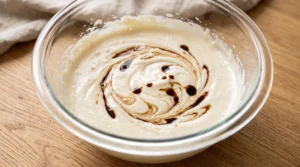
- With mixer on low, add strawberry reduction, sour cream, and optional food coloring.
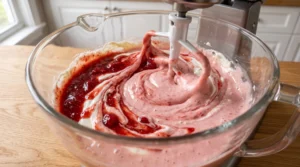
- Add flour mixture in three additions, alternating with milk in two additions. Mix on low until just combined.
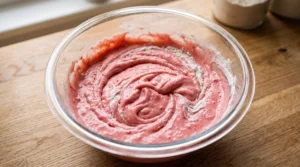
- Divide between prepared pans. Bake 28 to 32 minutes until toothpick comes out clean.
- Cool in pans 10 minutes, turn onto wire rack, cool completely.
- For frosting: beat cream cheese and butter until smooth, 2 to 3 minutes. Add powdered sugar cup by cup on low. Add reduction, vanilla, salt. Beat on medium 1 to 2 minutes until thick.
- Level layers. Assemble with frosting between layers. Apply crumb coat, refrigerate 20 minutes, apply final layer.
Notes
- Make the strawberry reduction a day ahead and refrigerate to save time on bake day.
- Strain puree before reducing for a seedless, smooth result.
- Egg whites only keep the crumb as light and pink-friendly as possible.
- One drop of pink gel food coloring in the batter makes a visible difference in final color.
- Do not frost warm layers. Cool completely first.
- Store refrigerated for up to 5 days. Serve at room temperature.
Frequently Asked Questions
Can I use strawberry jam instead of making a reduction?
Yes. Replace the 1/2 cup of reduction in the batter with 1/3 cup of good-quality strawberry jam. The flavor will be slightly sweeter and less fresh-tasting than a homemade reduction, but it is a practical shortcut. Use a jam with real strawberry pieces rather than a smooth jelly for the best result.
Why do strawberries turn brown in cake?
The red pigments in strawberries are called anthocyanins. These pigments are sensitive to pH changes and heat. In an alkaline baking environment (baking soda creates alkalinity), anthocyanins shift from red toward purple and then brown. Concentrating the strawberries into a reduction before adding them to the batter, and using a small amount of acidic lemon juice in the reduction, helps stabilize the color somewhat. Optional gel food coloring in the batter compensates for any remaining color shift in the oven.
Can I make this cake ahead?
Yes. Bake the layers up to 2 days ahead, wrap tightly in plastic wrap, and refrigerate. Make the frosting up to 1 day ahead and refrigerate separately. Assemble and frost the day before serving for the cleanest presentation. The assembled cake keeps well refrigerated for up to 5 days.
Fresh vs frozen strawberries: which is better?
Fresh in-season strawberries (peak season April through June in the US) will give you the most intense, naturally sweet reduction. Frozen strawberries work very well outside of peak season and are sometimes even better than out-of-season fresh berries, which can be pale and flavorless. For a year-round strawberry cake, frozen is a completely valid choice.
Can I make this gluten-free?
Yes. Substitute the all-purpose flour with a 1-to-1 gluten-free baking blend such as Bob’s Red Mill 1:1 or King Arthur Measure for Measure. The sour cream and reduction keep the crumb moist enough to compensate for the absence of gluten.
Why did my cake layers turn out dense and gummy?
Most likely because the batter was overmixed after the flour was added, the reduction was too thin (not reduced enough) and added too much liquid to the batter, or the eggs were too cold and caused the butter mixture to break. Check all three before troubleshooting anything else.