The Ultimate Vanilla Bean Cake Recipe (Moist, Fluffy, Bakery-Style)
My neighbor brought a vanilla cake to a block party three summers ago. Sliced it right next to mine. Mine looked better. Hers tasted better, and everyone at the table knew it before they finished the first bite.
I asked her what she did differently. She said two things. Real vanilla beans, not extract. And she let the butter beat for twice as long as she thought necessary.
That conversation sent me down a six-month testing spiral that I am not even slightly embarrassed about. The recipe you are reading is what came out of it. It uses vanilla bean paste (more practical than whole pods, same flavor impact), a small amount of dry milk powder most bakers skip entirely, and a mixing method most cake recipes never bother explaining properly.
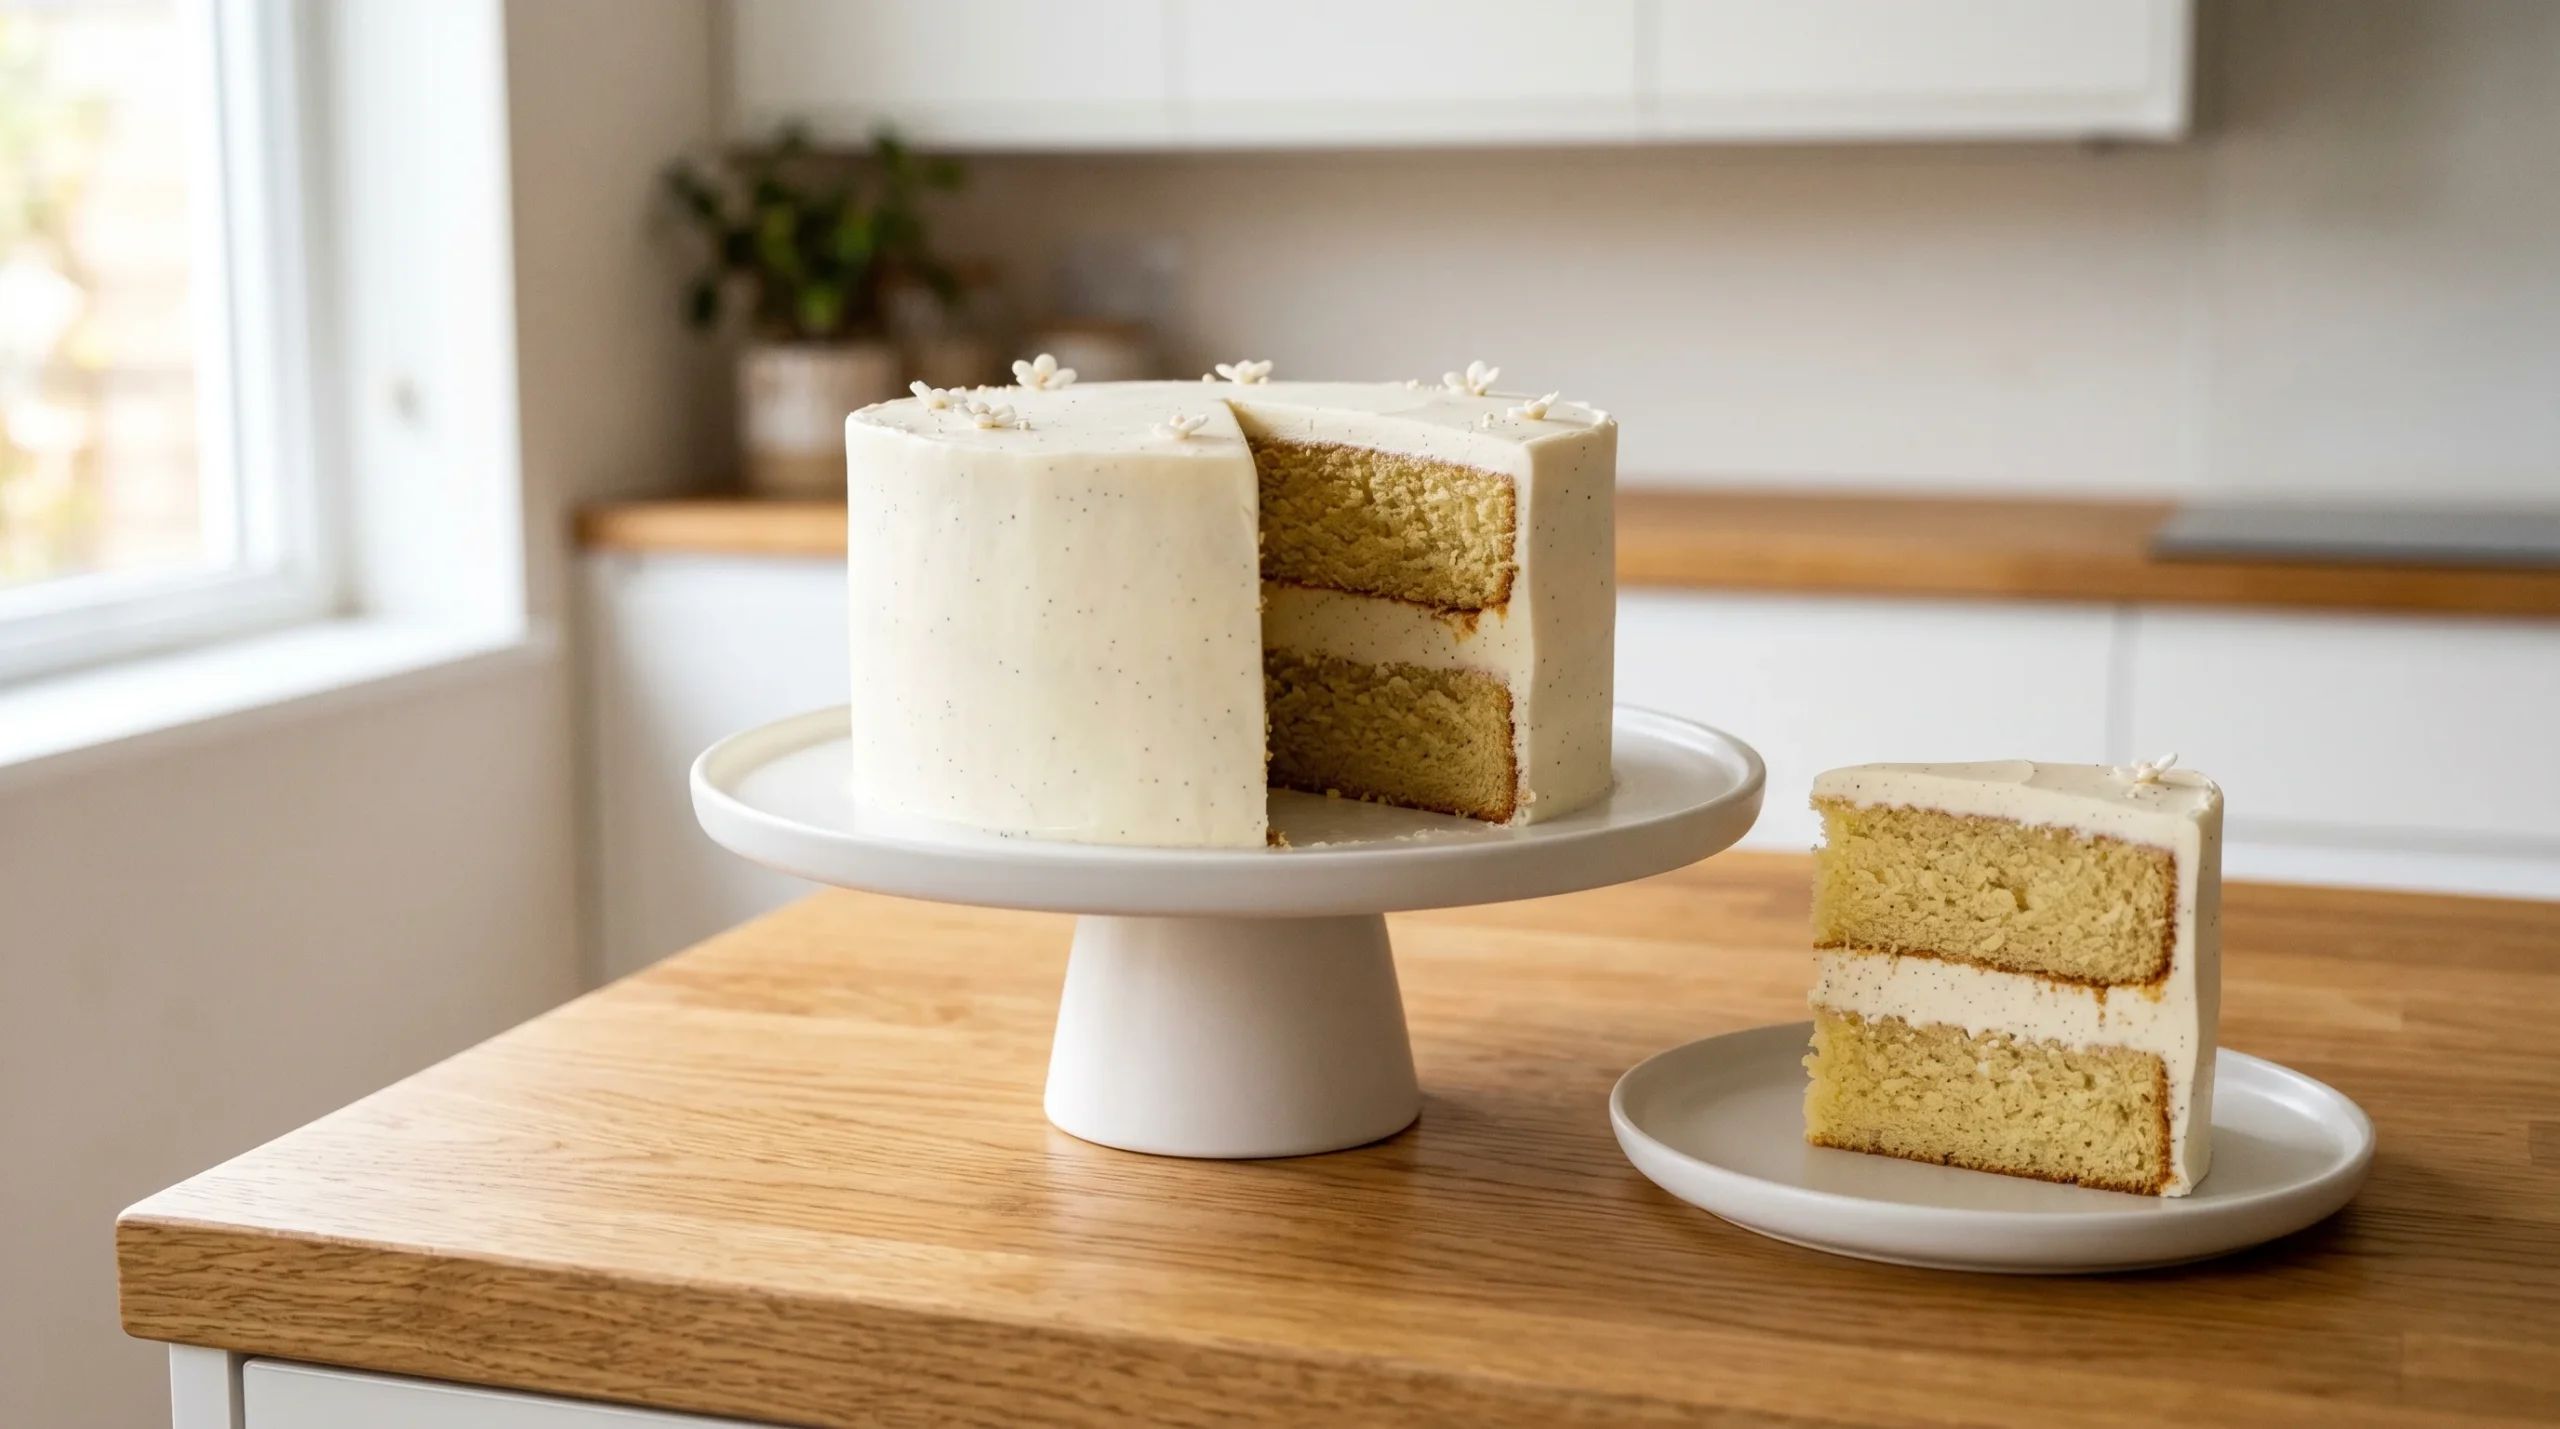
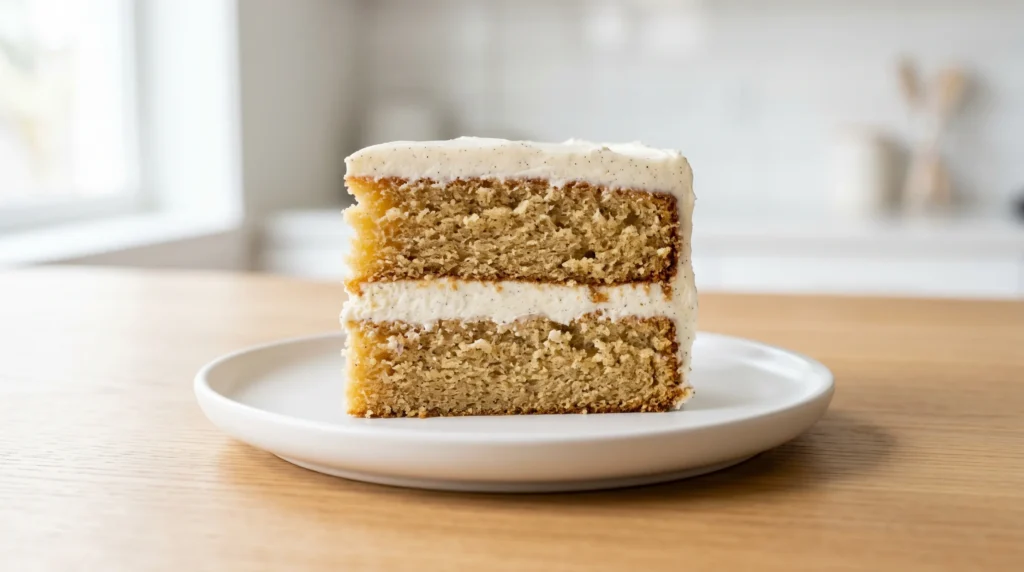
This vanilla bean cake has a tight, plush crumb, a fragrance that fills the kitchen before it even comes out of the oven, and that unmistakable speckling of real vanilla seeds throughout the batter and frosting that signals to everyone eating it that something extra was done here.
Before You Start: Quick Tips That Change Everything
These are the details most recipes bury in the instructions or skip entirely. Read them before you begin.
Room temperature is not optional. Butter, eggs, and buttermilk all need to be genuinely at room temperature, not “left on the counter for ten minutes.” Cold butter will not cream properly. Cold eggs will cause the batter to look curdled and split. Pull everything out a full hour ahead.
Do not measure flour by scooping. Scooping packs flour into the cup and can add up to 25% more than the recipe intends. Spoon flour into the measuring cup and level it with a straight edge. Better yet, use a kitchen scale.
Vanilla bean paste over extract, always. Vanilla extract gives you flavor. Vanilla bean paste gives you flavor plus the visual speckling of real seeds plus a slightly more complex, rounded taste. The same volume of paste replaces extract one-to-one, and the difference in the final cake is immediately noticeable.
Beat the butter longer than you think. Creaming butter and sugar until truly light and fluffy, pale in color and visibly airy, takes 4 to 5 minutes in a stand mixer, not the 2 minutes most recipes suggest. This step determines the final crumb texture more than almost anything else.
Ingredients You Need
For the Cake Layers
- 2 3/4 cups all-purpose flour
- 2 tablespoons dry milk powder (Nielsen-Massey or any brand)
- 1 tablespoon baking powder
- 1/2 teaspoon salt
- 1 cup unsalted butter, room temperature
- 1 3/4 cups granulated sugar
- 4 large eggs, room temperature
- 1 tablespoon vanilla bean paste (Nielsen-Massey recommended)
- 1 cup buttermilk, room temperature
- 1/4 cup vegetable oil
For the Vanilla Bean Buttercream
- 1 1/2 cups unsalted butter, softened
- 5 cups powdered sugar, sifted
- 3 to 4 tablespoons heavy cream
- 1 tablespoon vanilla bean paste
- Pinch of salt
Recommended Equipment
- A KitchenAid stand mixer with paddle attachment
- Two or three 8-inch round cake pans
- A digital kitchen scale for accurate flour measurement
- An offset spatula for frosting
- A cake turntable for clean, even frosting application
- A bench scraper for smooth sides
- Parchment paper rounds for easy layer release
Step-by-Step Instructions
Step 1: Prep Everything
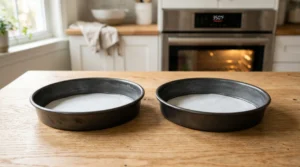
Preheat your oven to 350 degrees F. Grease your cake pans, line with parchment rounds, and grease the parchment. Set aside. Have all your ingredients measured and at room temperature before you touch the mixer.
Step 2: Mix Dry Ingredients
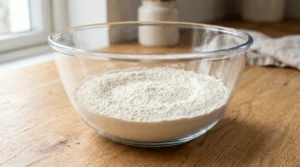
Whisk together the flour, dry milk powder, baking powder, and salt in a medium bowl. Set aside. The milk powder is invisible once baked but adds a subtle richness and helps the cake hold moisture longer.
Step 3: Cream Butter and Sugar
Beat the room temperature butter in your stand mixer on medium speed for 2 minutes until smooth. Add the sugar and beat on medium-high for a full 4 to 5 minutes. You are looking for the mixture to turn pale, almost white, and to look genuinely fluffy and aerated rather than just mixed. This step is where most home bakers cut corners and where the texture difference shows up in the final cake.
Step 4: Add Eggs and Vanilla
Add the eggs one at a time on medium speed, scraping the bowl between each addition. The batter may look slightly curdled after the eggs go in. Keep mixing and it will come back together. Add the vanilla bean paste and mix until combined.
Step 5: Alternate Wet and Dry
Add the flour mixture in three additions, alternating with the buttermilk in two additions, beginning and ending with the flour. Mix on low speed and stop as soon as each addition is incorporated. Overmixing from this point develops gluten and makes the crumb tough. Fold in the vegetable oil at the end with a spatula.
Step 6: Bake
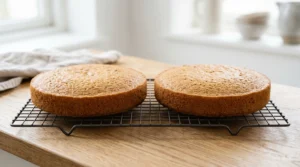
Divide the batter evenly between prepared pans. Bake for 28 to 32 minutes, or until a toothpick inserted in the center comes out clean or with a few moist crumbs. Let cool in pans for 10 minutes, then turn out onto a wire rack to cool completely.
Step 7: Make the Buttercream
Beat the softened butter for 3 to 4 minutes until very pale and fluffy. This is not a step to rush. Add the sifted powdered sugar one cup at a time, mixing on low. Add the heavy cream one tablespoon at a time until you reach a spreadable, smooth consistency. Add the vanilla bean paste and salt. Beat on medium-high for 2 minutes until light.
Step 8: Assemble and Frost
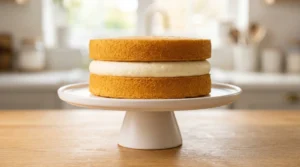
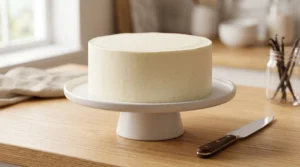
Level the cake layers with a serrated knife if needed. Place one layer on your cake board or stand. Spread an even layer of buttercream on top. Stack and repeat. Apply a thin crumb coat to the outside of the cake and refrigerate for 15 minutes. Apply the final frosting layer.
The 5 Most Common Vanilla Cake Failures (And How This Recipe Avoids Every One)
Flat, dense layers. Caused by under-creaming the butter or using cold ingredients. The 4-to-5-minute butter creaming and the room temperature requirement in this recipe address both.
Dry crumb. Caused by overbaking, too much flour, or using all butter with no oil. The combination of butter and vegetable oil here keeps the cake moist because butter adds flavor while oil, which stays liquid at room temperature, locks in moisture for longer.
No real vanilla flavor. Extract-only vanilla cakes taste generic. Real vanilla bean paste delivers a distinctly rounded, complex flavor that extract alone cannot replicate.
Cake that tastes good fresh but stale by tomorrow. The dry milk powder in this recipe acts as a moisture stabilizer. It is a trick more commonly used in professional bakeries than in home recipes, and it makes a measurable difference in how long the cake stays soft.
Curdled-looking batter. This happens when eggs are too cold and cause the emulsified butter-sugar mixture to break. Room temperature eggs solve this completely.
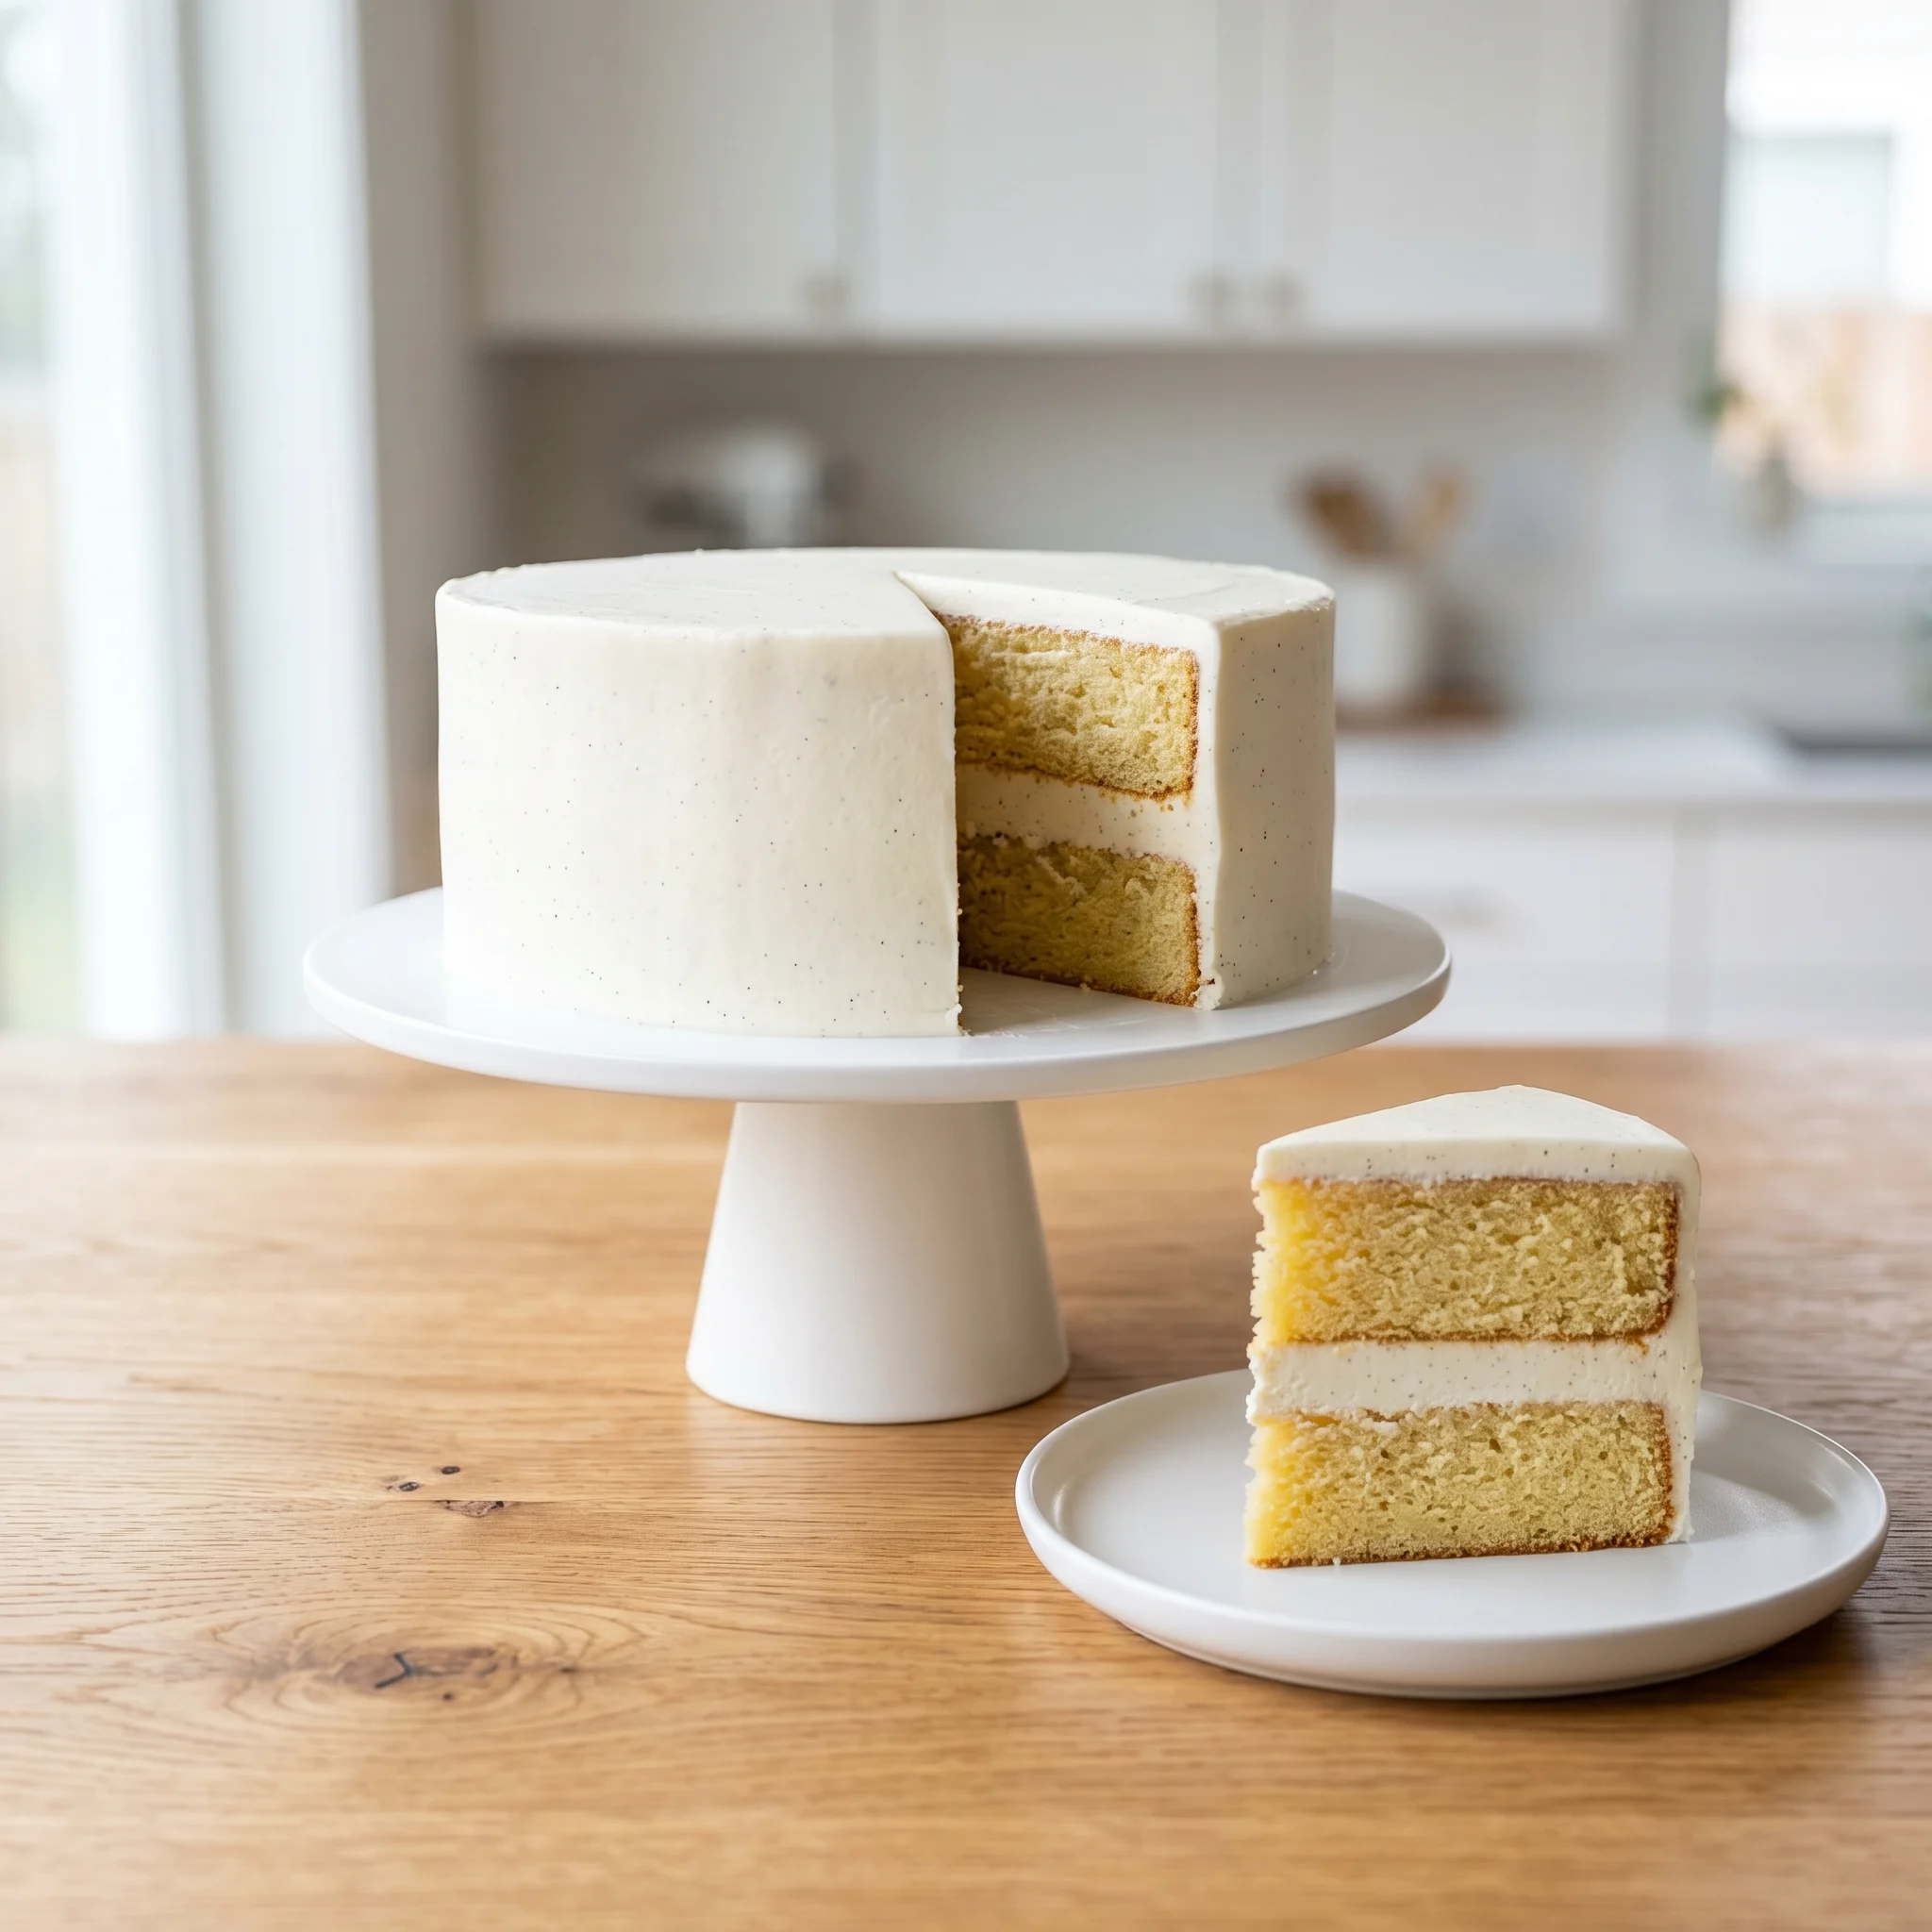
The Ultimate Vanilla Bean Cake (Moist, Fluffy, Bakery-Style)
Ingredients
Equipment
Method
- Preheat oven to 350 degrees F. Grease pans, line with parchment rounds, grease parchment.
- Whisk flour, dry milk powder, baking powder, and salt together in a bowl. Set aside.
- Beat room temperature butter in stand mixer for 2 minutes until smooth.
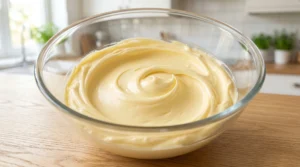
- Add sugar and beat on medium-high for 4 to 5 minutes until pale, fluffy, and aerated.
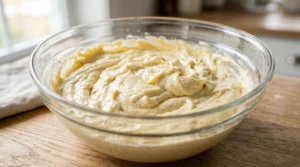
- Add eggs one at a time, scraping the bowl between each addition. Mix in vanilla bean paste.
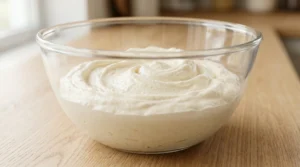
- Add flour mixture in three additions, alternating with buttermilk in two additions, beginning and ending with flour. Mix on low until just incorporated.
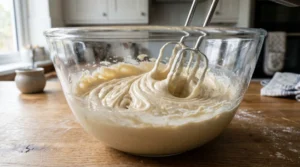
- Fold in vegetable oil with a spatula.
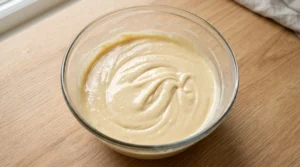
- Divide batter evenly between prepared pans. Bake 28 to 32 minutes until a toothpick comes out clean.
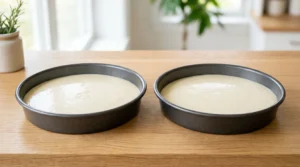
- Cool in pans 10 minutes, then turn onto a wire rack to cool completely.
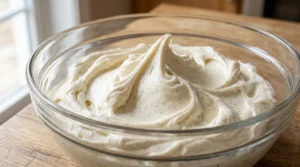
- For buttercream: Beat butter 3 to 4 minutes until pale. Add powdered sugar one cup at a time. Add cream by the tablespoon. Mix in vanilla bean paste and salt. Beat on medium-high 2 minutes.
- Level layers if needed. Assemble with buttercream between layers.
- Apply a thin crumb coat, refrigerate 15 minutes, then apply final frosting layer.
Notes
- All refrigerated ingredients must be at genuine room temperature, not just slightly less cold.
- Do not measure flour by scooping. Use the spoon-and-level method or a kitchen scale.
- Vanilla bean paste replaces extract one-to-one and significantly improves flavor and appearance.
- The 4 to 5 minute creaming time is not optional — this step determines crumb texture.
- Store at room temperature under a cake dome for up to 3 days, or refrigerate up to 5 days.
Frequently Asked Questions
Can I use vanilla extract instead of vanilla bean paste?
Yes, in a one-to-one substitution. The flavor will still be good, but you will lose the vanilla seed speckles and some of the depth and complexity that paste provides. If you want to use a whole vanilla bean pod instead, one pod scraped is roughly equivalent to one tablespoon of paste.
What is the difference between vanilla bean cake and regular vanilla cake?
A standard vanilla cake uses vanilla extract for flavoring. Vanilla bean cake specifically uses vanilla bean seeds from the pod (or vanilla bean paste, which contains those seeds), which delivers a visually distinct speckled appearance and a flavor that is noticeably more complex, rounded, and aromatic than extract alone.
Which type of vanilla bean is best for baking?
For baked goods like this cake, Madagascar Bourbon vanilla (also called Planifolia) is the most widely recommended. It accounts for roughly 75% of the world’s vanilla production and has a rich, creamy, caramel-forward flavor that holds up beautifully in the oven. Tahitian vanilla has a more floral and fruity profile better suited to custards, ice cream, and no-bake desserts. For this cake, Madagascar or a Madagascar-based vanilla bean paste is the right choice.
Can I make this cake ahead of time?
The cake layers can be baked, cooled, wrapped tightly in plastic wrap, and stored at room temperature for up to 2 days or frozen for up to one month. Frost the day of or one day before serving for the best presentation.
Why did my vanilla cake turn yellow instead of staying white?
Yellow color in vanilla cake typically comes from egg yolks, which contain beta-carotene, and from real butter. This vanilla bean cake uses both whole eggs and butter, so a slightly cream or golden hue in the crumb is expected and normal. If a purely white crumb is important to your design, replace the whole eggs with egg whites only and reduce the butter.
Can I bake this as a sheet cake or cupcakes?
Yes to both. For a 9×13-inch sheet cake, bake at 350 degrees F for 30 to 35 minutes. For cupcakes, fill liners two-thirds full and bake for 18 to 20 minutes. The batter is versatile enough to work in any format.
Variations Worth Trying
Vanilla Bean and Raspberry Cake
Spread a thin layer of seedless raspberry jam between the cake layers along with the buttercream. The tart fruit cuts through the richness of the vanilla and makes the whole cake taste brighter.
Vanilla Bean Naked Cake
Apply only a very thin coat of frosting to the outside of the cake, just enough to seal the crumb, and leave the sides largely exposed. The vanilla seed speckles in both the cake and frosting create a visually beautiful presentation without needing any additional decoration.
Vanilla Bean Tres Leches Cake
Poke the baked cake layers with a skewer before assembly, then soak each layer with a mixture of whole milk, sweetened condensed milk, and heavy cream. The vanilla bean flavor carries through the soaking liquid beautifully.
Brown Butter Vanilla Bean Cake
Brown the butter before creaming by cooking it in a saucepan until the milk solids turn golden and it smells nutty. Let it cool and re-solidify before using. This adds a layer of caramel and nuttiness that makes the vanilla flavor feel even more complex.
Gluten-Free Vanilla Bean Cake
Substitute the all-purpose flour with a 1-to-1 gluten-free baking blend such as Bob’s Red Mill or King Arthur Measure for Measure. The oil-and-buttermilk combination in this recipe makes it forgiving of flour substitutions.
Serving Ideas
Vanilla bean cake is the most versatile cake you can make for entertaining because it pairs equally well with fresh fruit, rich fillings, and simple presentations. Serve it plain with a dusting of powdered sugar for an elegant, unfussy look. Add a layer of lemon curd between the cake and buttercream for brightness. Top each slice with macerated fresh strawberries or a small scoop of vanilla bean ice cream for a dessert that feels composed and intentional.
For birthday celebrations, the vanilla seed speckling in the frosting makes this cake look impressive without requiring any decoration skill. For weddings or formal events, the vanilla bean naked cake variation with fresh flowers pressed gently into the sides is a presentation that always gets a reaction.
How to Store
Room temperature: Frosted cake keeps under a cake dome or in an airtight container for up to 3 days. The buttercream seals in moisture and keeps the crumb soft.
Refrigerator: Up to 5 days refrigerated, tightly covered. Remove from the refrigerator at least 30 minutes before serving. Cold buttercream is stiff and dense; room temperature buttercream is the silky, creamy version you want.
Freezer: Unfrosted layers wrapped tightly in plastic wrap and foil freeze for up to 2 months. Frosted slices can also be frozen individually. Thaw overnight in the refrigerator.
The Science of Why This Vanilla Bean Cake Tastes Different
Most home bakers use vanilla extract and assume they are getting the full vanilla experience. They are getting a portion of it.
Vanilla’s flavor comes from several hundred individual chemical compounds, the most significant of which is vanillin. Pure vanilla extract captures vanillin and a handful of other compounds through alcohol extraction, but it misses the physical vanilla bean seeds, which contain not just vanillin but also a complex arrangement of oils and aromatic compounds that do not fully transfer into liquid form.
According to Vanilla Bean Kings Madagascar Bourbon vanilla (Vanilla planifolia) accounts for approximately 75% of world vanilla production and is distinguished by its rich, creamy, caramel-forward character that makes it the standard choice for baked goods. Tahitian vanilla (Vanilla tahitensis), by contrast, is more floral and delicate, better suited to cold or lightly heated applications where its lighter notes won’t be cooked away.
Vanilla bean paste bridges the gap between extract and whole bean. It contains both the alcohol-based extract and the physical seeds from the pod, suspended in a thick syrup, which is why it delivers flavor comparable to a whole scraped bean in a fraction of the time and at a fraction of the cost.
The dry milk powder in this recipe is a separate piece of food science. Milk powder contains lactose and casein proteins that act as moisture-binding agents in the baked crumb, helping the cake retain softness significantly longer than a recipe without it. It is one of the techniques that separates bakery cakes from home cakes, and it costs almost nothing to add.
The reverse creaming method, or extended creaming in this recipe’s case, works by trapping air bubbles inside the fat before any liquid ingredients are added. More air at this stage means more lift, a finer crumb structure, and a more even rise in the oven. The reason most home vanilla cakes feel slightly denser than bakery vanilla cakes comes down, in large part, to this one step being rushed.