Showstopping Black Forest Birthday Cake Recipe (Sturdier Whipped Cream)
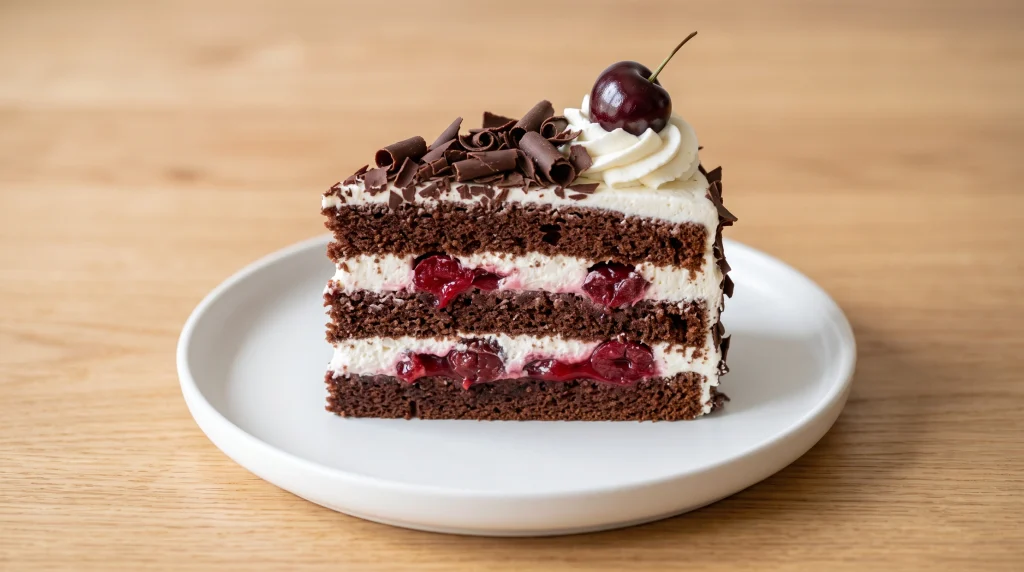
Picture a beautifully piped black forest cake sitting out at a birthday party for a couple of hours before anyone cuts into it. By the time the candles come out, the whipped cream has started sliding, the swirls have gone soft, and what looked bakery-perfect an hour ago now looks like it’s melting. This version fixes that, with rich chocolate layers, a tart cherry filling, and a whipped cream frosting built to hold its shape noticeably longer when kept chilled.
Why You’ll Love This Black Forest Birthday Cake
- Whipped cream that holds its shape longer. Most homemade versions go soft or weep within an hour. This recipe explains exactly why that happens and how to noticeably improve on it.
- Real cherry flavor, not just syrup. A cooked cherry filling, with a splash of kirsch if you like, gives every layer genuine fruit flavor.
- Deeply chocolate cake layers. Cocoa and coffee build a rich base that holds its own against the cherries and cream instead of getting lost underneath them.
- A genuine showstopper. Chocolate shavings and cherries on top make this look like it came from a real bakery.
- Perfect for birthdays and celebrations. Elegant enough for a dinner party, familiar enough that everyone will want a slice.
What You Need
For the Chocolate Cake
- 2 cups (250g) all-purpose flour
- 3/4 cup (65g) cocoa powder
- 2 teaspoons baking soda
- 1/2 teaspoon salt
- 2 cups (400g) granulated sugar
- 1 cup (240ml) buttermilk
- 1/2 cup (120ml) neutral oil
- 3 large eggs, room temperature
- 2 teaspoons vanilla extract
- 1 cup (240ml) hot coffee
For the Cherry Filling
- 3 cups (about 450g) pitted sweet or tart cherries, fresh or frozen and thawed
- 1/3 cup (65g) granulated sugar
- 2 tablespoons cornstarch
- 1 tablespoon lemon juice
- 2 tablespoons kirsch or cherry juice (optional)
For the Stabilized Whipped Cream Frosting
- 1 teaspoon unflavored gelatin
- 1 tablespoon cold water
- 2 cups (480ml) heavy cream, cold
- 1/2 cup (60g) powdered sugar
- 1 teaspoon vanilla extract
- Chocolate shavings and extra cherries, for decorating
A Quick Note on Temperature
Both the cherry filling and the cake layers need to be completely cool before you start frosting. Warm cherry filling and warm cake layers are both direct threats to whipped cream, which is naturally a much less stable structure than a butter-based frosting. This is covered in detail in The One Rule section below, along with the specific step that keeps this whipped cream frosting from collapsing over the course of a party.
Baking Tools I Actually Use
| Amount | Name | Notes |
|---|---|---|
| 3 | 9 inch round cake pans | For the classic layer cake height |
| 1 | KitchenAid stand mixer or hand mixer | For the batter and whipped cream |
| 1 | Digital kitchen scale | For accurate flour measurement |
| 1 | Offset spatula | For smooth frosting application |
| 1 | Cake turntable | For even, professional frosting |
| 1 | Piping bag and tip | For decorative cream swirls |
The One Rule: Cool Everything, Then Stabilize the Cream
This is the single most avoidable mistake in every homemade black forest birthday cake, and it comes down to a fact about whipped cream that most recipes never explain.
Whipped cream and buttercream are not the same kind of structure. According to Sugar Geek Show’s breakdown of stabilized whipped cream plain whipped cream is an unstable foam, the fat droplets in heavy cream trap air when whipped, but there’s nothing holding that structure together over time the way solid butter does in a traditional frosting. Heat, humidity, and gravity gradually pull liquid out of that foam, a process bakers call weeping, which is exactly why a beautifully piped whipped cream cake can look flat and wet just a couple of hours later.
The fix has two parts, and both matter. First, let the cherry filling and cake layers cool completely before assembling, so there’s no extra heat working against the frosting from the start. Second, according to Live Well Bake Often’s guidance on stabilizing whipped cream adding a small amount of bloomed gelatin to whipped cream helps it hold its shape and stay fluffy for noticeably longer than plain, unstabilized whipped cream, which can start weeping within just a few hours. This recipe uses a light gelatin ratio, enough to meaningfully improve on plain whipped cream, though it still performs best kept chilled rather than left out at room temperature for long stretches.
Step by Step Instructions
Step 1: Bake the Chocolate Cake Preheat the oven to 350 degrees F. Grease and flour three cake pans and line the bottoms with parchment. Whisk the flour, cocoa powder, baking soda, and salt together. In a separate bowl, whisk the sugar, buttermilk, oil, eggs, and vanilla until smooth. Combine the wet and dry ingredients, then stir in the hot coffee last. Divide the batter among the pans and bake for 28 to 32 minutes, until a toothpick comes out clean. Cool completely.
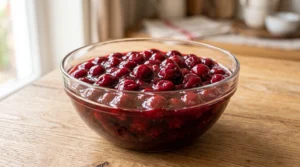
Step 2: Make the Cherry Filling In a saucepan over medium heat, combine the cherries, sugar, cornstarch, and lemon juice. Cook, stirring often, for 8 to 10 minutes, until thickened. Stir in the kirsch or cherry juice if using. Let cool completely to room temperature.
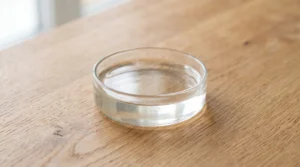
Step 3: Bloom the Gelatin Sprinkle the gelatin over the cold water in a small bowl and let it sit for 5 minutes to bloom. Microwave in short bursts of a few seconds at a time, stirring between each, until it’s fully dissolved with no visible granules. Let it cool until warm, not hot, before using, since gelatin that’s still too hot can seize the cream, while gelatin that hasn’t fully dissolved can leave strings or clumps behind.
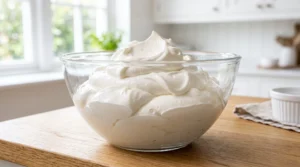
Step 4: Whip the Cream In a chilled bowl, beat the heavy cream, powdered sugar, and vanilla on medium speed until soft peaks form.
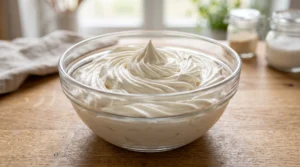
Step 5: Add the Gelatin With the mixer on low, slowly drizzle in the slightly cooled gelatin while continuing to beat. Increase speed and whip until stiff peaks form.
Step 6: Assemble the Cake Place one cooled cake layer on a serving plate. Pipe a ring of whipped cream around the edge, then spread a third of the cherry filling inside the ring. Repeat with the second layer, then top with the third.
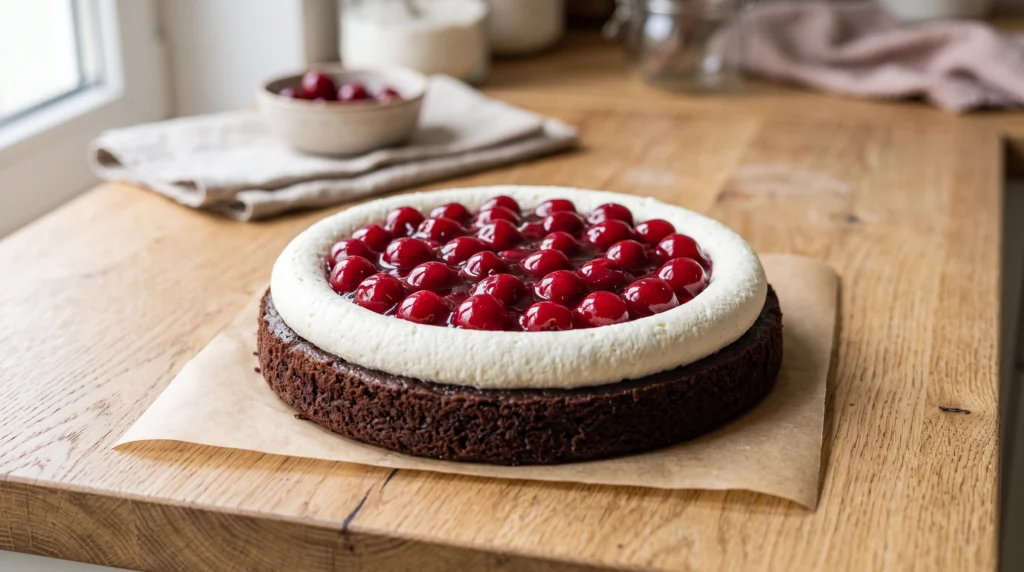
Step 7: Frost and Decorate Frost the entire cake with the remaining stabilized whipped cream. Decorate with chocolate shavings and extra cherries.
Step 8: Chill Before Serving Refrigerate for at least 1 hour to let everything set before slicing.
Common Mistakes to Avoid
Even with the cream properly stabilized, a few small missteps can still leave this black forest birthday cake looking less than perfect, so here’s exactly what to watch for.
- Assembling with warm cherry filling or warm cake layers. Both accelerate how quickly the whipped cream breaks down.
- Skipping the gelatin. Plain whipped cream can look great for the first hour, then weep or collapse well before the party is over.
- Overheating the gelatin. If it gets too hot before being added to the cream, it can cause the fat to seize or clump instead of blending smoothly.
- Overmixing after adding the flour to the batter. This develops gluten and turns a light cake into a tough one.
- Using canned cherry pie filling straight from the can. It’s often thinner and sweeter than a from-scratch filling, and can make the layers slide.
Variations
This black forest birthday cake recipe adapts easily depending on your occasion or what’s in season.
Black Forest Cupcakes Divide the batter into lined muffin tins and bake for 20 to 22 minutes. Core the centers and fill with cherry filling, then top with stabilized whipped cream. Makes about 24 cupcakes.
Alcohol Free Black Forest Cake Simply omit the kirsch from the cherry filling. The cooked cherries still carry plenty of flavor on their own.
Black Forest Sheet Cake Pour the batter into a greased 9×13 inch pan and bake for 35 to 40 minutes. Spread the filling on top and frost directly in the pan.
Chocolate Ganache Black Forest Cake Add a thin chocolate ganache drip over the frosted cake before decorating with cherries and shavings for a more dramatic finish.
Black Forest Trifle Cube the baked, cooled cake layers and layer them in a trifle dish or individual glasses with the cherry filling and stabilized whipped cream for an easy, no-fuss presentation that skips the frosting and decorating entirely.
Serving Ideas
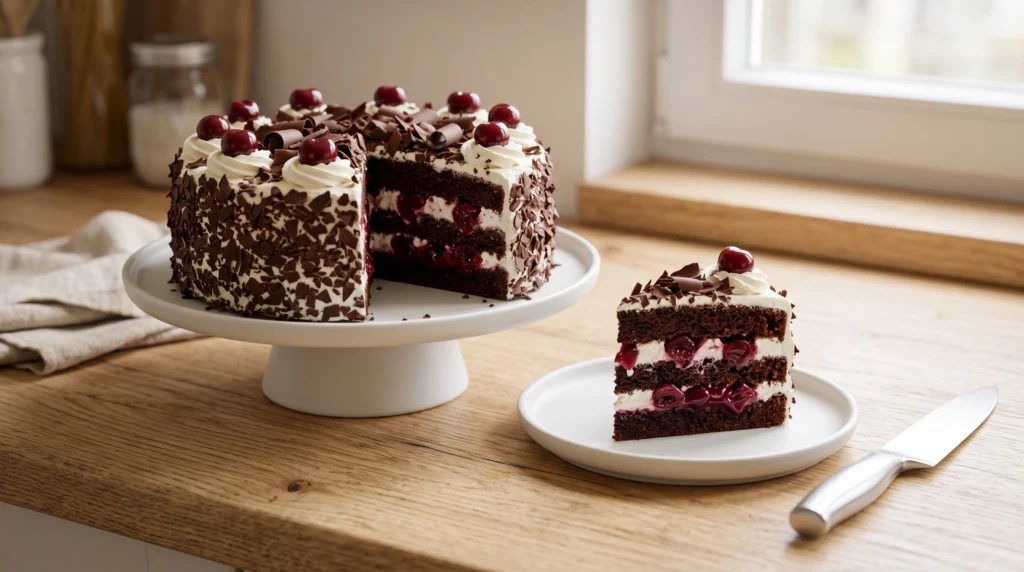
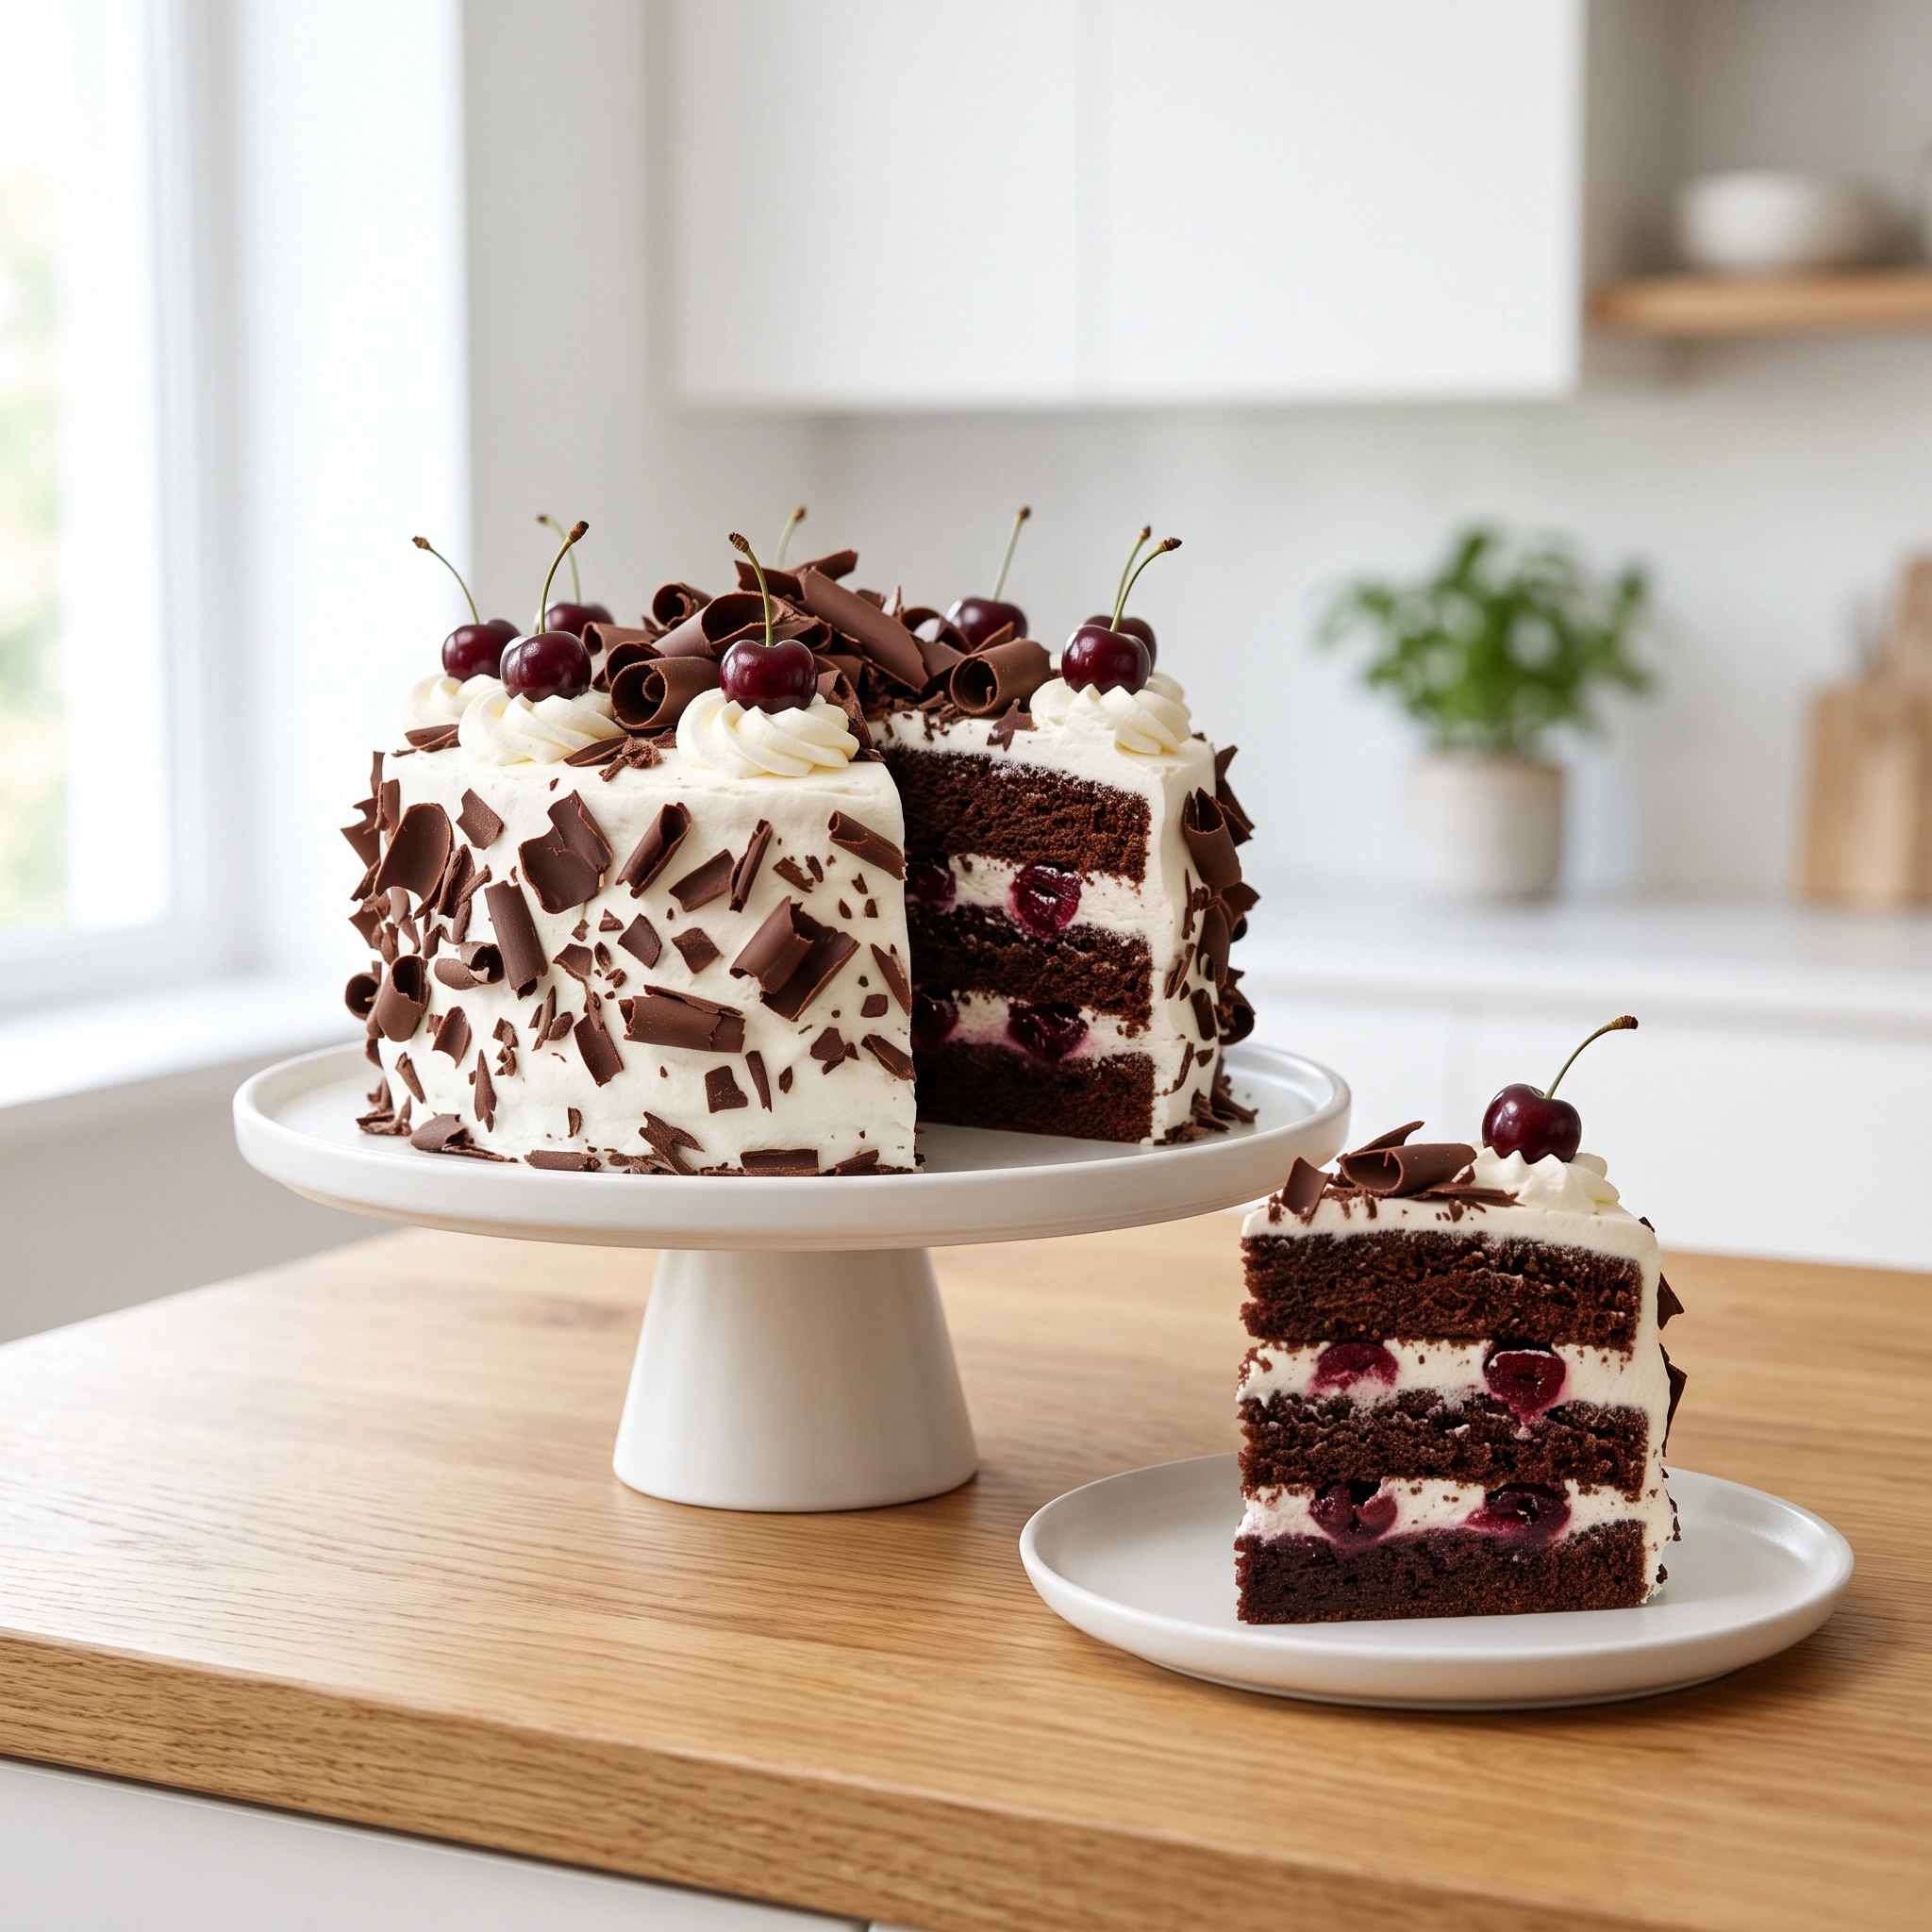
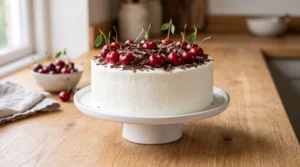
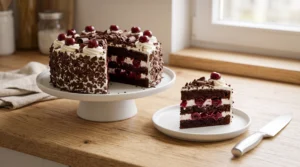
Chocolate shavings and a few whole cherries arranged on top give this black forest birthday cake the classic, recognizable look it’s known for, and the stabilized frosting means it will still look that way hours later. Serve chilled, straight from the fridge, for the cleanest slices and the most stable frosting.
This black forest birthday cake works beautifully as an actual birthday centerpiece, since it can be fully assembled the morning of the party and kept refrigerated until serving. Bring it out closer to when the candles get lit, since even stabilized whipped cream looks and holds its best when it hasn’t been sitting at room temperature for too long.
How to Store Black Forest Birthday Cake
Room temperature: Not recommended for more than an hour or two, even with stabilized cream. Refrigeration is the better default.
Refrigerator: Store covered for up to 3 days. The gelatin-stabilized frosting holds its shape well over this window, unlike a plain whipped cream version.
Freezer: The baked, unfilled cake layers freeze well for up to 3 months, wrapped tightly. Assemble the filling and frosting fresh after thawing rather than freezing the finished cake.
Showstopping Black Forest Birthday Cake Recipe (Sturdier Whipped Cream)
Ingredients
Equipment
Method
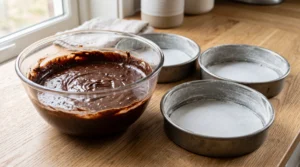
- Preheat oven to 350 degrees F. Grease and flour three cake pans and line the bottoms with parchment. Whisk the dry ingredients, whisk the wet ingredients separately, combine, then stir in the hot coffee last. Divide among the pans and bake for 28 to 32 minutes. Cool completely.
- Cook the cherries, sugar, cornstarch, and lemon juice in a saucepan over medium heat for 8 to 10 minutes until thickened. Stir in kirsch if using. Cool completely.
- Sprinkle the gelatin over the cold water and let bloom for 5 minutes. Microwave briefly until melted, then cool slightly.
- Whip the cold heavy cream, powdered sugar, and vanilla to soft peaks.
- Slowly drizzle in the slightly cooled gelatin while beating, then whip to stiff peaks.
- Pipe a ring of whipped cream around the edge of the first cake layer, spread cherry filling inside the ring, and repeat with the second layer before topping with the third.
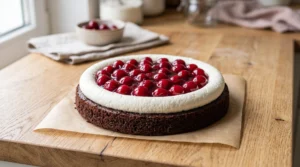
- Frost the entire cake with the remaining whipped cream and decorate with chocolate shavings and extra cherries.
- Refrigerate for at least 1 hour before slicing and serving.
Notes
- Make sure both the cherry filling and cake layers are completely cool before assembling.
- Stabilize the whipped cream with gelatin for a frosting that holds its shape for hours instead of collapsing.
- Add the gelatin while it’s warm, not hot, to avoid seizing.
- Store refrigerated up to 3 days.
Frequently Asked Questions
Why did my black forest cake frosting melt or go flat? This usually comes from assembling the cake with warm cherry filling or warm cake layers, or from using plain, unstabilized whipped cream, which naturally weeps and loses its shape within a few hours.
Do I have to use gelatin to stabilize the whipped cream? No, but it’s the most reliable method for a cake that needs to hold up for several hours. Cream cheese or instant pudding mix can work as alternatives, though the texture will be slightly different.
Can I make this cake without alcohol? Yes. The kirsch is optional, and the cooked cherry filling has plenty of flavor without it.
Can I use canned cherries instead of fresh or frozen? Yes, drained canned cherries work, though the filling may need a bit more cornstarch to thicken properly since canned cherries release more liquid.
Can I make this cake ahead of time? Yes. Bake the layers and make the cherry filling up to 2 days ahead, then assemble with the stabilized whipped cream the day you plan to serve it for the best texture.
What’s the difference between black forest cake and a regular chocolate cherry cake? This recipe is a Black Forest-inspired birthday cake built around whipped cream frosting and an optional splash of kirsch, rather than a strict, traditional Schwarzwälder Kirschtorte. A generic chocolate cherry cake might use buttercream instead and skip the cherry brandy entirely, while this version keeps the whipped cream and cherry combination that makes Black Forest cake recognizable.
Can I use a chocolate buttercream instead of whipped cream? Yes, though it changes the character of the cake significantly, since the light, airy whipped cream is part of what makes a black forest cake distinct from a standard chocolate layer cake.
How far ahead can I make the stabilized whipped cream? It’s best made fresh the day you assemble the cake, since even stabilized whipped cream is easiest to work with right after whipping.
The Story Behind Black Forest Cake
Black Forest cake, known in German as Schwarzwälder Kirschtorte, takes its name from the Black Forest region of southwestern Germany, though the cake’s exact inventor and origin story remain genuinely disputed among food historians. What is well documented is the connection to kirschwasser, a clear cherry brandy traditionally produced in that region, which gave the cake both its name and its signature flavor long before it became a global classic.
The cake spread well beyond Germany over the 20th century, becoming one of the most recognizable chocolate and cherry desserts in the world, adapted by bakers everywhere with or without the alcohol. This homemade black forest birthday cake keeps that same recognizable combination of chocolate, cherries, and whipped cream, built specifically so the frosting survives long enough to actually enjoy the cake it’s covering.