Perfectly Moist Classic Vanilla Cake Recipe
Two people can follow the exact same vanilla cake recipe, measure everything by weight, and still end up with two different results, one soft and tender, the other dry and a little tough. The ingredients were identical. The instructions were followed to the letter. The difference almost always comes down to something neither baker thought to check. This classic vanilla cake walks through the usual fixes, and one that rarely gets mentioned at all.
Why You’ll Love This Classic Vanilla Cake
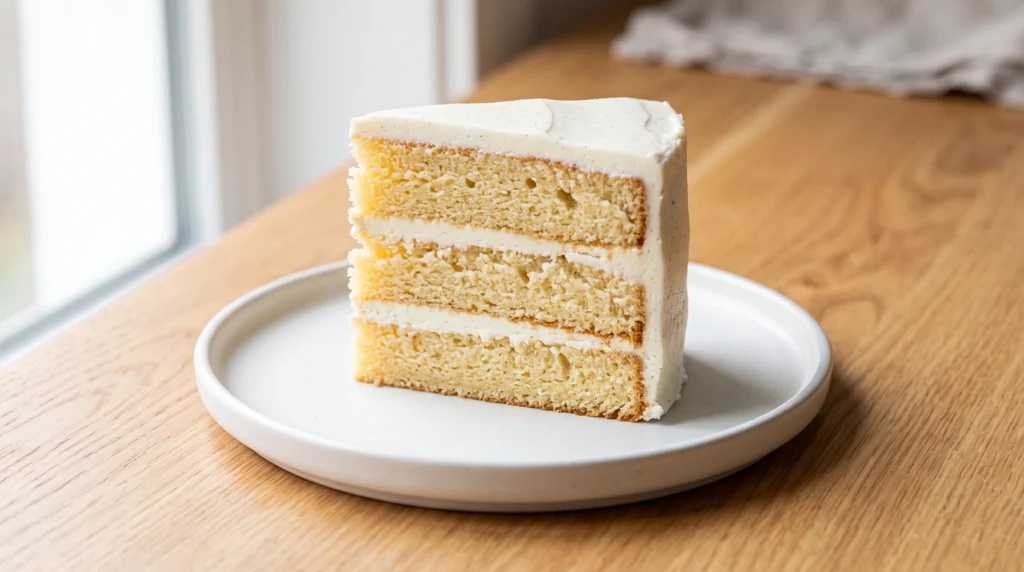
- Addresses a variable most tips skip. Most vanilla cake advice stops at flour measuring and mixing technique. This recipe covers a factor those tips can’t fix on their own.
- Real vanilla flavor, not just sweetness. A generous amount of good vanilla extract keeps this cake tasting like an actual vanilla cake, not a blank sugar canvas.
- Both butter and oil. Butter for flavor, oil for moisture, so you get the best of what each one does instead of compromising on one or the other.
- Works in multiple formats. This same batter also bakes well as cupcakes or a sheet cake, covered in the variations below.
- A true blank canvas. Pairs with almost any frosting, from classic vanilla buttercream to chocolate, berry, or caramel.
What You Need
For the Cake
- 2 3/4 cups (345g) cake flour
- 1 tablespoon baking powder
- 1/2 teaspoon salt
- 1/2 cup (113g) unsalted butter, softened
- 1/2 cup (120ml) neutral oil
- 1 3/4 cups (350g) granulated sugar
- 4 large eggs, room temperature
- 1 cup (240ml) buttermilk, room temperature
- 1 tablespoon vanilla extract
For the Vanilla Buttercream
- 1 1/2 cups (340g) unsalted butter, softened
- 5 cups (600g) powdered sugar, sifted
- 1/4 cup (60ml) heavy cream
- 2 teaspoons vanilla extract
- Pinch of salt
A Quick Note on Butter and Oil
Using only butter tends to make this cake denser, since butter is only about 80 percent fat and firms up again once it cools. Using only oil keeps the crumb moist but leaves out the rounded, buttery flavor butter provides. This recipe uses both, so you get real butter flavor along with the softer, longer-lasting moisture that oil contributes.
Baking Tools I Actually Use
| Amount | Name | Notes |
|---|---|---|
| 3 | 9 inch round cake pans | For the classic layer cake height |
| 1 | KitchenAid stand mixer or hand mixer | For creaming and frosting |
| 1 | Oven thermometer | An inexpensive way to check what your oven is actually doing |
| 1 | Digital kitchen scale | For accurate flour measurement |
| 1 | Offset spatula | For smooth frosting application |
| 1 | Cake turntable | For even, professional frosting |
The Oven Check That Can Save a Vanilla Cake
This variable gets overlooked in almost every homemade classic vanilla cake, mostly because it has nothing to do with the recipe itself.
Most advice about dry or dense cake focuses on measuring flour correctly, not overmixing, and not overbaking, and all of that advice is genuinely useful. What it doesn’t address is that your oven’s dial and its actual internal temperature aren’t always the same thing. Home ovens can vary more than their temperature dials suggest, and that gap tends to widen as an oven ages, even if the dial itself hasn’t changed. Two identical vanilla cake recipes, baked in two different ovens both set to 350 degrees, aren’t necessarily baking at the same actual temperature.
To be fair about how much this matters, America’s Test Kitchen’s own testing found that a modest deviation of around 25 degrees usually doesn’t make a noticeable difference in most cakes, and the cook time and result stay close to what the recipe describes. It’s the larger deviations, sometimes reported by sources like ThermoWorks and Mashed to run well beyond that range in some home ovens, that start to affect rise and doneness in a way that’s easy to blame on technique instead.
Step by Step Instructions
Step 1: Check Your Oven and Prep the Pans Preheat the oven to 350 degrees F, verifying with an oven thermometer if you have one. Grease and flour three cake pans, then line the bottoms with parchment paper rounds.
Step 2: Mix Dry Ingredients Whisk the cake flour, baking powder, and salt together in a medium bowl.
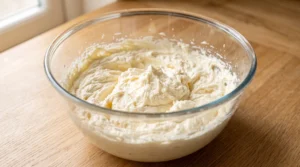
Step 3: Cream Butter, Oil, and Sugar In a stand mixer, beat the butter, oil, and sugar together on medium speed until the mixture looks noticeably lighter in color and fluffy, about 3 minutes. Butter and oil behave differently than butter alone, so rely on how the mixture looks rather than the clock if it needs a bit more time.
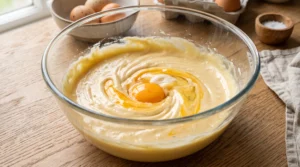
Step 4: Add Eggs Add the eggs one at a time, mixing until just combined after each.
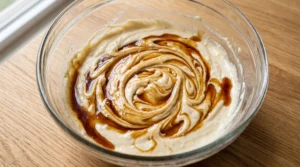
Step 5: Add Vanilla Mix in the vanilla extract.
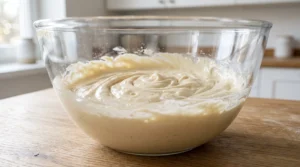
Step 6: Alternate Dry and Wet With the mixer on low, add the flour mixture in three additions, alternating with the buttermilk in two additions, starting and ending with flour. Mix just until combined.
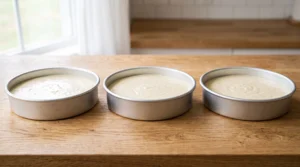
Step 7: Bake Divide the batter evenly between the three pans and bake for 24 to 28 minutes, checking a few minutes early, until a toothpick inserted in the center comes out clean.
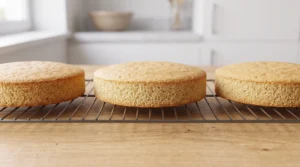
Step 8: Cool Completely Cool the cakes in their pans for 10 minutes, then turn out onto a wire rack to cool completely before frosting.
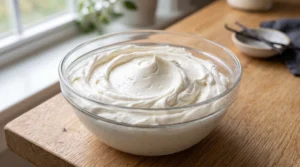
Step 9: Make the Vanilla Buttercream Beat the butter until pale and creamy. Add the powdered sugar gradually, alternating with the heavy cream, then mix in the vanilla and salt until fluffy.
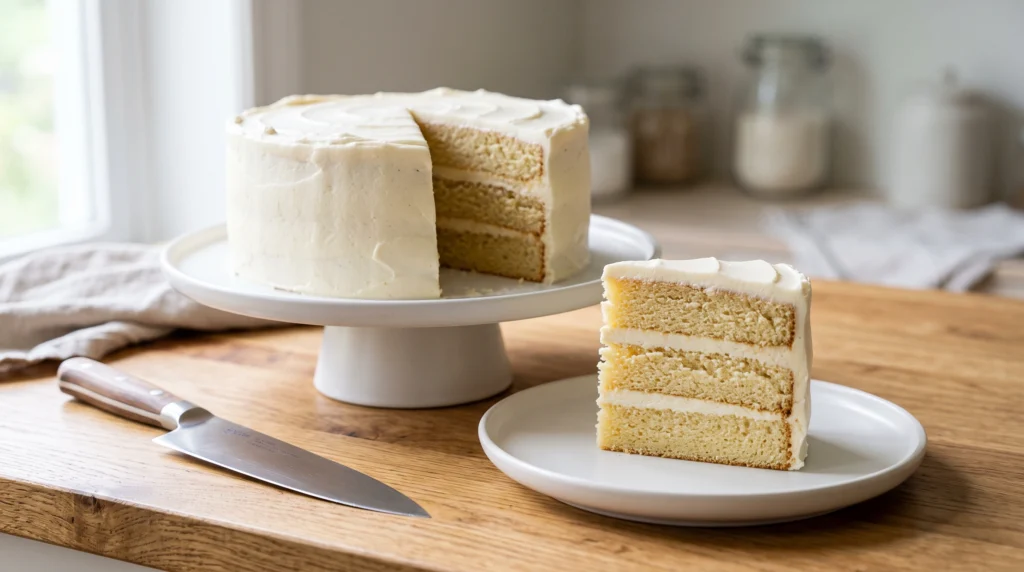
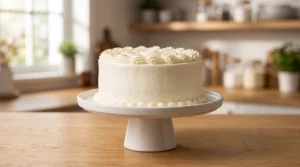
Step 10: Assemble and Frost Level the layers with a serrated knife if needed. Frost between each layer, apply a thin crumb coat, refrigerate for 20 minutes, then apply the final coat of frosting.
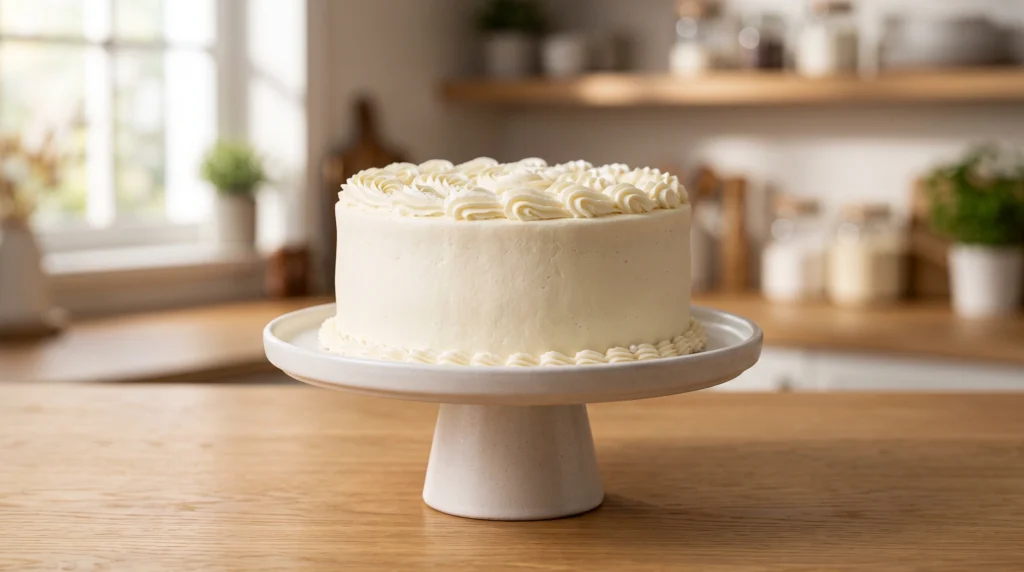
Step 11: Slice and Serve Once frosted, slice and serve, or refrigerate until ready to serve.
Common Mistakes to Avoid
Even with a solid recipe, a few small missteps can still leave this classic vanilla cake dry or dense, so here’s what to watch for when making this classic vanilla cake.
- Scooping flour directly from the bag. This packs in extra flour and is one of the most common causes of a dry, dense cake. Spoon it into the measuring cup and level it off, or use a scale.
- Overmixing once the flour is added. This develops gluten and turns a light cake into a tough one.
- Overbaking, even by a couple of minutes. Start checking a few minutes before the timer goes off.
- Not accounting for oven temperature variance. Even a well-followed recipe can behave differently if your oven is running hotter or cooler than the dial suggests.
- Frosting warm cake layers. This melts the buttercream and can cause the layers to slide.
Variations
This classic vanilla cake recipe adapts easily beyond the standard three-layer format, and each variation still relies on the same oven-accuracy and mixing basics that make this classic vanilla cake work.
Classic Vanilla Cupcakes Divide the batter into lined muffin tins and bake for 18 to 20 minutes. Makes about 24 cupcakes.
Classic Vanilla Sheet Cake Pour the batter into a greased 9×13 inch pan and bake for 35 to 40 minutes. Frost directly in the pan.
Vanilla Bean Cake Scrape the seeds from one vanilla bean into the batter along with the extract for visible flecks and a more intense vanilla flavor.
Funfetti Vanilla Cake Fold 3/4 cup of rainbow jimmies into the finished batter for a festive, celebration-ready version.
Chocolate Frosted Vanilla Cake Swap the vanilla buttercream for a chocolate buttercream or ganache for a classic vanilla and chocolate pairing.
Serving Ideas
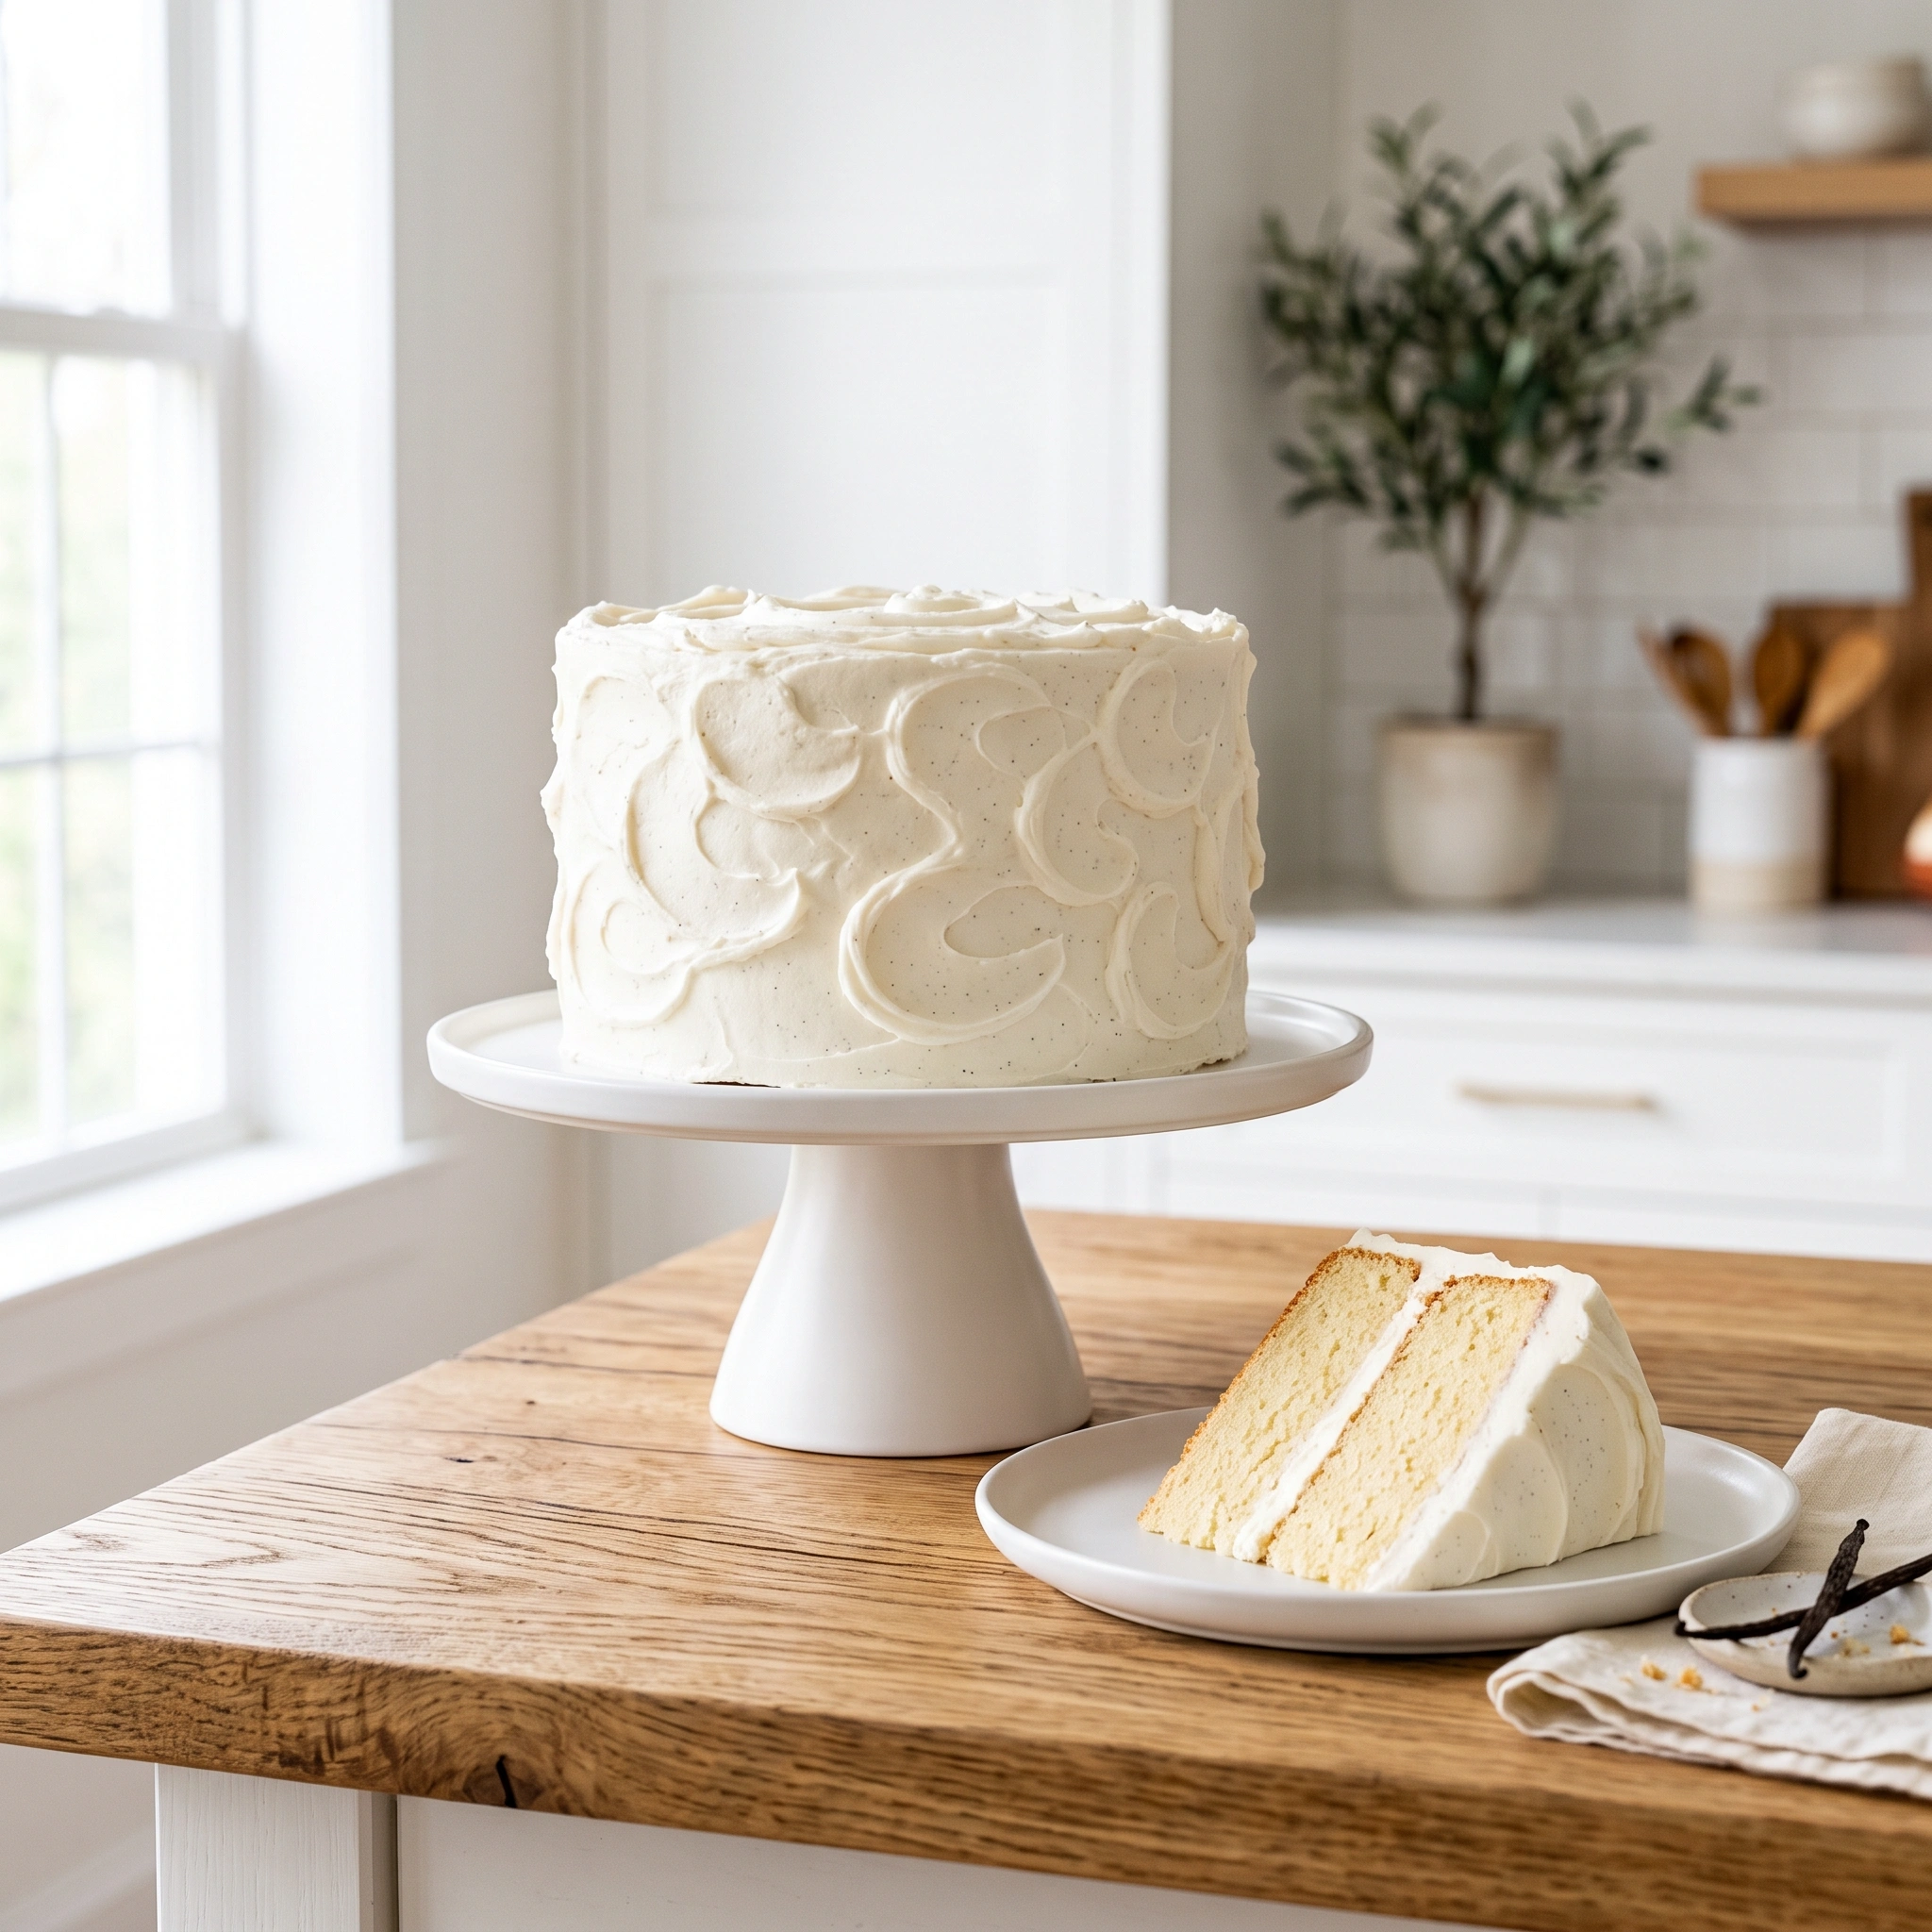
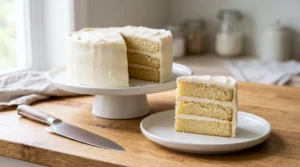
Simple piped swirls of buttercream around the top edge give this classic vanilla cake a clean, bakery-style finish without needing anything elaborate. It pairs well with almost any topping, fresh berries, a drizzle of caramel, or a dusting of sprinkles for a birthday.
This classic vanilla cake works for birthdays, graduations, or any occasion that calls for a cake everyone will genuinely enjoy rather than a specialty flavor some guests might not want.
How to Store Classic Vanilla Cake
Room temperature: Covered under a cake dome, this classic vanilla cake stays fresh for up to 2 days.
Refrigerator: Store covered for up to 5 days. Let it sit at room temperature for about 30 minutes before serving so the buttercream softens back to its best texture.
Freezer: Unfrosted cake layers wrapped tightly in plastic wrap and foil freeze well for up to 3 months. Thaw overnight in the refrigerator before frosting.
Perfectly Moist Classic Vanilla Cake Recipe
Ingredients
Equipment
Method
- Preheat oven to 350 degrees F, verifying with an oven thermometer if available. Grease and flour three cake pans and line the bottoms with parchment rounds.
- Whisk the cake flour, baking powder, and salt in a medium bowl.
- In a stand mixer, beat the butter, oil, and sugar on medium speed until noticeably lighter and fluffy, about 3 minutes, relying on how it looks rather than the clock.
- Add eggs one at a time, mixing until just combined after each.
- Mix in the vanilla extract.
- With the mixer on low, add the flour mixture in three additions, alternating with the buttermilk in two additions, starting and ending with flour.
- Divide the batter among the three pans and bake for 24 to 28 minutes, checking a few minutes early, until a toothpick comes out clean.
- Cool in the pans for 10 minutes, then transfer to a wire rack to cool completely before frosting.
- Beat the butter until creamy, add powdered sugar gradually, alternating with the heavy cream, then mix in vanilla and salt until fluffy.
- Frost between each layer, apply a thin crumb coat, refrigerate for 20 minutes, then apply the final coat of frosting.
- Slice and serve, or refrigerate until ready to serve.
Notes
- If this cake keeps coming out drier or denser than expected despite careful measuring and mixing, an oven thermometer can help rule out temperature as the cause.
- Spoon and level your flour, or weigh it, rather than scooping directly from the bag.
- Use both butter and oil for the best balance of flavor and moisture.
- Store refrigerated up to 5 days. Bring to room temperature before serving.
Frequently Asked Questions
Why is my vanilla cake dry even though I followed the recipe exactly? Check your flour measuring technique and bake time first, since those are the most common causes. If both check out and you’re still getting inconsistent results, your oven’s actual temperature may be running hotter or cooler than the dial shows.
How do I check if my oven temperature is accurate? Place an oven thermometer on the center rack, set your oven to 350 degrees, and let it fully preheat plus a few extra minutes. Compare the thermometer’s reading to your set temperature to see how far off your oven actually runs.
Can I use only butter or only oil instead of both? You can, but the texture will change. All butter makes a denser cake with more flavor, while all oil makes a moister but slightly less flavorful one. Using both balances the two.
Can I make this cake ahead of time? Yes. Bake the layers up to 2 days ahead, let them cool completely, then wrap each layer tightly in plastic wrap before storing at room temperature. Frost on the day you plan to serve it.
Do I need cake flour, or will all purpose work? All purpose flour works, but cake flour produces a noticeably softer, more delicate crumb that’s closer to a bakery-style texture.
How far ahead can I make the buttercream? Up to 3 days ahead, stored in an airtight container in the fridge. Bring it to room temperature and re-whip briefly before using.
Can I make this cake dairy free? A dairy free version may work using a dairy free butter alternative and a plant based milk with a splash of lemon juice in place of the buttermilk, though the texture may turn out slightly different from the original.
What frosting pairs best with this cake? Classic vanilla buttercream is the traditional choice, but this cake also works well with chocolate buttercream, cream cheese frosting, or a simple fruit filling.
The Story Behind Vanilla Cake
Vanilla as a flavoring became widely available in the United States over the 19th and early 20th centuries as vanilla extract production scaled up, eventually making it affordable enough for everyday home baking rather than a rare, expensive spice reserved for special occasions. As vanilla extract became a pantry staple, vanilla cake grew into the default celebration cake in American baking, the recipe home cooks reached for when there wasn’t a specific occasion calling for chocolate, spice, or fruit.
That basic, adaptable role has held for generations, and this homemade classic vanilla cake keeps that same everyday reliability.