Best Classic Chocolate Fudge Cake Recipe ( Two-Layer)
I still remember the first time I made a layer cake from scratch. I was so nervous about the layers sliding apart that I stuck three toothpicks in the middle “just in case.” They weren’t needed. The fudge frosting held everything together like glue, and the cake disappeared within an hour at my sister’s birthday dinner. That recipe became the one I keep coming back to, and it’s the one I’m sharing with you today.
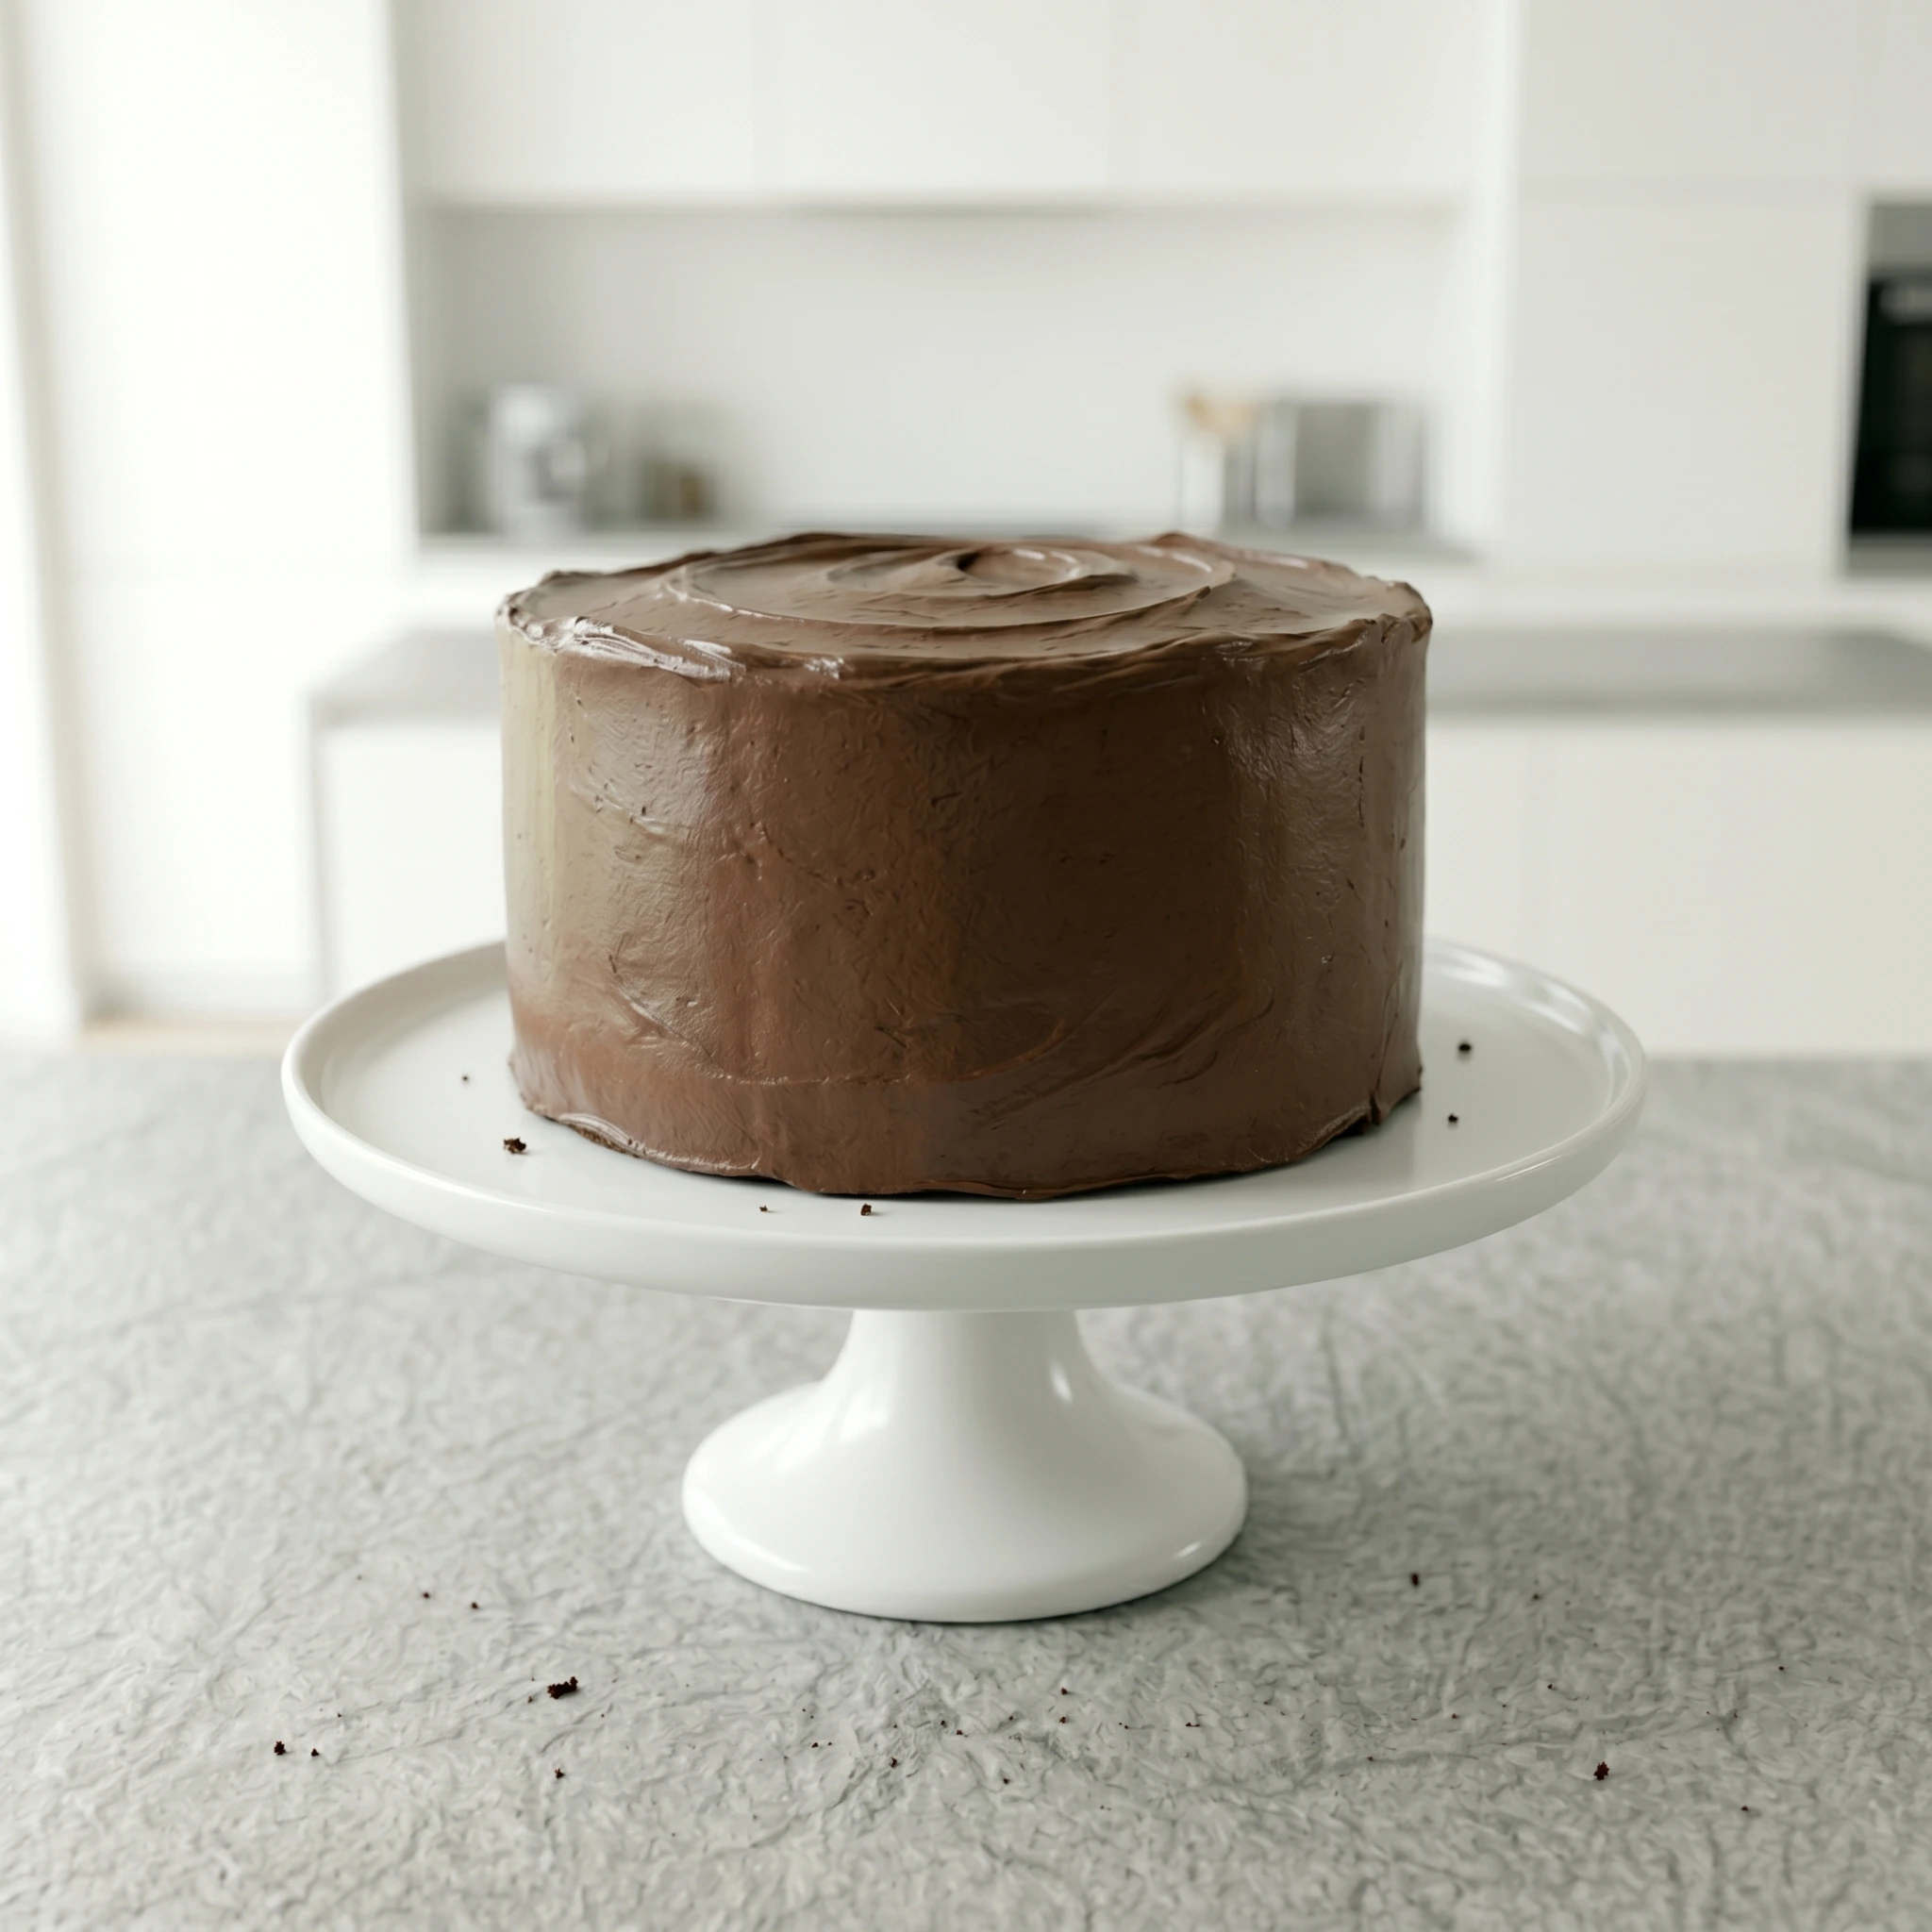
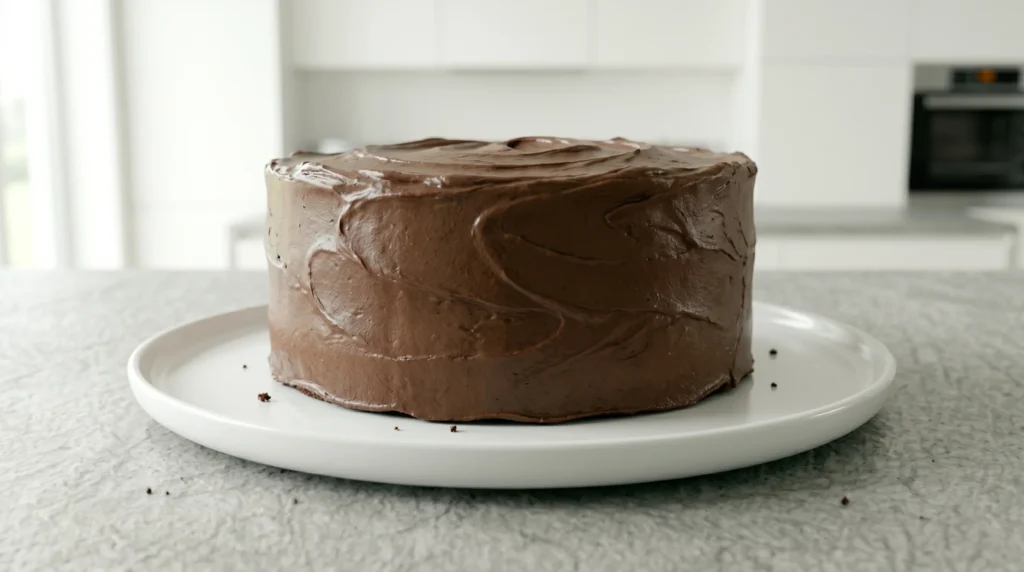
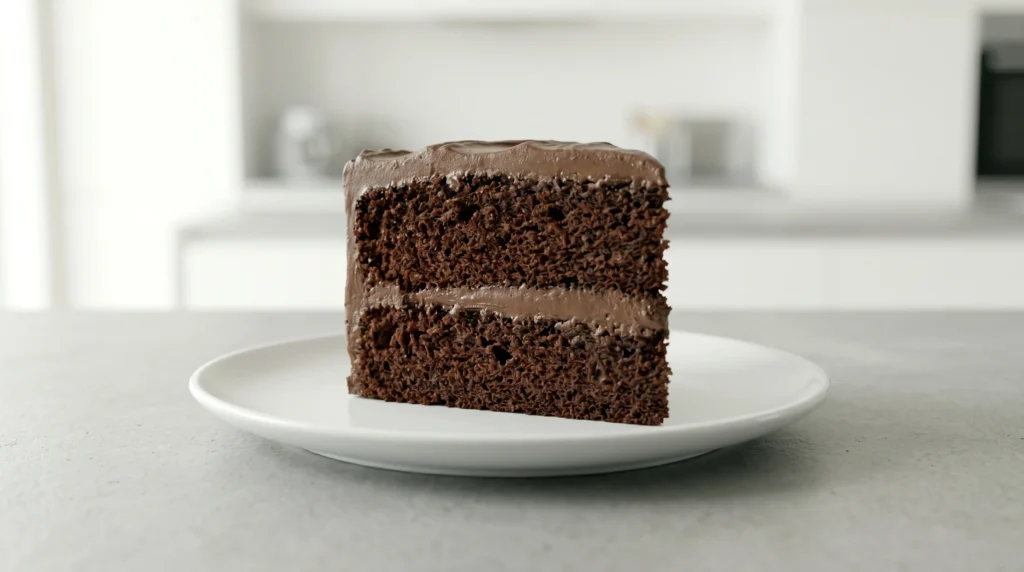
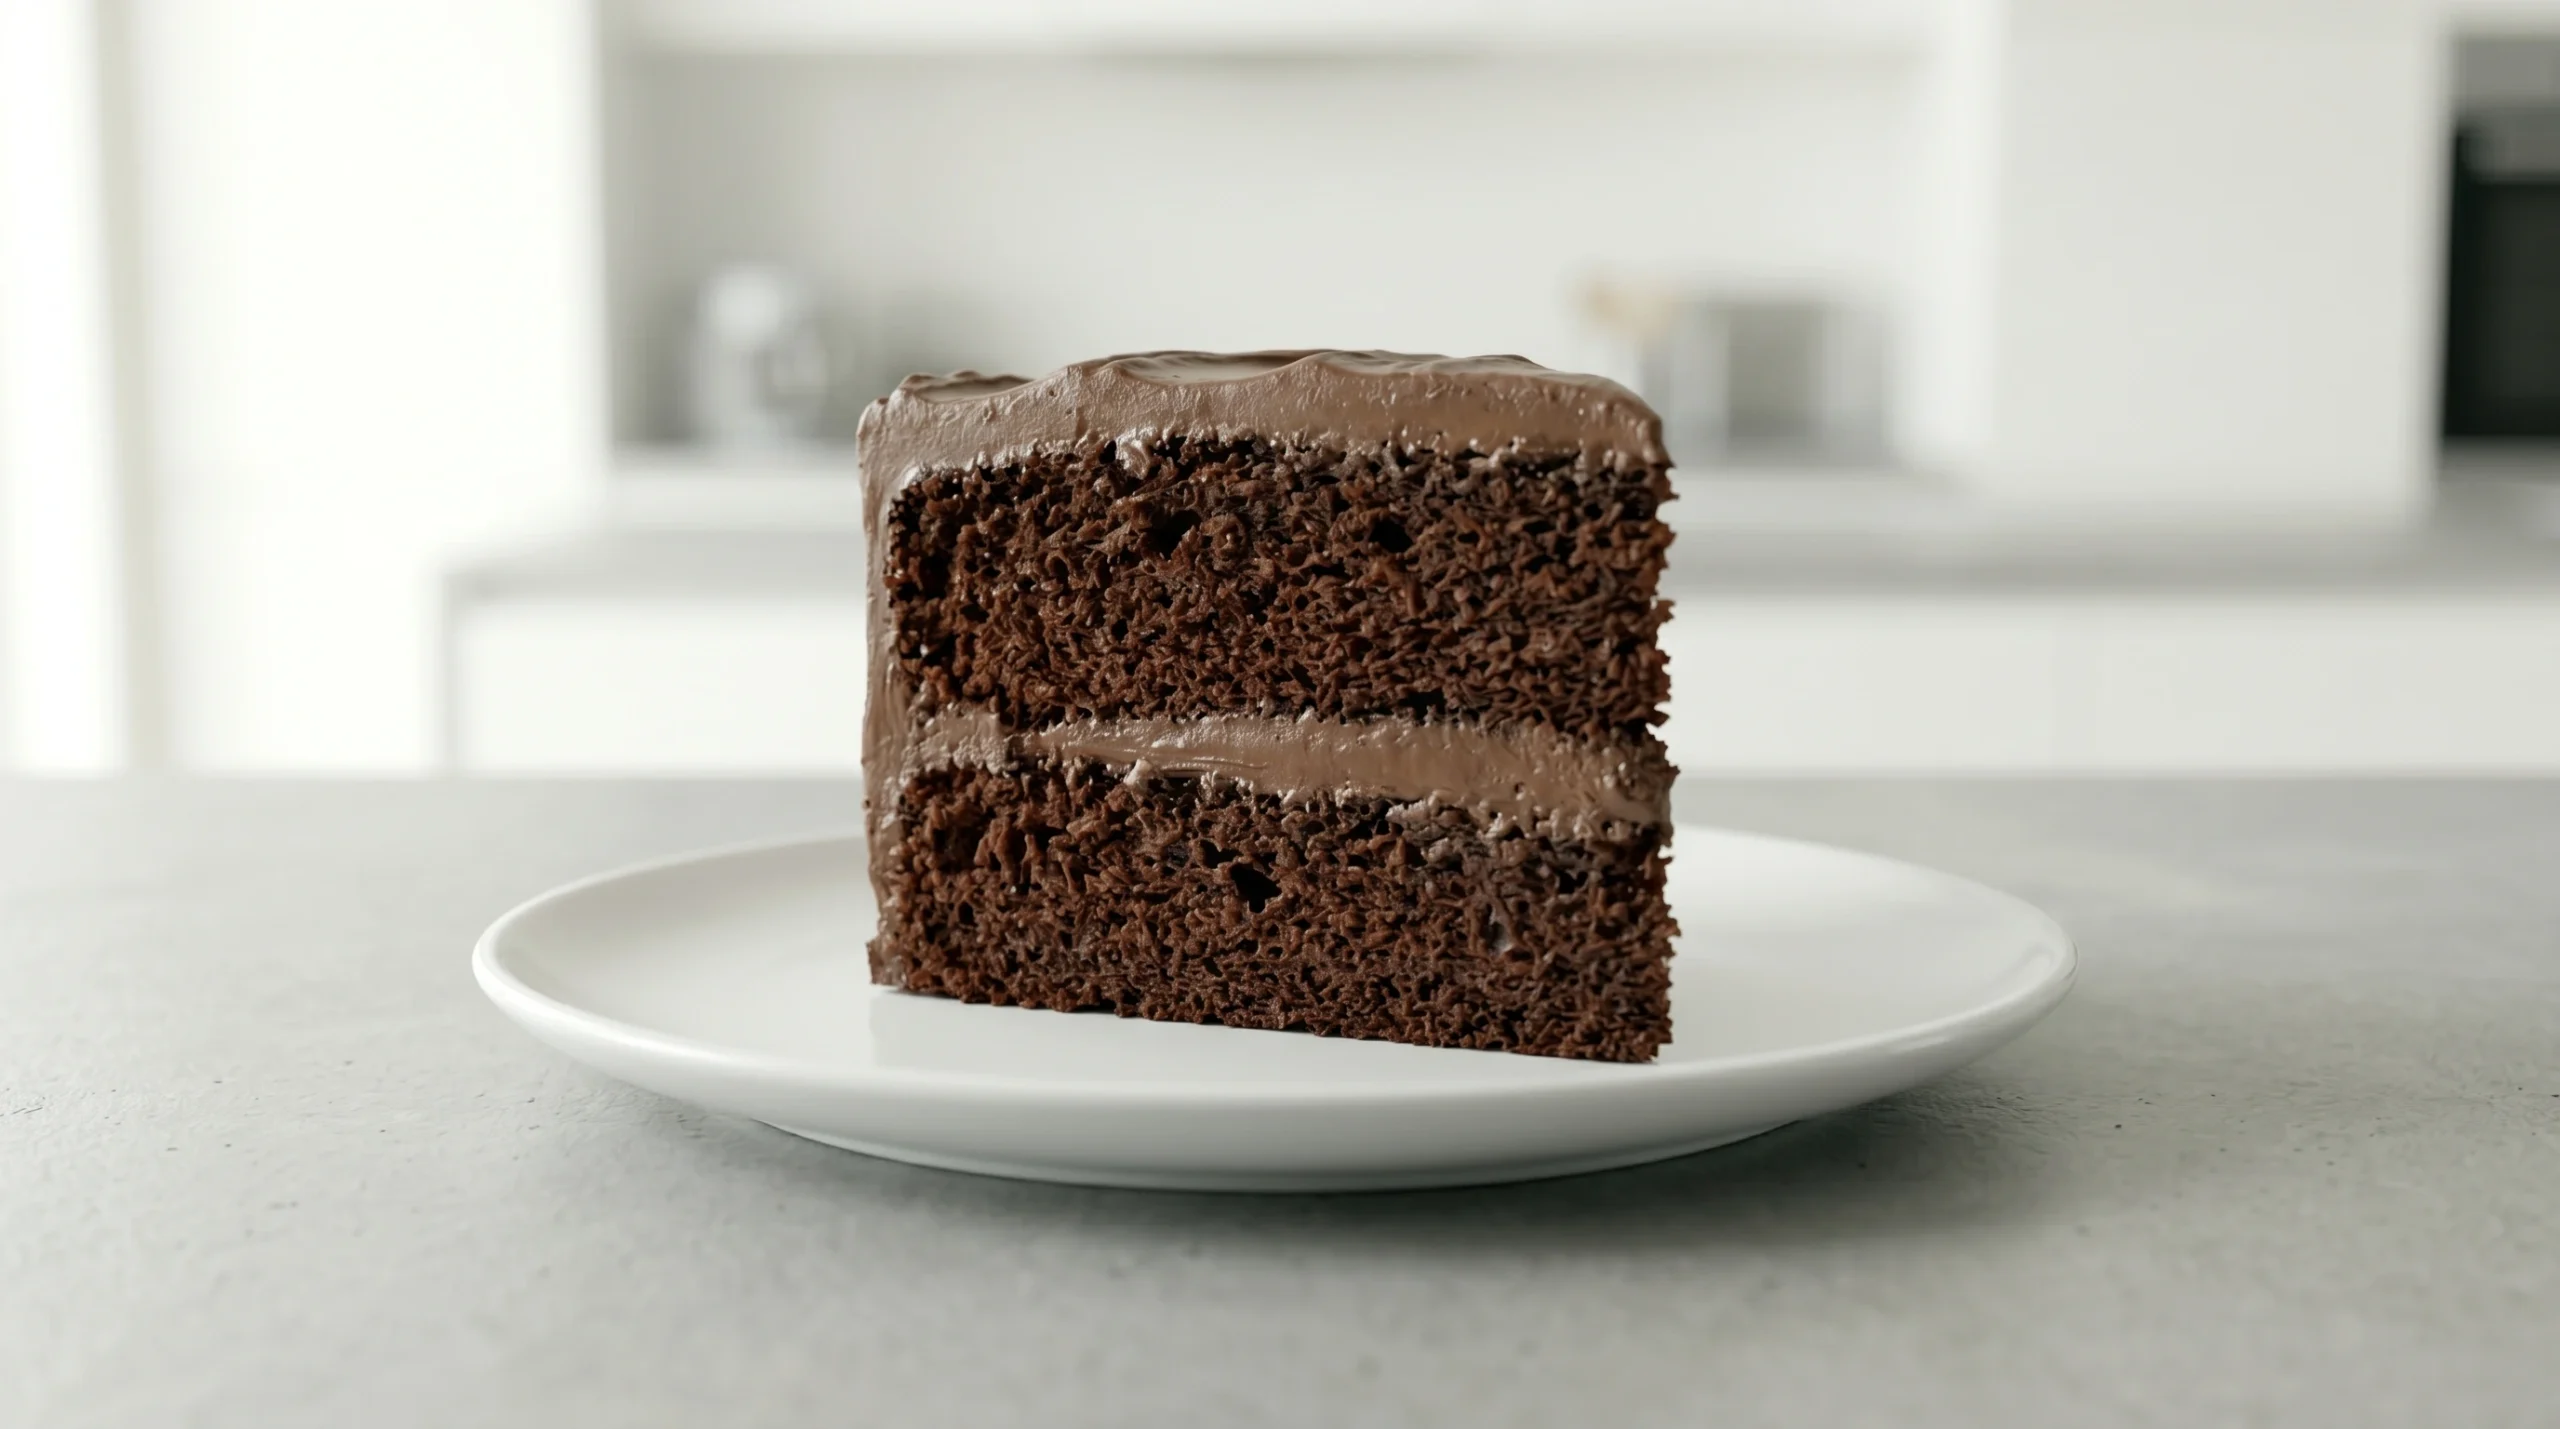
This Chocolate Fudge Cake is a rich, two-layer chocolate cake with a dense, fudgy crumb and a glossy chocolate fudge frosting. It’s the kind of cake that works for birthdays, holidays, or just a Tuesday when you need something deeply chocolatey. No fancy equipment, no complicated techniques — just real ingredients and a foolproof method.
Why You’ll Love This Chocolate Fudge Cake
- Deeply chocolatey flavor thanks to both cocoa powder and melted chocolate
- Moist, fudgy texture that stays soft for days
- Simple ingredients — nothing you can’t find at a regular grocery store
- Make-ahead friendly — bake the layers a day early and frost when ready
- Crowd-pleaser for birthdays, potlucks, and holiday dinners
Ingredients You’ll Need
For the Cake Layers
- 2 cups all-purpose flour
- 2 cups granulated sugar
- ¾ cup unsweetened cocoa powder
- 2 teaspoons baking soda
- 1 teaspoon baking powder
- 1 teaspoon salt
- 2 large eggs, room temperature
- 1 cup buttermilk, room temperature
- 1 cup strong hot coffee (or hot water)
- ½ cup vegetable oil
- 2 teaspoons vanilla extract
For the Chocolate Fudge Frosting
- 1 cup unsalted butter, softened
- 1 ⅓ cups unsweetened cocoa powder
- 5 cups powdered sugar
- ⅔ cup whole milk
- 2 teaspoons vanilla extract
- A pinch of salt
Recommended Equipment
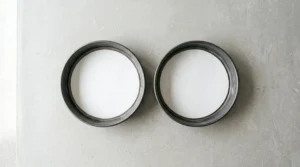
- Two 9-inch round cake pans
- A stand mixer (such as a KitchenAid) or hand mixer for the frosting
- A digital kitchen scale for precise ingredient measuring
- An offset spatula for smooth frosting application
- A cake turntable for easier frosting and decorating
- A cake leveler or serrated knife for even, level layers
The Science Behind This Recipe
The combination of cocoa powder and hot coffee is what gives this cake its deep, rich chocolate flavor. Heat helps “bloom” the cocoa, releasing flavor compounds that otherwise stay locked away, and intensifying the chocolate taste without making the cake taste like coffee.
This recipe is built around natural cocoa powder, which is acidic and reacts with the baking soda to help the cake rise. If you’d rather use Dutch-process cocoa for a darker color and smoother flavor, you’ll need to adjust the leavening — King Arthur Baking has a detailed comparison of how the two cocoa types behave differently in baked goods.
Buttermilk and baking soda work together as a leavening team — the acidity in buttermilk reacts with the baking soda to create carbon dioxide bubbles, giving the cake its light, tender crumb despite being so rich. If you’re curious about the chemistry behind this reaction (and other common leavening substitutions), King Arthur Baking breaks it down here.
Using oil instead of butter in the batter keeps the cake moist for longer, since oil stays liquid at room temperature while butter solidifies, which can make a cake feel drier the next day.
Finally, room-temperature eggs and buttermilk blend more evenly into the batter, helping the cake rise uniformly and preventing a dense or uneven texture.
Step-by-Step Instructions
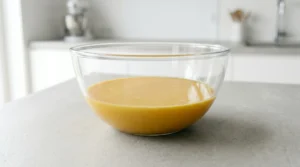
Step 1: Prepare the Batter
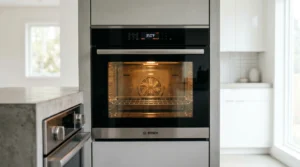
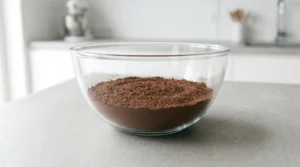
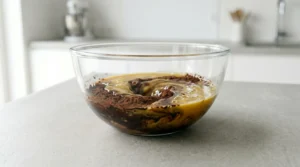
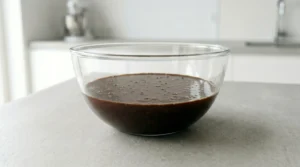
Preheat your oven to 350°F (175°C). Grease and line two 9-inch round cake pans with parchment paper. In a large bowl, whisk together the flour, sugar, cocoa powder, baking soda, baking powder, and salt. In a separate bowl, whisk the eggs, buttermilk, oil, and vanilla extract until combined. Pour the wet ingredients into the dry ingredients and mix until just combined. Slowly stir in the hot coffee until the batter is smooth — it will be thin, and that’s normal.
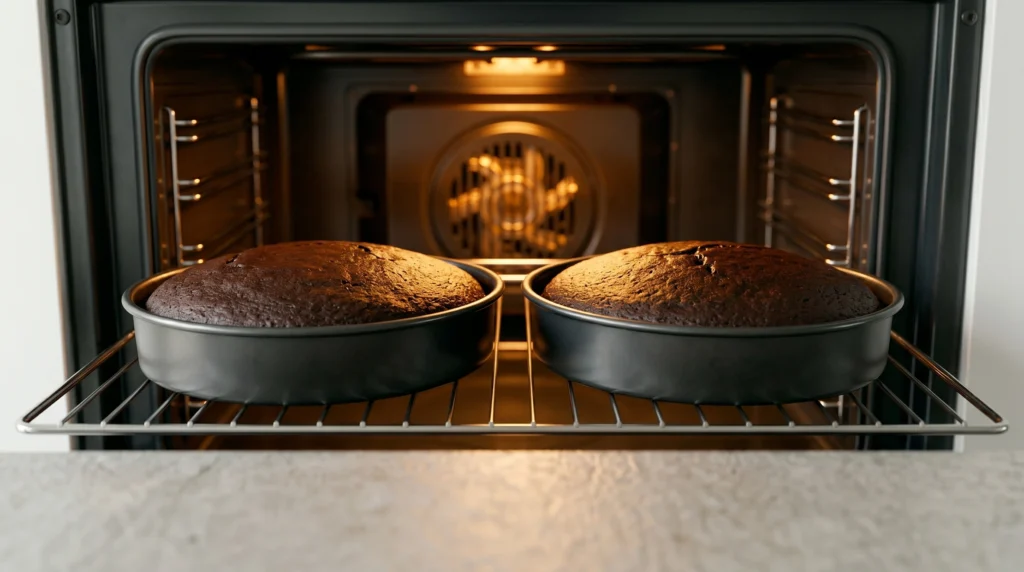
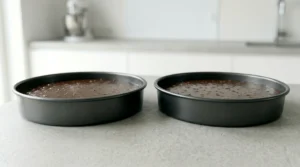
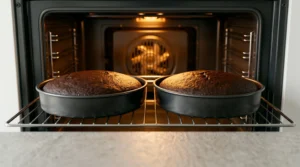
Step 2: Bake the Layers
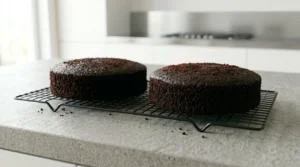
Divide the batter evenly between the two prepared pans. Bake for 30–35 minutes, or until a toothpick inserted into the center comes out clean or with a few moist crumbs. Allow the cakes to cool in their pans for 10 minutes, then transfer to a wire rack to cool completely before frosting.
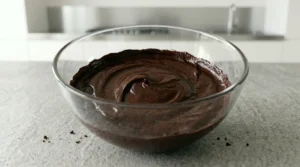
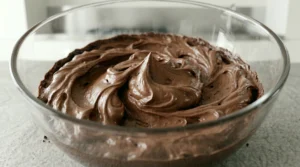
Step 3: Make the Fudge Frosting
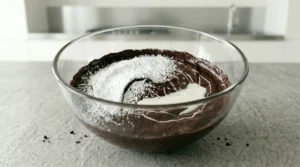
Beat the softened butter until creamy. Add the cocoa powder and mix until combined. Gradually add the powdered sugar, alternating with the milk, beating well after each addition. Add the vanilla extract and salt, then beat on high speed for 2–3 minutes until light and fluffy.
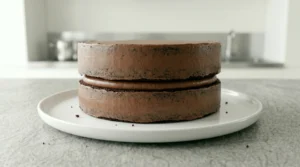
Step 4: Assemble and Frost the Cake
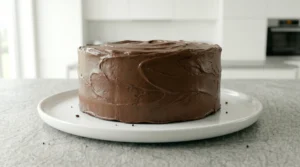
Place one cake layer on your serving plate or cake stand. Spread a generous layer of frosting on top. Place the second layer on top and press down gently. Apply a thin layer of frosting over the entire cake — this is called a crumb coat, and it locks in loose crumbs so your final layer of frosting goes on smoothly. Refrigerate the cake for about 15 minutes to let the crumb coat firm up, then apply the remaining frosting to the top and sides, using an offset spatula for a smooth finish or the back of a spoon for a rustic, swirled look.
Pro Tips for Success
- Measure your flour by spooning it into the measuring cup and leveling it off — scooping directly from the bag packs in extra flour and can dry out the cake
- Don’t skip the hot coffee — it makes the chocolate flavor noticeably richer without adding any coffee taste
- For an extra-moist crumb, swap half the granulated sugar for light brown sugar — the molasses helps the cake hold onto moisture for longer
- As soon as the cake layers are cool enough to handle, wrap them tightly in plastic wrap. Trapping in that residual warmth and steam helps keep the crumb soft and tender
- Let the cake layers cool completely before frosting, or the frosting will melt and slide
- For extra-neat layers, level the tops of your cakes with a serrated knife before stacking
Variations and Substitutions
Gluten-Free Version
Substitute the all-purpose flour with a 1:1 gluten-free baking blend, such as Bob’s Red Mill 1:1 Baking Flour or King Arthur Measure for Measure Flour. The texture will be slightly denser but still delicious.
Eggless Version
Replace each egg with ¼ cup of unsweetened applesauce or plain yogurt. The cake will be slightly more dense but still moist.
Dutch-Process Cocoa Version
For a darker, more intense chocolate flavor, swap the natural cocoa powder for Dutch-process cocoa in both the cake and frosting. Since Dutch-process cocoa is less acidic, replace the baking soda with twice the amount of baking powder to keep the same rise.
Three-Layer Cake
Divide the batter among three 8-inch pans for a taller, more dramatic presentation — reduce baking time to about 22–25 minutes.
Espresso Chocolate Fudge Cake
Add 1 tablespoon of instant espresso powder to the batter for a deeper, mocha-like flavor that pairs beautifully with the fudge frosting.
Serving Ideas
This chocolate fudge cake pairs wonderfully with a scoop of vanilla ice cream, a dusting of powdered sugar, or fresh berries on the side for a touch of tartness that balances the richness. For special occasions, top with chocolate shavings, a drizzle of caramel sauce, or chopped toasted nuts for added texture.
Here are a few ways to match the presentation to the occasion:
- Birthdays: Layer fresh raspberries or strawberries between the cake layers — the tartness cuts through the richness and adds a beautiful pop of color when sliced
- Weeknight treat: Skip the layers entirely and bake the batter in a single 9×13-inch pan, then frost it right in the dish for an easy, low-effort dessert
- Holidays: Dust the top with crushed peppermint for Christmas, or decorate with fresh edible flowers for spring celebrations
- Date night: Serve a warm slice (10 seconds in the microwave) with a scoop of vanilla bean ice cream for a melt-in-your-mouth finish
How to Store Chocolate Fudge Cake
Room Temperature
Store the frosted cake in an airtight container or under a cake dome for up to 2 days at room temperature.
Refrigerator
For longer storage, refrigerate the cake in an airtight container for up to 5 days. Bring to room temperature before serving for the best texture and flavor.
Freezer
Unfrosted cake layers freeze well for up to 3 months. Wrap each layer tightly in plastic wrap and foil. Thaw at room temperature before frosting. Frosted cake slices can also be frozen individually, wrapped well, for up to 2 months.
Classic Chocolate Fudge Cake
Ingredients
Equipment
Method
- Preheat your oven to 350°F (175°C). Grease and line two 9-inch round cake pans with parchment paper.
- In a large bowl, whisk together the flour, sugar, cocoa powder, baking soda, baking powder, and salt.
- In a separate bowl, whisk the eggs, buttermilk, oil, and vanilla extract until combined.
- Pour the wet ingredients into the dry ingredients and mix until just combined.
- Slowly stir in the hot coffee until the batter is smooth (it will be thin — this is normal).
- Divide the batter evenly between the two prepared pans.
- Bake for 30–35 minutes, or until a toothpick inserted into the center comes out clean or with a few moist crumbs.
- Cool the cakes in their pans for 10 minutes, then transfer to a wire rack to cool completely.
- To make the frosting, beat the softened butter until creamy. Add the cocoa powder and mix until combined.
- Gradually add the powdered sugar, alternating with the milk, beating well after each addition.
- Add the vanilla extract and salt, then beat on high speed for 2–3 minutes until light and fluffy.
- Place one cake layer on your serving plate. Spread a layer of frosting on top, then add the second layer.
- Apply a thin crumb coat of frosting over the entire cake and refrigerate for 15 minutes.
- Apply the remaining frosting to the top and sides for a smooth or rustic finish.
Notes
- Measure flour using the spoon-and-level method to avoid a dry cake.
- Don’t skip the hot coffee — it deepens the chocolate flavor without adding a coffee taste.
- For an extra-moist crumb, swap half the granulated sugar for light brown sugar.
- Wrap cooled cake layers in plastic wrap to lock in moisture before frosting.
- Store at room temperature for up to 2 days, refrigerated for up to 5 days, or freeze unfrosted layers for up to 3 months.
Frequently Asked Questions
Can I make this cake ahead of time?
Yes. The cake layers can be baked up to 2 days in advance. Wrap them tightly in plastic wrap and store at room temperature, or refrigerate if making further ahead, then frost when ready to serve.
Why is my chocolate cake dry?
Overbaking and over-measuring flour are the most common causes. Check the cake a few minutes before the recommended time, and measure flour using the spoon-and-level method rather than scooping directly from the bag.
Can I use Dutch-process cocoa powder instead of natural cocoa?
Yes, but if your recipe relies on baking soda for leavening, using Dutch-process cocoa (which is less acidic) may slightly affect the rise. For best results with this recipe, natural unsweetened cocoa powder is recommended.
What can I use instead of buttermilk?
You can make a substitute by adding 1 tablespoon of lemon juice or white vinegar to 1 cup of regular milk and letting it sit for 5 minutes before using.
Can I make this into cupcakes?
Yes. This batter makes about 24 cupcakes. Bake at 350°F for 18–20 minutes, or until a toothpick comes out clean.