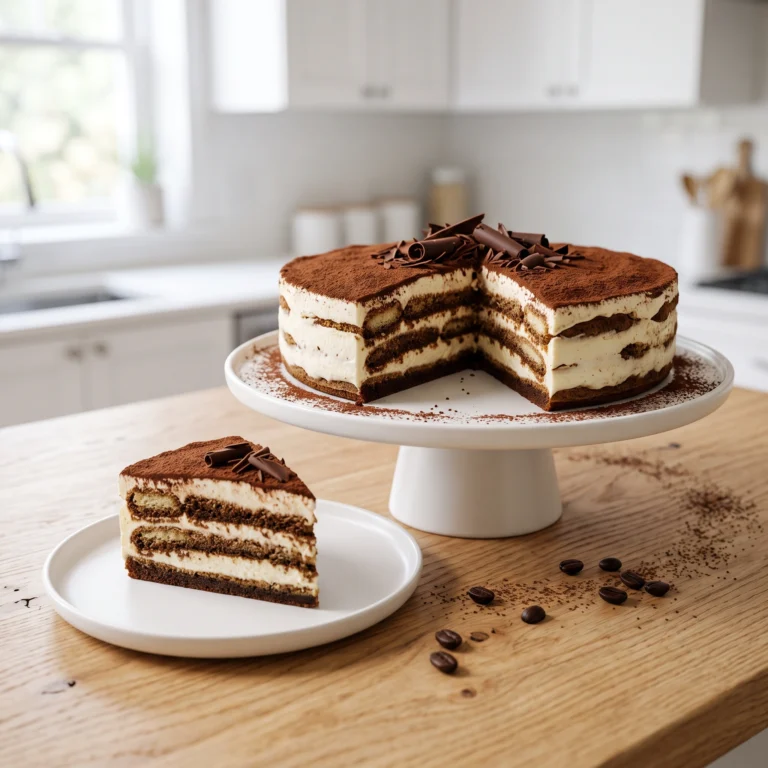
The Best Icebox Cake Recipe (No-Bake, Make-Ahead, Foolproof)
My grandmother never called it a recipe. She called it “the thing I make when it’s too hot to think straight.” She kept it simple: chocolate wafers, sweetened whipped cream, overnight in the fridge. That was it. And every single time she put it on the table, people acted like she had done something extraordinary.
She hadn’t. That’s exactly the point.
I’ve been making icebox cake every summer for as long as I can remember, and I’ve probably tried every variation imaginable by now. Log style, layered in a dish, with mascarpone, with cream cheese, with Oreos, with graham crackers. Some versions I loved. Some I’ll never make again. The one I keep coming back to is this one: a classic layered icebox cake with a cream cheese whipped cream filling, graham crackers, and just enough chocolate to make it feel special without tipping into heavy.
No oven. No baking skills required. Just layering, chilling, and showing up to the table with something genuinely impressive.
Why This Is the Only Icebox Cake Recipe You Need
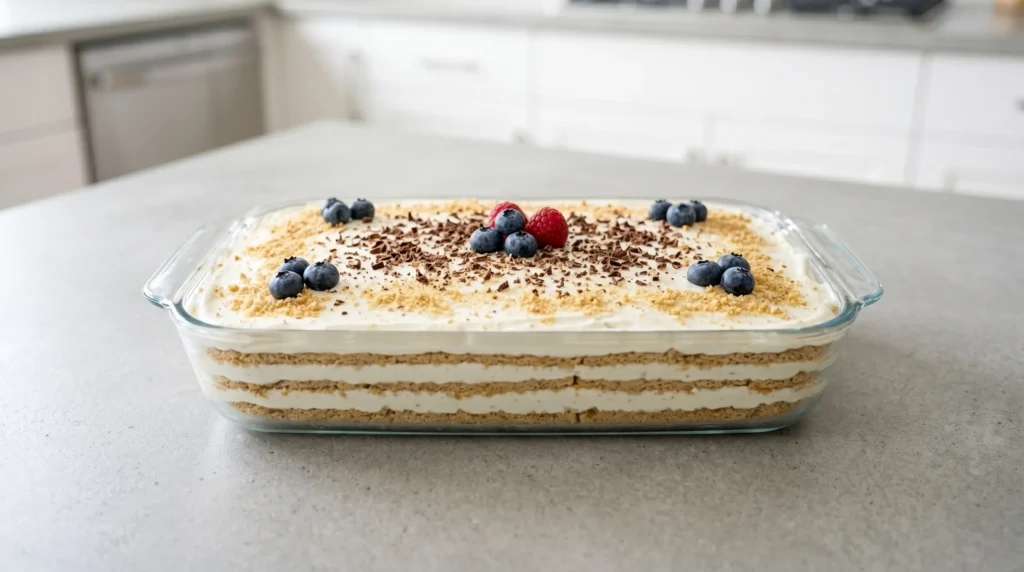
Here is the honest truth about most icebox cake recipes online: they skip the part that makes the filling actually hold up. Plain whipped cream is fine for eating immediately, but layered between cookies and left to sit overnight, it can turn thin and watery. Adding cream cheese to the filling changes everything. It adds tang, structure, and richness that makes every layer sliceable and clean, not a soggy, sliding mess.
That one change is what separates a good icebox cake from an unforgettable one.
Beyond the filling, this recipe works because:
- No oven, ever. This is a make-ahead no-bake dessert built entirely in your refrigerator.
- It actually gets better overnight. The graham crackers soften into something close to a tender cake layer, and the flavors meld in a way they simply do not when you rush the chill time.
- It feeds a crowd. Built in a 9×13-inch pan, this recipe serves 12 to 16 people without any complicated assembly.
- It is endlessly customizable. Vanilla, chocolate, strawberry, lemon, mocha, you name it. Once you understand the basic structure, the variations are limitless.
A Little Bit of History (Because This Cake Earned It)
Icebox cake is one of those American desserts that has been hiding in plain sight for over a hundred years. It first appeared in the early 1920s right around the time home refrigerators were becoming affordable for middle-class families. Refrigerator brands needed people to actually value the new appliance, so they started including recipe pamphlets, cookbooks, and promotional materials that showed home cooks what a refrigerator could do. Chilled desserts were the answer.
By 1929, Nabisco had printed a recipe directly on the back of their Famous Chocolate Wafers box: stack wafers with sweetened whipped cream, refrigerate overnight, done. The recipe became so iconic that generations of American bakers grew up thinking this was just what dessert meant in summer.
The wafers themselves were discontinued a few years ago, which genuinely sent icebox cake fans into a minor crisis. But as it turns out, the recipe is far more flexible than people realized. Graham crackers, chocolate graham crackers, Oreos, vanilla wafers, shortbread, even ladyfingers all work beautifully. The cake survives without its original star ingredient, and if anything, it has come back stronger.
Ingredients You Need
For the Cream Cheese Whipped Cream Filling
- 8 oz full-fat brick-style cream cheese, softened (Philadelphia works best)
- 1 cup powdered sugar, sifted
- 2 teaspoons vanilla extract
- 2 cups heavy whipping cream, cold
For the Cake Layers
- 3 sleeves graham crackers (about 27 full crackers), or one 14.4 oz box
- Optional: chocolate shavings, fresh berries, or crushed cookies for topping
Recommended Equipment
- A 9×13-inch baking dish or pan
- A KitchenAid stand mixer or hand mixer (both work, but a stand mixer saves effort)
- A rubber spatula for spreading and folding
- Plastic wrap for covering during chilling
- A digital kitchen scale for precise measuring
- A sharp knife for clean serving slices
The Science: Why Icebox Cake Actually Works
This is the part most recipes skip, and it is genuinely interesting.
When you layer cookies or crackers with whipped cream and leave them in the refrigerator for several hours, two things happen simultaneously. First, the cookies absorb moisture from the cream. Second, the cream absorbs a small amount of fat and flavor from the cookies. By morning, you do not have cookies and cream sitting next to each other. You have something that has fused into a completely different texture: soft, cohesive, sliceable layers that genuinely feel like cake.
Food scientists call this osmosis in action. The moisture moves from the high-water environment (the cream) into the lower-water environment (the dry cookie), softening it progressively until it reaches a tender, almost sponge-like consistency.
The cream cheese in this filling is not just there for flavor. Cream cheese contains a higher fat percentage and lower water content than plain cream. When whipped together with heavy cream, it creates a more stable foam structure that holds its shape between the layers, even after several hours of chilling. This is why you get clean slices the next morning instead of a puddle.
Step-by-Step Instructions
Step 1: Make the Filling
Start with your cream cheese at room temperature. Cold cream cheese will not beat smooth. In a large bowl or the bowl of your stand mixer, beat the softened cream cheese until fluffy and completely lump-free. Add the powdered sugar and vanilla extract, and beat until combined.
Slowly pour in the cold heavy cream with the mixer running on medium speed, then increase to high and beat until stiff peaks form. Be patient and pay attention. Stiff peaks means the filling holds its shape firmly when you lift the beaters. Stop there. Overbeaten cream turns grainy and unpleasant, and there is no fixing it.
Step 2: Build the First Layer
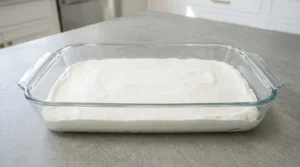
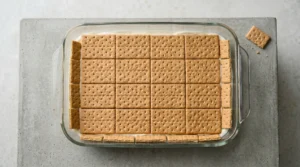
Spread a thin layer of the cream cheese filling across the bottom of your 9×13-inch dish. This keeps the bottom graham crackers from sliding. Lay graham crackers in a single layer over the filling, breaking pieces as needed to fill the edges.
Step 3: Layer Up
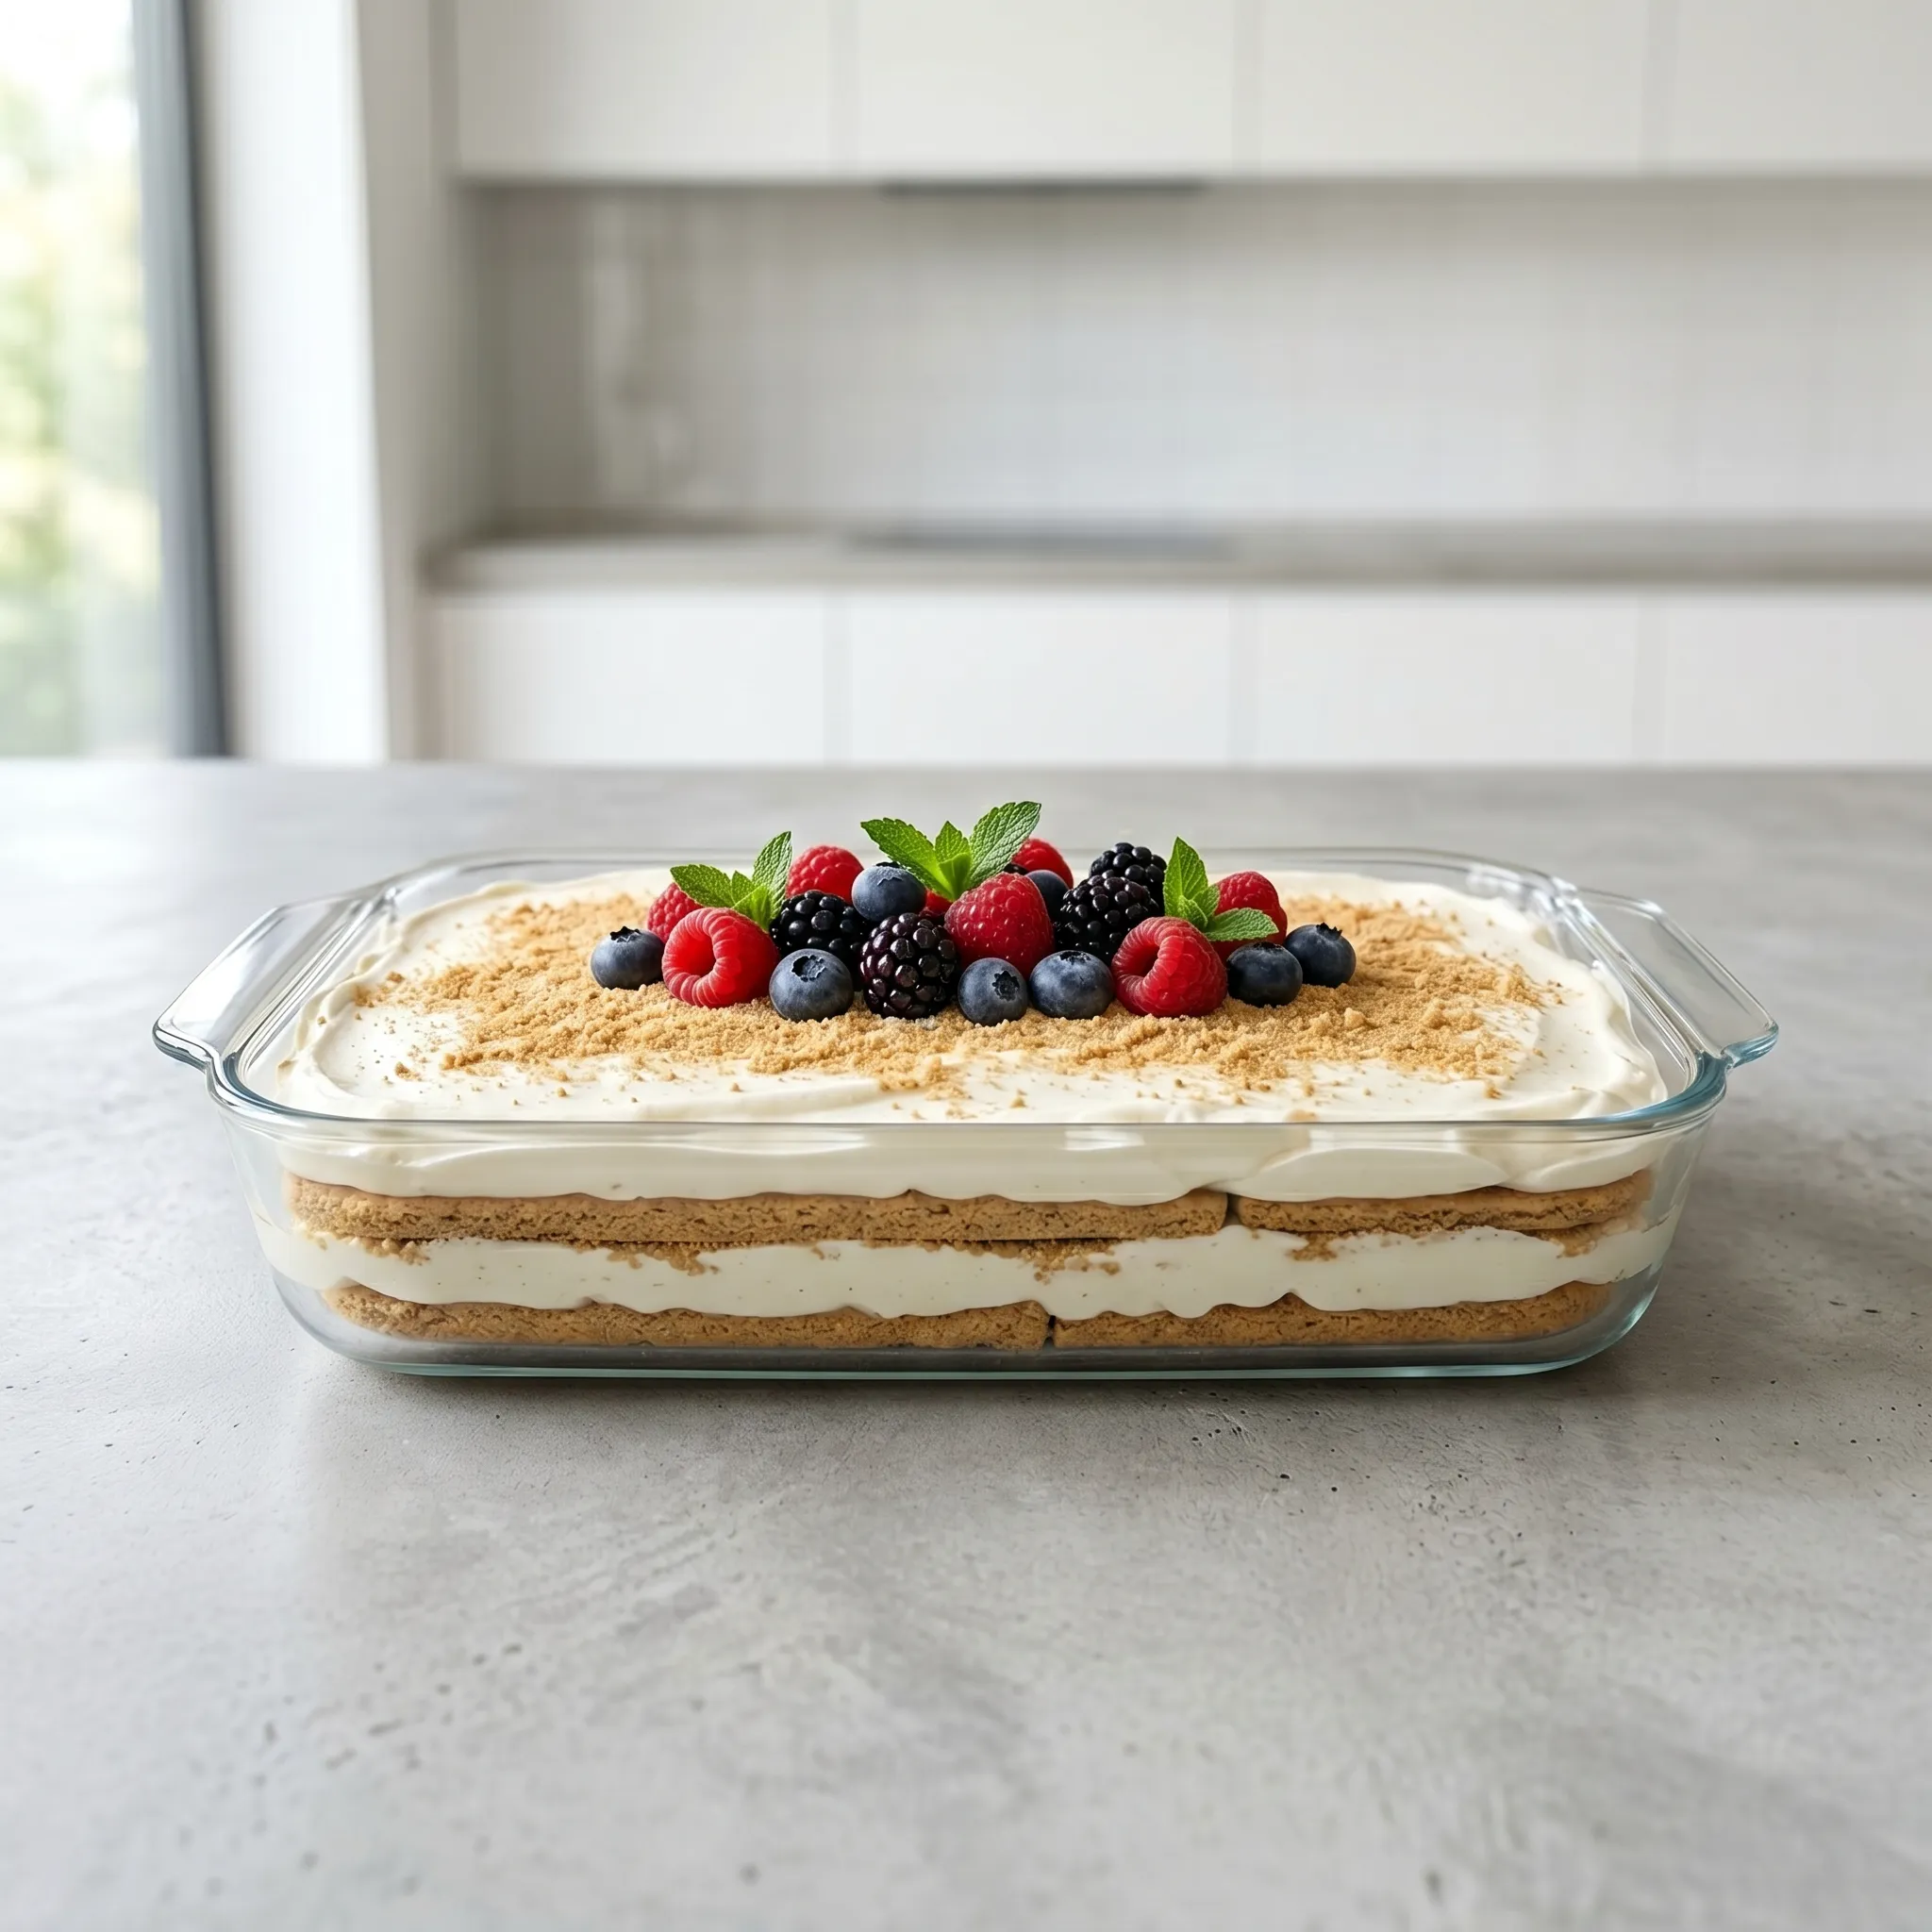
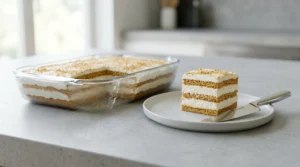
Spread roughly one-third of the remaining filling evenly over the first cracker layer. Lay down another layer of graham crackers. Repeat with another third of the filling, another layer of crackers, and then the last of the filling on top. You should end up with three layers of crackers and four layers of cream, starting and ending with cream.
Step 4: Chill Overnight
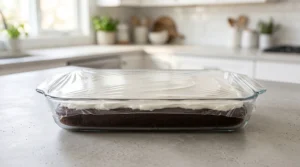
Cover the dish tightly with plastic wrap and refrigerate for at least 6 hours. Overnight is better. I have made this at 8pm and served it at noon the following day, and it was perfect. Do not try to rush this step. The transformation happens slowly, and the difference between 4 hours and 8 hours is significant.
Step 5: Garnish and Serve
Right before serving, add your toppings. Chocolate shavings, a dusting of cocoa powder, fresh sliced strawberries, or crushed graham crackers all work well. Slice into squares with a sharp knife, wiping the blade between cuts.
Pro Tips for Success
- Room temperature cream cheese is non-negotiable. Even a slightly cold block will leave lumps in the filling that no amount of mixing will fix.
- Keep your heavy cream very cold right up until you whip it. Cold cream whips faster and holds its structure better than cream that has been sitting on the counter.
- Press your graham crackers gently into the filling as you layer. A little pressure helps the crackers absorb moisture more evenly from both sides.
- This cake is one of those rare desserts that is genuinely better the next day. I always try to make mine at least 18 hours before serving if I can plan ahead.
- I once tried to serve this at 4 hours because I was impatient. The crackers were still slightly crunchy in the middle and the layers had not set fully. Learn from that mistake.
Variations Worth Trying
Chocolate Icebox Cake
Use chocolate graham crackers instead of regular and add 2 tablespoons of Dutch-process cocoa powder to the filling. Top with chocolate ganache for a dessert that tastes like a cold version of chocolate mousse cake.
Strawberry Icebox Cake
Fold 1 cup of fresh strawberry puree into the filling before layering, and add sliced fresh strawberries between each cracker layer. The result is bright, pink, and disappears fast at summer parties.
Lemon Blueberry Icebox Cake
Add 2 tablespoons of fresh lemon juice and 1 tablespoon of lemon zest to the filling. Layer with fresh blueberries between each cracker layer and finish with a drizzle of blueberry sauce on top.
Mocha Icebox Cake
Dissolve 2 teaspoons of instant espresso powder into 1 tablespoon of hot water, let it cool, then add it to the filling. Use chocolate graham crackers for the layers. This version tastes like a tiramisu-icebox cake hybrid, which is exactly as good as it sounds.
Vegan Version
Use dairy-free cream cheese and full-fat coconut cream (chilled overnight) in place of the heavy cream. The texture is slightly softer but still sets well. Use vegan graham crackers for the layers.
Serving Ideas
Icebox cake is casual enough for a weeknight and impressive enough for company. Serve it cold, straight from the dish, with nothing added if you want simplicity. Or dress it up for the occasion.
For Fourth of July, arrange fresh strawberries and blueberries on top in a flag pattern. For a summer birthday party, add rainbow sprinkles and a few birthday candles directly into the cream. For a dinner party, dust with cocoa powder and add a few chocolate curls for an elegant, old-fashioned presentation that always draws comments.
It also travels well in a cooler, which makes it a reliable potluck, barbecue, and picnic dessert that holds up far better than anything with frosting.
How to Store Icebox Cake
Refrigerator
Cover the dish tightly with plastic wrap and store in the refrigerator for up to 4 days. The texture actually continues to improve slightly through day two. By day four, the crackers may become a little too soft depending on the humidity in your refrigerator.
Freezer
Icebox cake freezes surprisingly well. Cover tightly with plastic wrap and then foil, and freeze for up to one month. Thaw in the refrigerator overnight before serving. The texture shifts slightly after freezing and becomes denser, but still delicious.
The Best Icebox Cake Recipe (No-Bake, Make-Ahead, Foolproof)
Ingredients
Equipment
Method
- Beat room-temperature cream cheese in a large bowl or stand mixer until fluffy and completely smooth.
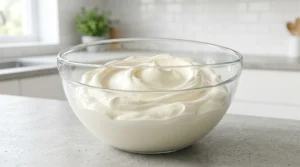
- Add powdered sugar and vanilla extract; beat until combined.
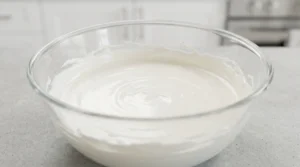
- With mixer running, slowly pour in cold heavy cream. Increase speed and beat to stiff peaks.
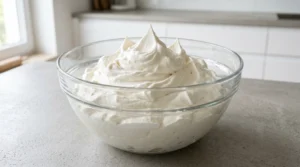
- Spread a thin layer of filling across the bottom of a 9×13-inch dish.
- Lay graham crackers in a single layer, breaking pieces to fill edges.
- Spread one-third of the remaining filling evenly over the cracker layer.
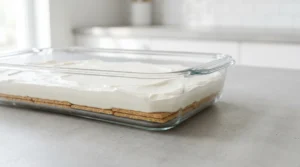
- Add another layer of graham crackers, then another third of filling.
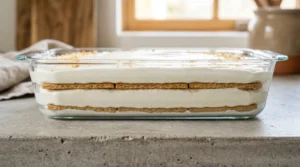
- Repeat: crackers, then remaining filling on top. You will have 3 cracker layers and 4 cream layers total.
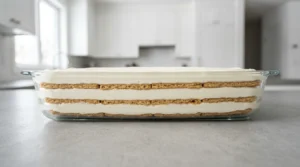
- Cover tightly with plastic wrap. Refrigerate at least 6 hours or overnight.
- Add toppings just before serving. Slice into squares with a sharp knife, wiping blade between cuts.
Notes
- Room temperature cream cheese is essential — cold cream cheese will leave lumps.
- Keep heavy cream cold until whipping for best volume and structure.
- Press crackers gently into the filling as you layer for even moisture absorption.
- Best made the night before serving; texture and flavor improve significantly overnight.
- Store covered in the refrigerator for up to 4 days, or freeze for up to 1 month.
Frequently Asked Questions
What is an icebox cake?
An icebox cake is a no-bake dessert made by layering cookies or crackers with whipped cream and refrigerating the whole thing until the cookies soften into cake-like layers. The name comes from the era before modern refrigerators, when homes used insulated “iceboxes” cooled with a block of ice. The dessert became popular in the 1920s when home refrigeration started becoming widespread across the United States.
Can I use Cool Whip instead of homemade whipped cream?
You can, but the flavor and texture will be noticeably different. Homemade whipped cream made with real heavy cream has a cleaner, richer flavor and holds up better overnight. If using Cool Whip, skip the cream cheese step and substitute about 6 to 7 cups of thawed Cool Whip directly.
What can I use instead of Nabisco chocolate wafers?
Nabisco Famous Chocolate Wafers were discontinued in 2023 which sent icebox cake lovers scrambling. The best substitutes are chocolate graham crackers, Oreo thins, chocolate shortbread cookies, or Goya Maria Chocolate Cookies. Each brings a slightly different flavor and texture, but all soften well in the cream.
Do I have to use a 9×13-inch pan?
No. A loaf pan works for a log-style icebox cake similar to the original Nabisco version. A springform pan gives you a round presentation. An 8×8-inch square pan works for a smaller batch. The assembly method stays the same regardless of the pan.
Can I make icebox cake a day ahead?
Yes, and you should. Making it the night before and chilling overnight gives the best possible texture and flavor. This is genuinely one of the best make-ahead desserts for summer entertaining because the cake actually improves with time rather than deteriorating.
Why did my icebox cake turn out soggy?
Two possible reasons. The filling was too loose, which happens if the cream was not whipped to stiff peaks or if the cream cheese was added too warm. Or the cake sat too long, past the four-day window, where the crackers can become overly soft. Using the cream cheese filling in this recipe rather than plain whipped cream helps prevent sogginess significantly.