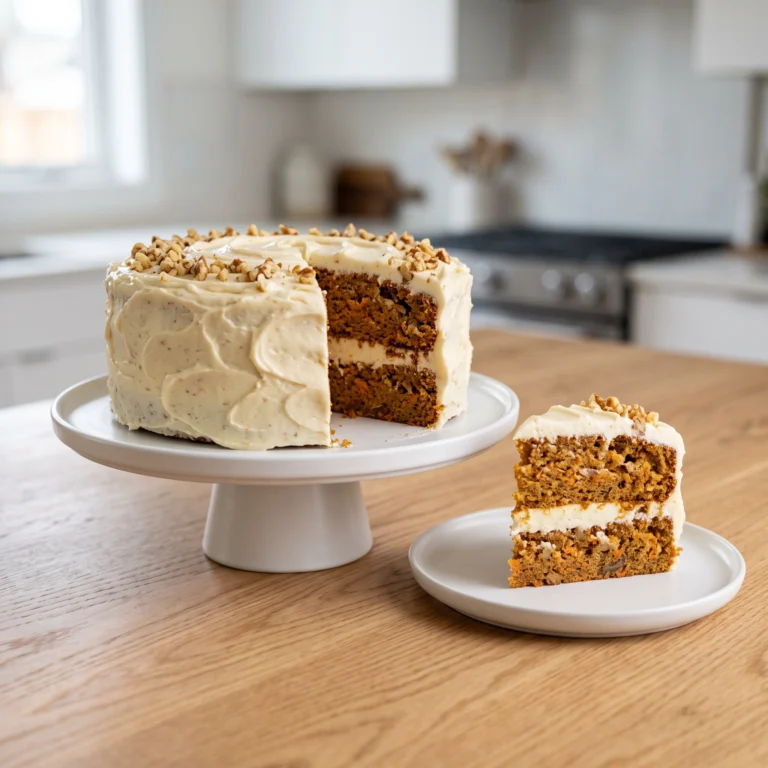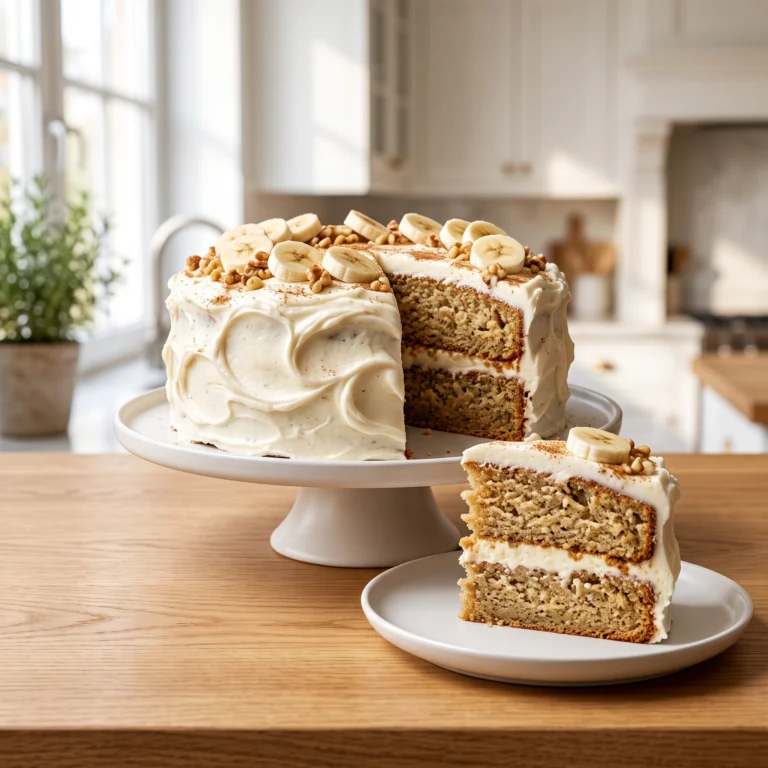
The Best Brown Butter Cake Recipe (Nutty, Moist, Never Dense)
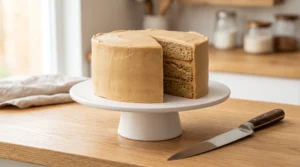
The first time I made brown butter cake, I poured the butter straight from the pan into the mixer while it was still warm and liquid. The cake came out dense, greasy, and barely rose at all. This homemade brown butter cake fixes that exact mistake, a moist, tender cake with deep nutty, caramel flavor and a light crumb that regular butter simply cannot give you.
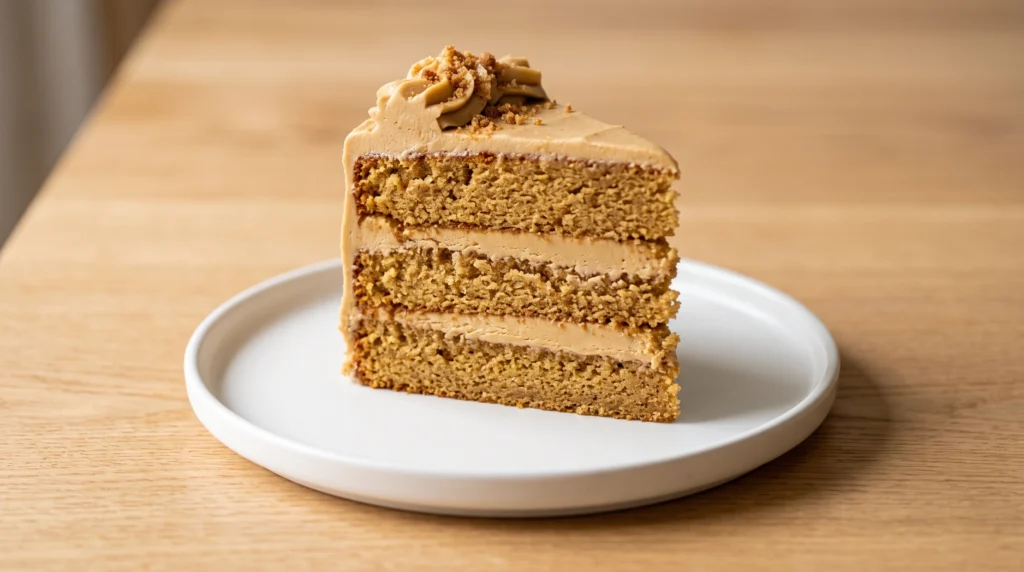
Why You’ll Love This Brown Butter Cake
- A crumb that’s light, not dense. Most homemade brown butter cake recipes turn out heavy or greasy. This recipe explains exactly why that happens and how to avoid it.
- Real nutty, caramel depth. Browning the butter unlocks a flavor regular butter never develops, thanks to the Maillard reaction.
- Soft, moist texture. Buttermilk and dark brown sugar keep this brown butter cake tender despite the extra step of browning.
- Works in four formats. Layer cake, sheet cake, Bundt, or cupcakes, all from the same base.
- A genuine cold-weather showstopper. Fall gatherings, holidays, or any dessert table that could use something warmer and deeper than a standard vanilla cake.
What You Need
For the Cake
- 1 cup (227g) unsalted butter, browned and cooled (see notes below)
- 3 cups (375g) cake flour
- 1 tablespoon baking powder
- 1/2 teaspoon salt
- 1 cup (200g) dark brown sugar, packed
- 1/2 cup (100g) granulated sugar
- 4 large eggs, room temperature
- 1 cup (240ml) buttermilk, room temperature
- 2 teaspoons vanilla extract
- 2 to 3 tablespoons milk, added as needed (see notes below)
For the Brown Butter Buttercream
- 1 cup (227g) unsalted butter, browned and cooled
- 4 cups (480g) powdered sugar, sifted
- 1/4 cup (60ml) heavy cream
- 1 teaspoon vanilla extract
- Pinch of salt
A Quick Note on Browning and Cooling the Butter
To brown the butter, melt it in a light-colored saucepan over medium heat, swirling occasionally, until the milk solids turn deep amber and it smells distinctly nutty, about 6 to 8 minutes. Pour it into a heatproof bowl, including all the browned bits at the bottom, then let it cool until it fully re-solidifies, either at room temperature for a few hours or in the refrigerator for about 45 minutes. This brown butter cake will not turn out right if the butter is creamed while still warm or liquid.
Baking Tools I Actually Use
| Amount | Name | Notes |
|---|---|---|
| 1 | Light-colored stainless steel saucepan | Dark pans make it hard to judge the butter’s color |
| 3 | 8 or 9 inch round cake pans | For the classic layer cake height |
| 1 | KitchenAid stand mixer or hand mixer | For creaming and frosting |
| 1 | Fine mesh strainer | Optional, for straining out extra browned bits |
| 1 | Digital kitchen scale | For accurate flour measurement |
| 1 | Offset spatula | For smooth frosting application |
| 1 | Cake turntable | For even, professional frosting |
The One Rule: Re-Solidify the Butter Before Creaming
This is the single most avoidable mistake in every homemade brown butter cake, and it’s the one that got me on my first attempt.
Creaming butter and sugar together works because solid fat can trap and hold air as it’s beaten, and that trapped air is what gives a cake its lift. According to Sally’s Baking Addiction’s explainer on butter temperature if a recipe calls for creaming, the butter needs to be re-solidified before it’s beaten with sugar, and brown butter used straight from the pan while still warm and liquid cannot trap air the same way, which is exactly why it produces a dense, greasy cake instead of a light one.
There’s a second factor working against you at the same time. According to FoodCrumbles’ breakdown of what happens when butter is browned roughly 20 percent of butter’s weight is water, and that water evaporates almost entirely during the browning process. Losing that much liquid throws off the balance of the whole recipe, which is why this brown butter cake recipe calls for a small amount of extra milk added back into the batter to compensate for what the browning process removed. Skip that step and the batter will be noticeably drier and denser than it should be.
Step by Step Instructions
Step 1: Brown and Cool the Butter Brown 2 cups of butter total (1 cup for the cake, 1 cup for the frosting) following the method above. Let both portions cool and fully re-solidify before continuing.
Step 2: Prep the Pans Preheat the oven to 350 degrees F. Grease and flour three cake pans, then line the bottoms with parchment paper rounds.
Step 3: Mix Dry Ingredients Whisk the cake flour, baking powder, and salt together in a medium bowl. Set aside.
Step 4: Cream the Brown Butter and Sugars In a stand mixer, beat the re-solidified brown butter with the dark brown sugar and granulated sugar on medium speed for a full 3 minutes until noticeably lighter and fluffy.
Step 5: Add Eggs Add the eggs one at a time, mixing until just combined after each.
Step 6: Add Vanilla Mix in the vanilla extract.
Step 7: Alternate Dry and Wet With the mixer on low, add the flour mixture in three additions, alternating with the buttermilk in two additions, starting and ending with flour. If the batter looks noticeably stiff, mix in the extra 2 to 3 tablespoons of milk to loosen it back to a normal cake batter consistency.
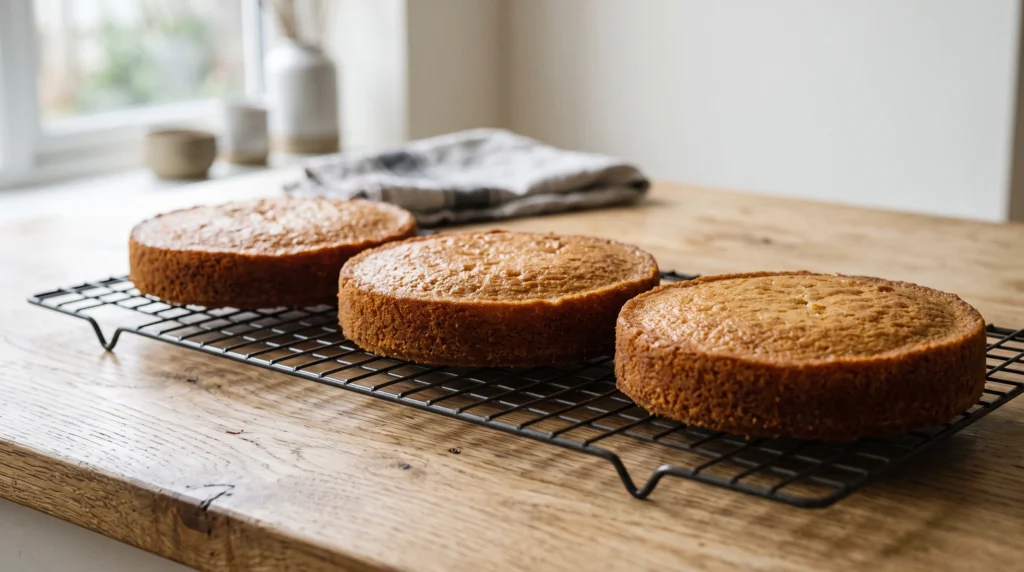
Step 8: Bake Divide the batter evenly between the three pans and bake for 24 to 28 minutes, until a toothpick inserted in the center comes out clean.
Step 9: Cool Completely Cool the cakes in their pans for 10 minutes, then turn out onto a wire rack to cool completely before frosting.
Step 10: Make the Brown Butter Buttercream Beat the re-solidified brown butter alone for 2 minutes until pale and creamy. Add the powdered sugar one cup at a time, alternating with the heavy cream. Add vanilla and salt, then beat on high for 2 minutes until fluffy.
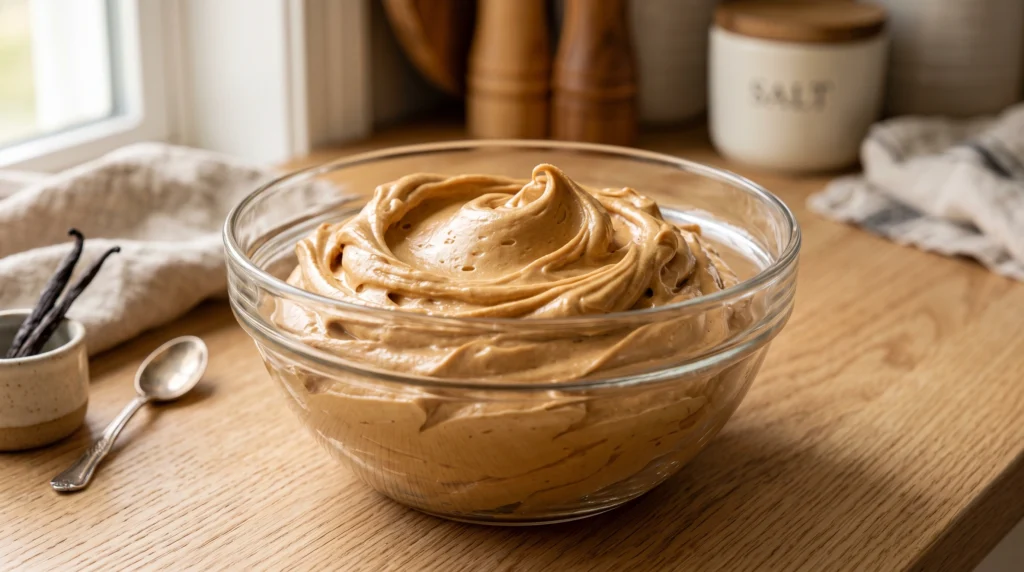
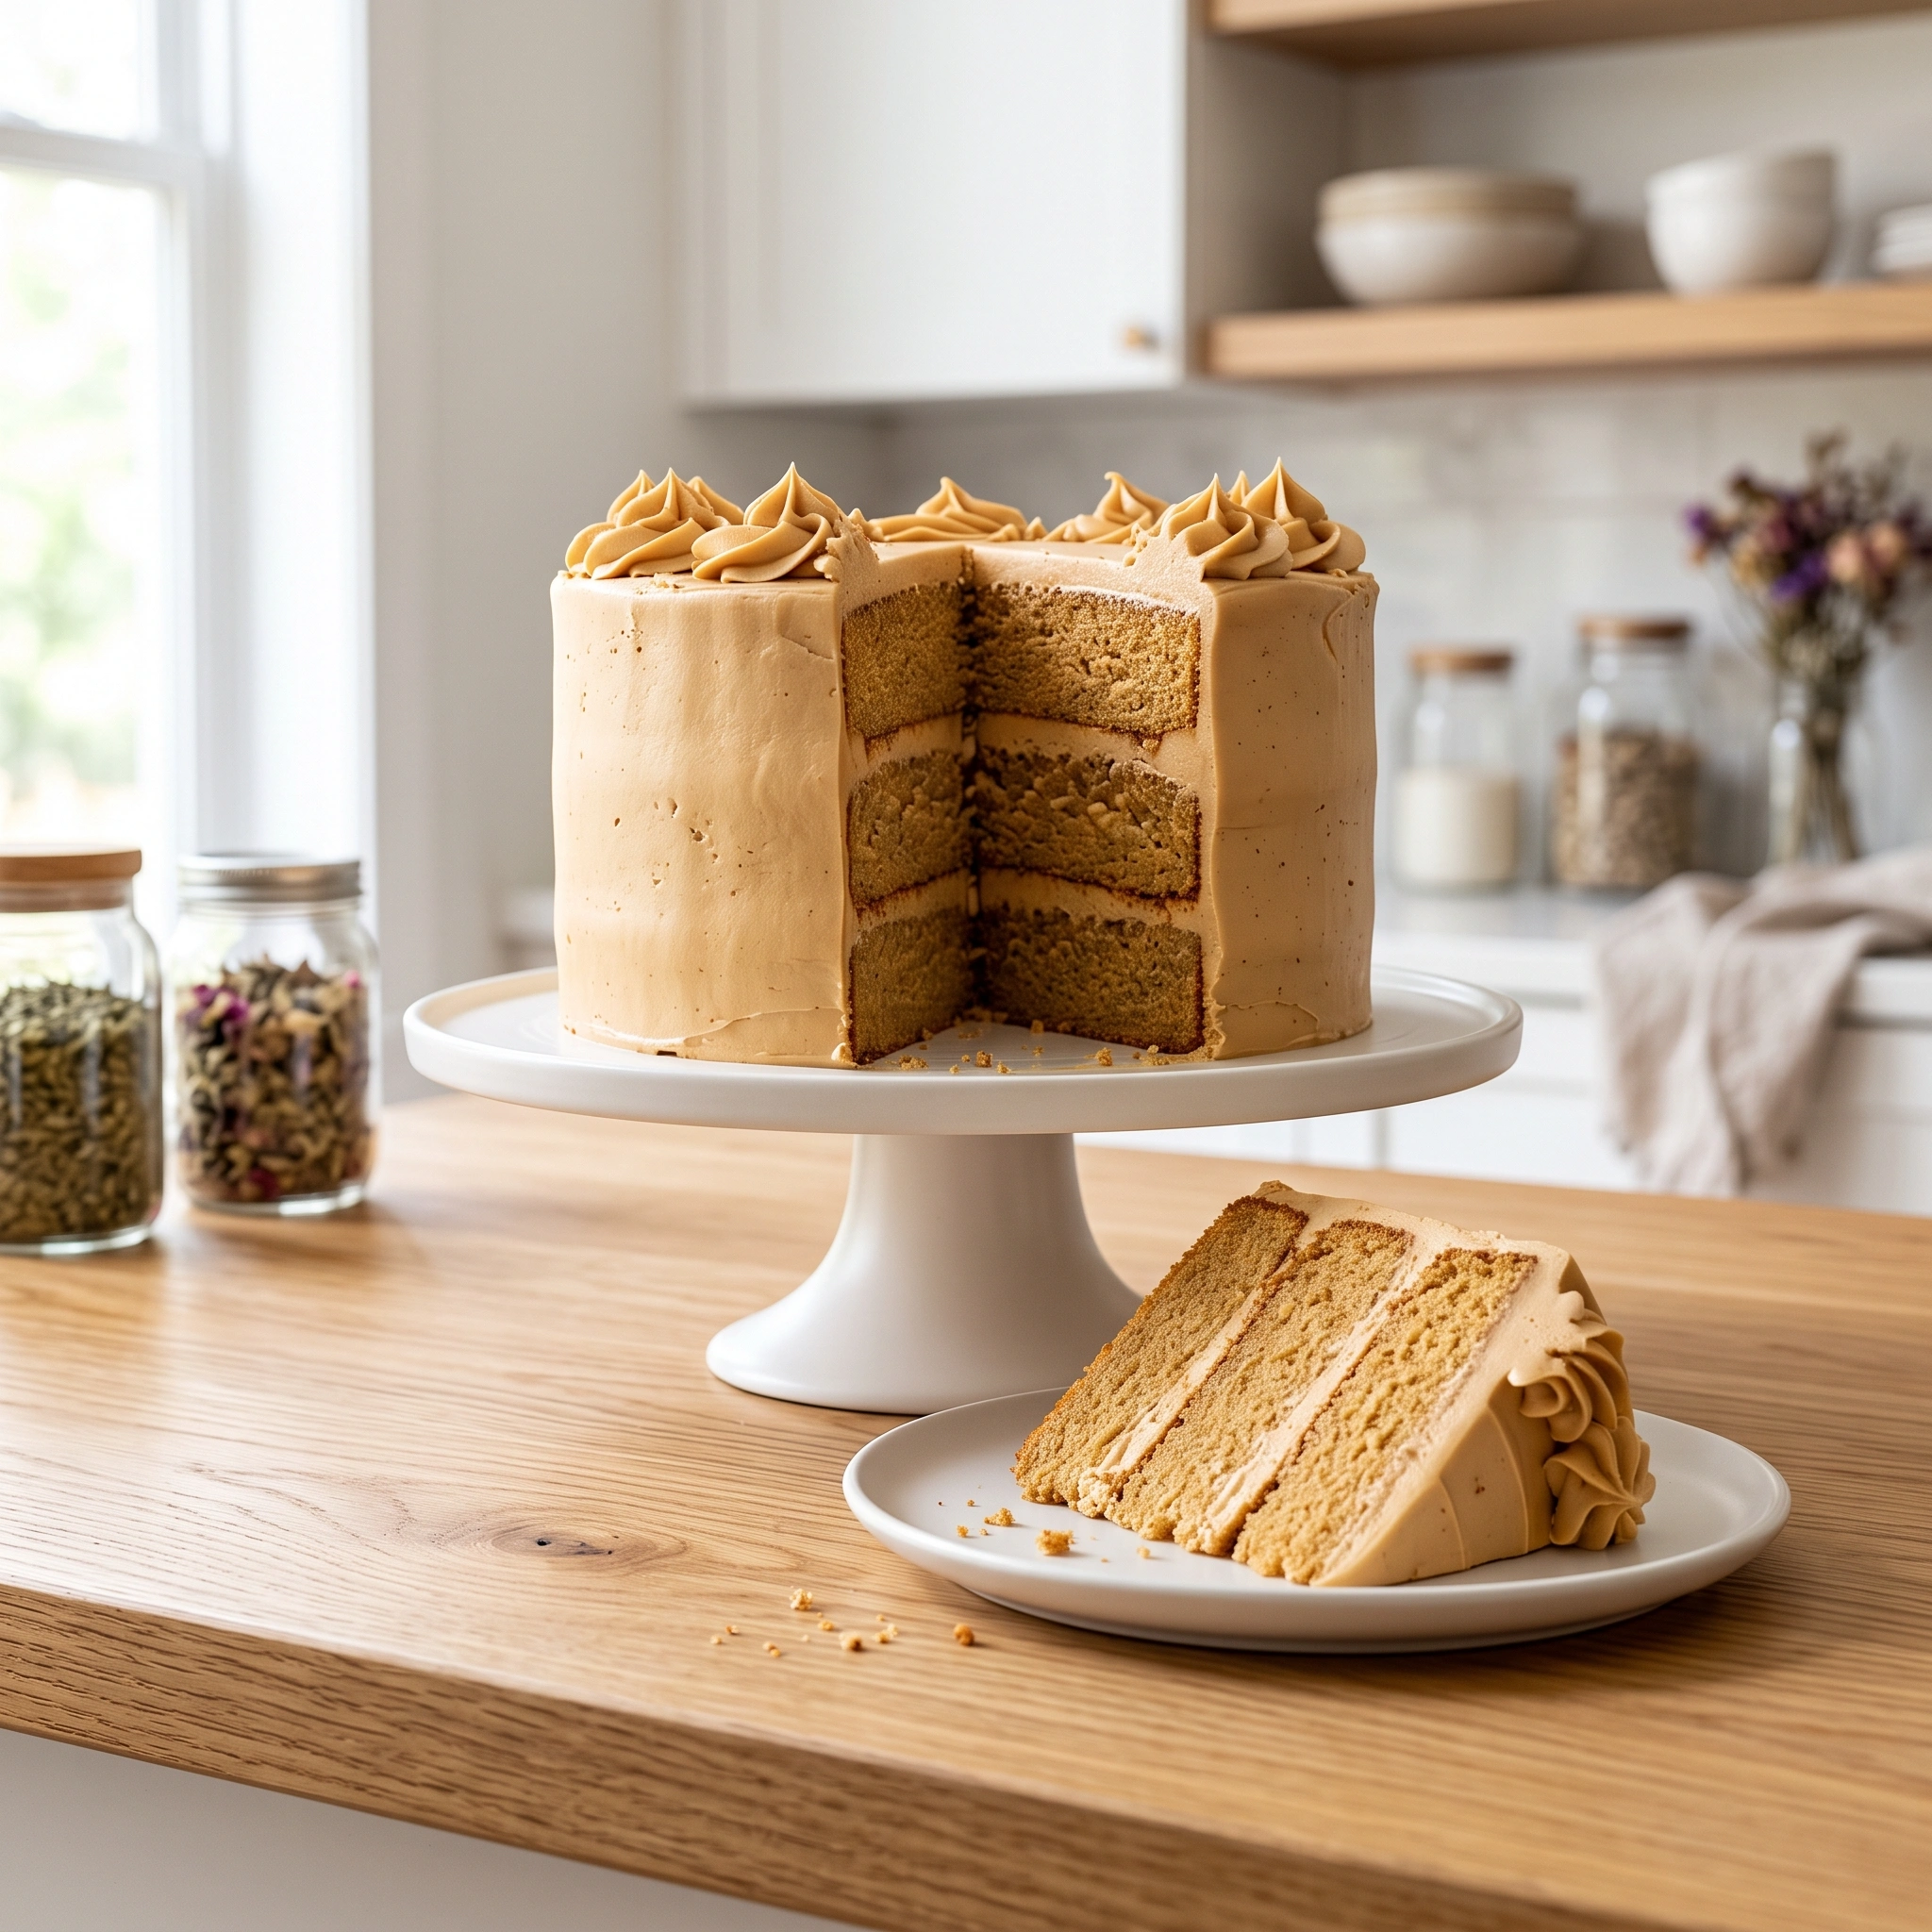
Step 11: Assemble and Frost Level the layers with a serrated knife if needed. Frost between each layer, apply a thin crumb coat, refrigerate for 20 minutes, then apply the final coat of frosting.
Common Mistakes to Avoid
Even with properly browned butter, a few small missteps can still leave this brown butter cake dense or flat, so here’s exactly what to watch for.
- Creaming the butter while still warm or liquid. This is the single biggest cause of a dense, greasy brown butter cake.
- Skipping the extra milk. The water lost during browning needs to be replaced, or the batter ends up too dry.
- Browning the butter too far. Butter that goes from amber to actually burnt turns bitter instead of nutty.
- Using a dark saucepan. It’s much harder to judge the butter’s color, which increases the risk of burning it without noticing.
- Overmixing after adding the flour. This develops gluten and turns a light cake into a dense, tough one.
Variations
This brown butter cake recipe adapts easily beyond the classic layer cake format.
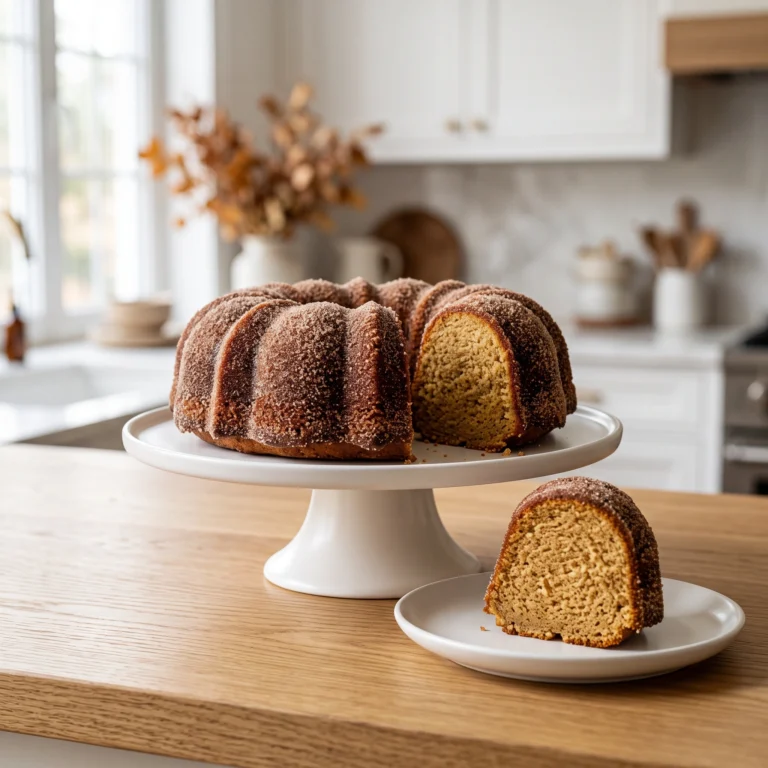
Brown Butter Bundt Cake Pour all the batter into a well greased 12 cup Bundt pan. Bake at 350 degrees F for 50 to 55 minutes until a cake tester comes out clean.
Brown Butter Cupcakes Divide the batter into lined muffin tins and bake for 20 to 22 minutes. Makes about 24 cupcakes.
Brown Butter Spice Cake Add 1 teaspoon cinnamon and 1/4 teaspoon each of nutmeg and ginger to the dry ingredients for a warmer, more autumnal flavor.
Brown Butter Chocolate Chip Cake Fold 1 cup of mini chocolate chips into the finished batter before dividing between the pans.
Brown Butter Sheet Cake Pour the same batter into a greased 9×13 inch pan and bake for 35 to 40 minutes. Frost directly in the pan.
Serving Ideas
A light dusting of flaky sea salt over the finished buttercream gives this brown butter cake a sweet-and-salty finish that plays beautifully against the nutty, caramel flavor underneath. Serve it slightly cooler than room temperature for a firmer frosting texture, or fully at room temperature for the softest possible crumb.
This brown butter cake also works well for fall gatherings and holiday dessert tables, and it pairs naturally with coffee, making it a strong choice for an afternoon get-together rather than just an after-dinner dessert.
How to Store Brown Butter Cake
Room temperature: Covered under a cake dome, this brown butter cake stays fresh for up to 2 days.
Refrigerator: Store covered for up to 5 days. Let it sit at room temperature for about 30 minutes before serving so the buttercream softens back to its best texture.
Freezer: Unfrosted brown butter cake layers wrapped tightly in plastic wrap and foil freeze well for up to 3 months. Thaw overnight in the refrigerator before frosting.
The Best Brown Butter Cake Recipe (Nutty, Moist, Never Dense)
Ingredients
Equipment
Method
- Brown 2 cups of butter total following the method in the article notes. Let both portions cool and fully re-solidify.
- Preheat oven to 350 degrees F. Grease and flour three cake pans and line the bottoms with parchment rounds.
- Whisk the cake flour, baking powder, and salt in a medium bowl. Set aside.
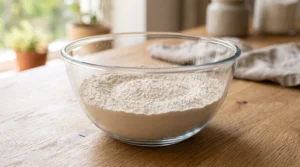
- In a stand mixer, beat the re-solidified brown butter with both sugars on medium speed for 3 minutes until light and fluffy.
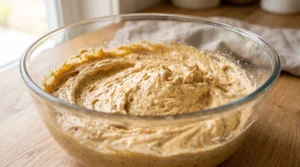
- Add eggs one at a time, mixing until just combined after each.
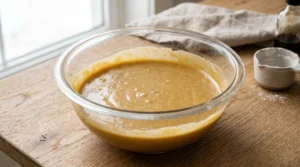
- Mix in the vanilla extract.
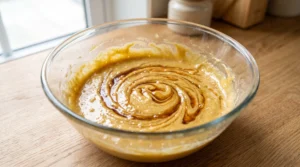
- With the mixer on low, add the flour mixture in three additions, alternating with the buttermilk in two additions, starting and ending with flour. Add the extra milk if the batter looks stiff.
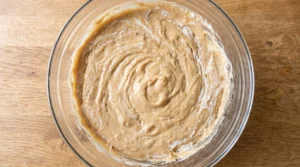
- Divide the batter evenly among the three pans and bake for 24 to 28 minutes, until a toothpick comes out clean.
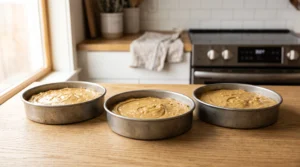
- Cool in the pans for 10 minutes, then transfer to a wire rack to cool completely before frosting.
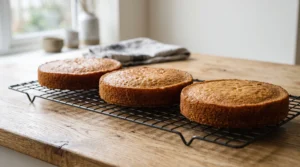
- Beat the re-solidified brown butter alone for 2 minutes until pale and creamy. Add powdered sugar one cup at a time, alternating with the heavy cream. Add vanilla and salt, then beat on high for 2 minutes until fluffy.
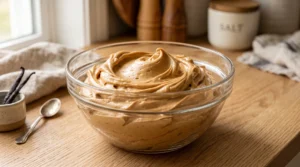
- Frost between each layer, apply a thin crumb coat, refrigerate for 20 minutes, then apply the final coat of frosting, slice, and serve.
Notes
- Let brown butter fully re-solidify before creaming. This is the single most important step in the recipe.
- Add the extra milk to compensate for water lost during browning.
- Use a light-colored saucepan to judge the butter’s color accurately.
- Store refrigerated up to 5 days. Bring to room temperature before serving.
Frequently Asked Questions
Why did my brown butter cake turn out dense or greasy? This almost always comes from creaming the brown butter while it’s still warm or liquid instead of letting it fully re-solidify first, since solid fat is what traps air during creaming.
Do I need to add extra liquid when using brown butter? Yes. Browning butter evaporates roughly 20 percent of its water content, so this recipe adds a small amount of extra milk back into the batter to compensate for that loss.
Can I use salted butter instead of unsalted? Yes, but reduce or omit the added salt in the recipe to avoid an overly salty cake, since salted butter’s sodium content varies by brand.
How do I know when butter is properly browned and not burnt? Properly browned butter turns a deep amber color and smells nutty and toasted. If it turns dark brown or black and smells acrid or bitter, it has burned and should be started over.
Can I make this cake ahead of time? Yes. Bake the layers up to 2 days ahead, wrap them tightly, and store at room temperature, then frost on the day you plan to serve it.
Can I brown the butter in advance? Yes. Brown butter can be made up to a week ahead and stored in the refrigerator, then brought back to room temperature before creaming.
Do I need cake flour, or will all purpose work? All purpose flour works, but cake flour produces a noticeably softer, more delicate crumb that better matches a bakery-style brown butter cake.
How far ahead can I make the buttercream? Up to 3 days ahead, stored in an airtight container in the fridge. Bring it to room temperature and re-whip briefly before using.
The Story Behind Brown Butter
Brown butter, known in French cooking as beurre noisette, meaning hazelnut butter, has been a staple of French kitchens for centuries, originally used to add depth to sauces served over fish and vegetables long before it found its way into desserts. Its nutty, toasted flavor comes from the Maillard reaction, the same browning process responsible for the crust on bread and the sear on a steak, applied here to the milk solids naturally present in butter.
Brown butter’s move into cakes, cookies, and frostings is a more recent trend in American home baking, driven by bakers looking for more depth than plain butter can offer without reaching for entirely different ingredients. This homemade brown butter cake brings that same French technique into a genuinely moist, everyday layer cake, without the dense, greasy result that trips up so many first attempts.